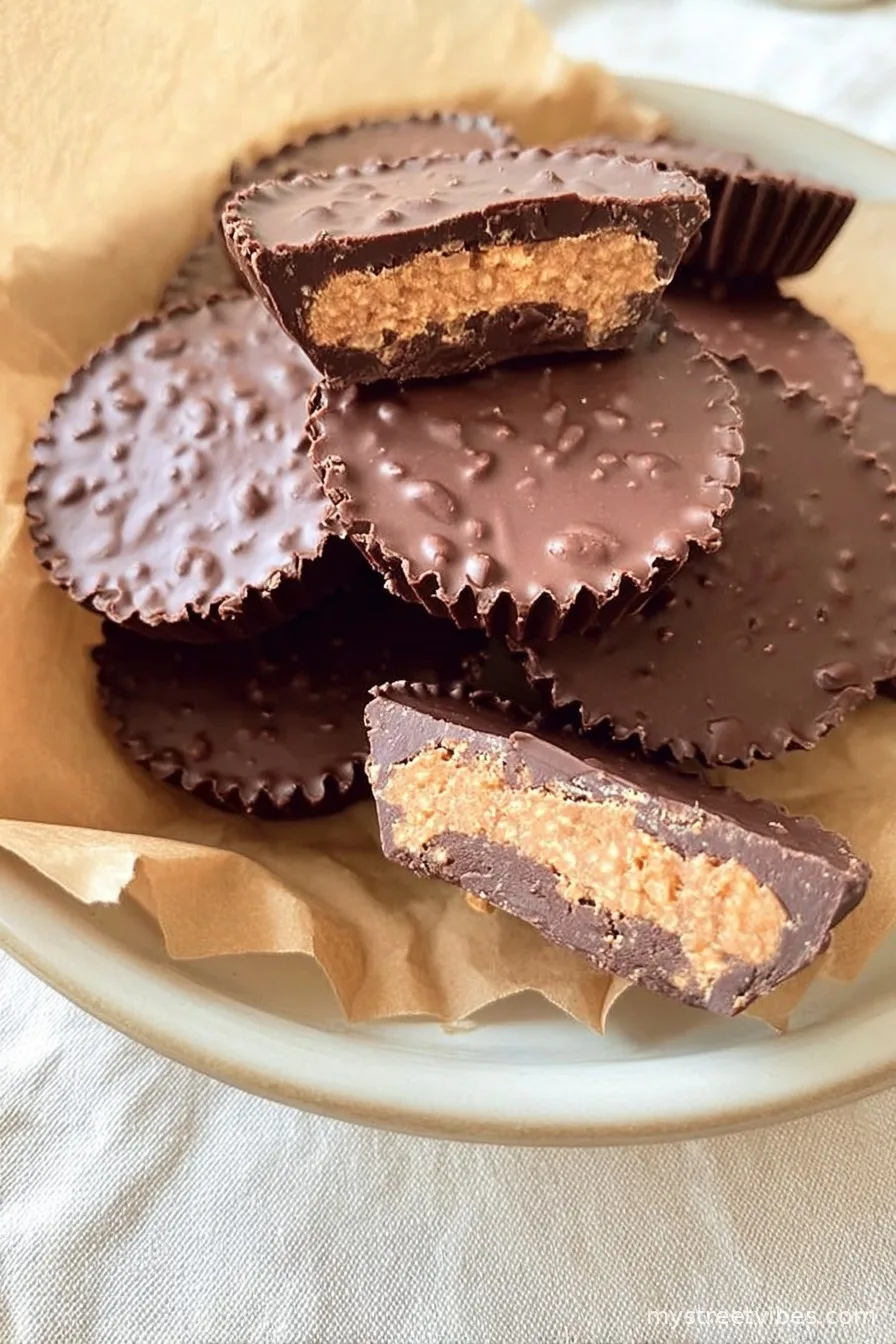
Let Me Tell You About Quinoa Crunch Peanut Butter Cups
You know those days where you just need something sweet, crunchy, and a little bit satisfying (but you also don’t want to feel like lazy bones about it)? That’s when I bust out these Quinoa Crunch Peanut Butter Cups. I started tinkering with this recipe after I accidentally overcooked a batch of quinoa (story for another time), and decided, instead of tossing it, maybe I could toast it up and add it to some chocolate. Lo and behold—game changer. Now I make these little treats at least once a month, usually when I want to impress friends or just reward myself after surviving another Monday. Oh, and small warning: if you leave them out at a party, they will vanish faster than your car keys on a busy morning.
Why You’ll Love This (Or, Why My Family Does!)
I make this recipe whenever I want a snack that feels fancy, but I really don’t have the patience for faffing about with fussy desserts. My family goes a bit nuts for them—literally, given all the peanut butter—especially my brother, who, to this day, swears he can eat a dozen in one sitting. I mean, they’re perfect for road trips or movie night (just, don’t let the chocolate melt everywhere like I did once!), or even a sneaky addition to a lunchbox. Also, the combo of crunchy quinoa and creamy peanut butter? It gets me every time. The only real hiccup I ever had was trying to unmold them too soon and, well, let’s just say: chocolate splat.
What You Need: The Ingredients (Swaps & Secrets)
- 1/2 cup dry quinoa (sometimes I use already-cooked quinoa, but toasting from raw gives more crunch)
- 1 1/2 cups dark chocolate chips (semi-sweet works in a pinch; my gran always insisted on the fancy stuff, but, honestly, even store brand is cool!)
- 3/4 cup peanut butter (creamy is classic, but crunchy is excellent for more texture—sunflower seed butter is great if you can’t do peanuts)
- 3 tablespoons coconut oil (or you can just use butter—I’ve done it both ways, depending what’s rattling around in my fridge)
- 3 tablespoons maple syrup or honey (I tend to think maple is better, but I grab honey if that’s all I have)
- A pinch of salt (or, let’s be honest, a couple shakes if you like a salty-sweet hit like I do)
- 1/2 teaspoon vanilla extract (actually, sometimes I totally forget this; it’s fine)
How To Actually Make Them (Directions Without The Fuss)
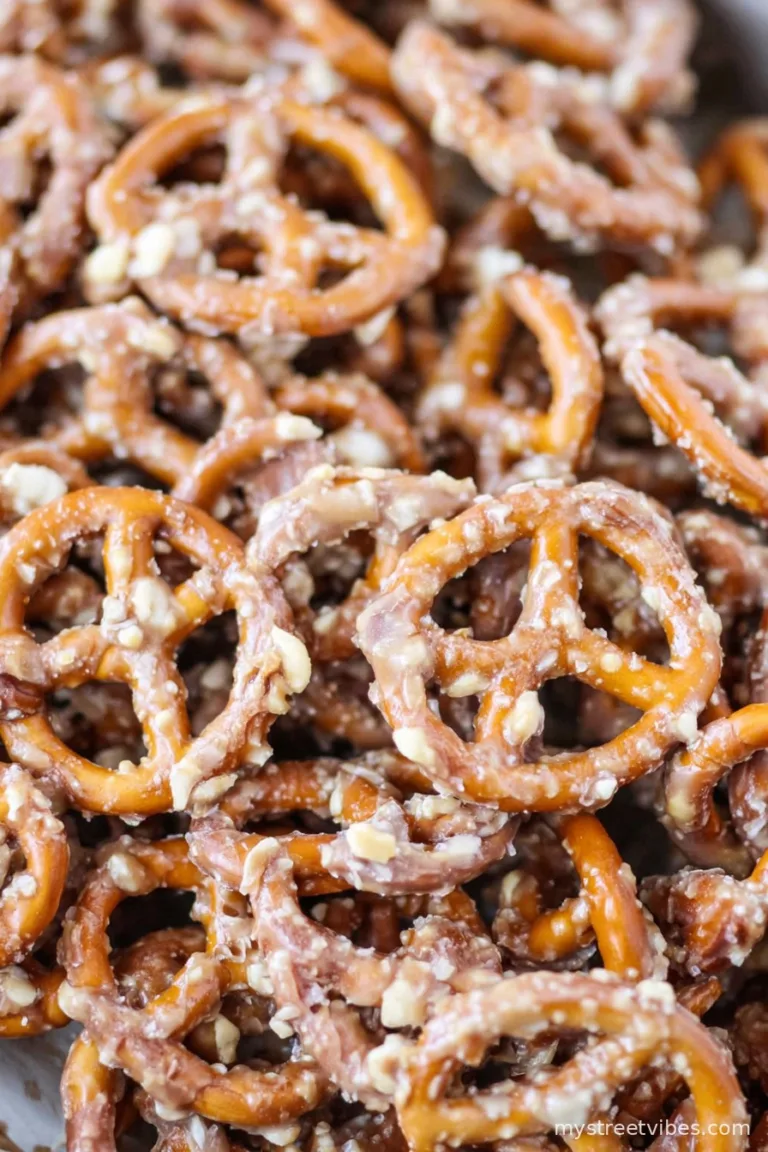
- First up: Toast your quinoa! Put the dry quinoa in a medium skillet over medium heat. Stir it around for about 4-5 minutes until it starts popping and turns golden. If it smells slightly nutty, you’re good (don’t wander off like I’ve done – it burns quick!). Let it cool.
- Now, melt your chocolate. I do it in the microwave: dump chocolate chips and 1 tablespoon of coconut oil into a microwave-safe bowl and zap in 30-second bursts, stirring in between, until smooth. If you’re more patient than me (or don’t trust your microwave), a double boiler works too.
- Line a muffin tin with liners (standard size works best). Spoon about a heaped teaspoon of melted chocolate into each cup; tip the pan side-to-side to coat the bottom. Pop it in the fridge for 10-ish minutes to set up a bit. Or, if you’re like me and always running late, five minutes in the freezer.
- While that chills, stir together the peanut butter, maple syrup (or honey), vanilla, remaining coconut oil, and a pinch of salt in another small bowl. Taste it—this is non-negotiable! Adjust for sweetness if you like. Mix in your toasted quinoa last. Don’t worry if it looks a bit thick or, as my kid says, “goopy”—that’s just right.
- Spoon a hearty tablespoon of the peanut butter quinoa mixture onto each chocolate base, smoothing out just a bit (not rocket science here, folks).
- Then cover each one with the rest of the melted chocolate. I sorta swirl the tops with the back of a spoon, but you do you—it doesn’t have to be Instagram-perfect.
- Chill in the fridge until totally set, minimum 30 minutes. (Or, you know, peek after 20 if you’re as impatient as me. Sometimes it works, sometimes it doesn’t.)
- Peel away the liners and enjoy! If you want to get fancy, you can sprinkle a little flaky salt on top before the chocolate sets—sometimes I remember, sometimes I don’t.
A Few Notes (Aka, Stuff I’ve Learned)
- If you accidentally burn the quinoa, just start over—it gets bitter quick. Ask me how I know.
- Sometimes the chocolate layer sinks around the peanut butter bit; it still tastes fab, so don’t stress.
- The fridge helps, but on a cold winter’s day, I’ve let them set at room temp. It takes ages, though—just go for the fridge.
Variations I’ve Tried (The Good, The Bad, & The Mushy)
- I’ve swapped almond butter for peanut butter—yum, but watch out for super oily kinds, they can get runny.
- White chocolate? Actually, it was a bit too sweet for me, but if you like it, go wild.
- Added a little cinnamon once—unexpectedly delicious.
- Tried adding chia seeds…it kinda ruined the texture. Maybe skip that unless you like a little chewiness?

Equipment (And What to Use If You’re Caught Short)
- Muffin tin—standard 12-cup is perfect. (No muffin tin? You can use silicone cupcake molds right on a plate, it’s not a big drama.)
- Two bowls—nothing fancy.
- Microwave or double boiler for melting chocolate. In a pinch, I once used a saucepan on the lowest heat, stirring constantly.
- Teaspoon/tablespoon for scooping, or just use a regular old spoon.
How To Store These (Good Luck Making Them Last)
I keep them in an airtight container in the fridge; they stay fresh for at least a week. But honestly, in my house, they rarely last more than a day, so I can’t say for sure just how long they’d keep. If you want them on hand for a while, the freezer works too—just let them thaw a couple minutes so you don’t break a tooth.
Serving Ideas (Or How I Like To Eat Them)
I love these straight from the fridge with a cup of coffee. My partner likes them popped into a bowl with a scoop of vanilla ice cream for full snack-attack mode. If you’re feeling social, pile them on a platter and watch them disappear at cookouts—true story.
Pro Tips (From Someone Who’s Messed Up More Than Once)
- Let the chocolate set between layers—one time I rushed and got swirly peanut butter blobs in my top layer. Still tasted great though.
- If the quinoa pops out of the peanut butter mixture, just press it down with a spoon before topping with chocolate. Easy fix, no drama.
- Don’t skip tasting the peanut butter filling before assembling. It’s your one shot to adjust the sweetness or saltiness to your liking.
FAQ – Real Questions I’ve Heard (Or Asked Myself)
- Can I use already cooked quinoa? Yes, but honestly, dry toasted gives the crunch—cooked tends to go a bit too chewy. If you must use leftovers, just toast them a little longer till they pop.
- Is there a nut-free version? For sure! Sunflower seed butter or tahini both work, though tahini gives it a slightly bitter edge (which I kind of like, actually).
- My chocolate won’t melt smooth. What’s up? Ah, that’s happened to me too. Sometimes the bowl wasn’t dry or the microwave was too hot. Try adding a tiny bit more oil and gently heating. Never panic, it still works itself out most of the time.
- Can I make these vegan? Absolutely, just use dairy-free chocolate chips and maple syrup instead of honey. In fact, I have, and you can’t really tell the difference.
- How big are these? I use standard muffin liners, so they’re about the size of Reese’s cup, but you could use mini liners if you like a poppable version—just use less of everything.
- I don’t have coconut oil – what else can I use? Butter is totally fine, or leave it out and add a splash of neutral oil if you have nothing else.
And that’s pretty much it. If, somehow, you manage to have leftovers, hide them well—my lot will sniff them out no matter what. Enjoy, and may your quinoa be ever crispy!
Ingredients
- 1/2 cup dry quinoa (sometimes I use already-cooked quinoa, but toasting from raw gives more crunch)
- 1 1/2 cups dark chocolate chips (semi-sweet works in a pinch; my gran always insisted on the fancy stuff, but, honestly, even store brand is cool!)
- 3/4 cup peanut butter (creamy is classic, but crunchy is excellent for more texture—sunflower seed butter is great if you can’t do peanuts)
- 3 tablespoons coconut oil (or you can just use butter—I’ve done it both ways, depending what’s rattling around in my fridge)
- 3 tablespoons maple syrup or honey (I tend to think maple is better, but I grab honey if that’s all I have)
- A pinch of salt (or, let’s be honest, a couple shakes if you like a salty-sweet hit like I do)
- 1/2 teaspoon vanilla extract (actually, sometimes I totally forget this; it’s fine)
Instructions
-
1First up: Toast your quinoa! Put the dry quinoa in a medium skillet over medium heat. Stir it around for about 4-5 minutes until it starts popping and turns golden. If it smells slightly nutty, you’re good (don’t wander off like I’ve done – it burns quick!). Let it cool.
-
2Now, melt your chocolate. I do it in the microwave: dump chocolate chips and 1 tablespoon of coconut oil into a microwave-safe bowl and zap in 30-second bursts, stirring in between, until smooth. If you’re more patient than me (or don’t trust your microwave), a double boiler works too.
-
3Line a muffin tin with liners (standard size works best). Spoon about a heaped teaspoon of melted chocolate into each cup; tip the pan side-to-side to coat the bottom. Pop it in the fridge for 10-ish minutes to set up a bit. Or, if you’re like me and always running late, five minutes in the freezer.
-
4While that chills, stir together the peanut butter, maple syrup (or honey), vanilla, remaining coconut oil, and a pinch of salt in another small bowl. Taste it—this is non-negotiable! Adjust for sweetness if you like. Mix in your toasted quinoa last. Don’t worry if it looks a bit thick or, as my kid says, “goopy”—that’s just right.
-
5Spoon a hearty tablespoon of the peanut butter quinoa mixture onto each chocolate base, smoothing out just a bit (not rocket science here, folks).
-
6Then cover each one with the rest of the melted chocolate. I sorta swirl the tops with the back of a spoon, but you do you—it doesn’t have to be Instagram-perfect.
-
7Chill in the fridge until totally set, minimum 30 minutes. (Or, you know, peek after 20 if you’re as impatient as me. Sometimes it works, sometimes it doesn’t.)
-
8Peel away the liners and enjoy! If you want to get fancy, you can sprinkle a little flaky salt on top before the chocolate sets—sometimes I remember, sometimes I don’t.
CLICK FOR NUTRITION INFO
↑
Approximate Information for One Serving
Serving Size:
1 serving
Calories:
225 caloriescal
Protein:
4gg
Fat:
14gg
Saturated Fat:
0g
Trans Fat:
0g
Cholesterol:
0mg
Sodium:
0mg
Potassium:
0mg
Total Carbs:
22gg
Fiber:
0g
Sugar:
0g
Net Carbs:
0g
Vitamin A:
0
Vitamin C:
0mg
Calcium:
0mg
Iron:
0mg
Nutrition Disclaimers
Number of total servings shown is approximate. Actual number of servings will depend on your preferred portion sizes.
Nutritional values shown are general guidelines and reflect information for 1 serving using the ingredients listed, not including any optional ingredients. Actual macros may vary slightly depending on specific brands and types of ingredients used.
To determine the weight of one serving, prepare the recipe as instructed. Weigh the finished recipe, then divide the weight of the finished recipe (not including the weight of the container the food is in) by the desired number of servings. Result will be the weight of one serving.
Did you make this recipe?
Please consider Pinning it!