Well, This Flatbread Is My Unexpected Kitchen Crush
You ever have one of those recipes that sneaks up and worms its way into your weekly routine? That’s this 2-ingredient cottage cheese flatbread for me. It all started last summer. I was elbow-deep in an epic grocery day fail—seriously, bread was nowhere to be found and I was honestly too peckish to attempt anything complicated. So, I gave this barely-a-recipe a bash, and, mate, I’ll never look back. Don’t expect it to be some artisan bakery round here (let’s keep it real), but this stuff is soft, bendy, and actually damn tasty, even my dog eyes it when I take it out of the pan.
Why You’ll Love This (Or, At Least, Why I Do)
I make this when I’m feeling lazy, or just need something quick to wrap around fried eggs (which are my rescue meal, but that’s a whole other thing). My family goes a bit bonkers for this because it’s so mild—no hard opinions here, just soft, cheesy comfort. And it never gets stuck to my teeth, which, weirdly, matters more than you’d think. The only annoying bit is, sometimes I get distracted and end up burning one side but honestly, the char tastes pretty good. And sometimes it looks, well, a bit funny, but just trust the process.
Here’s What You’ll Need (Substitutions? Oh yes, I have those…)
- 1 cup cottage cheese (I use the full-fat sort because it melts differently but I’ve tried low-fat and even the lumpy stuff, it still works. My mate swears by the Aldi brand, but really, grab whatever’s on offer)
- 2 large eggs (Sometimes I use 3 smalls, when that’s all I’ve got left, and it doesn’t seem to mind. Or just use less cheese if short on eggs; I’ve done that and it’s fine.)
If you want to make it fancy, add a pinch of salt, but it’s fine either way. I’ve tried mixing in a sprinkle of dried herbs or a dash of black pepper—tasty but completely optional.
So, How Do You Actually Make This?
- Blend it up: Dump your cottage cheese and eggs into a blender or food processor. Give it a good whizz until pretty smooth. If you’re like me, you’ll inevitably end up with a blotchy kitchen wall but never mind. Don’t have a blender? Just mash together with a fork until it’s mostly smooth—it’ll be more rustic, but still edible.
- Line a pan and pour: Preheat your oven to about 180°C (350°F). Line a tray with parchment (I once used foil and regretted that, but baking paper’s best). Pour the mix in a circle or whatever random shape—it’ll spread out a bit.
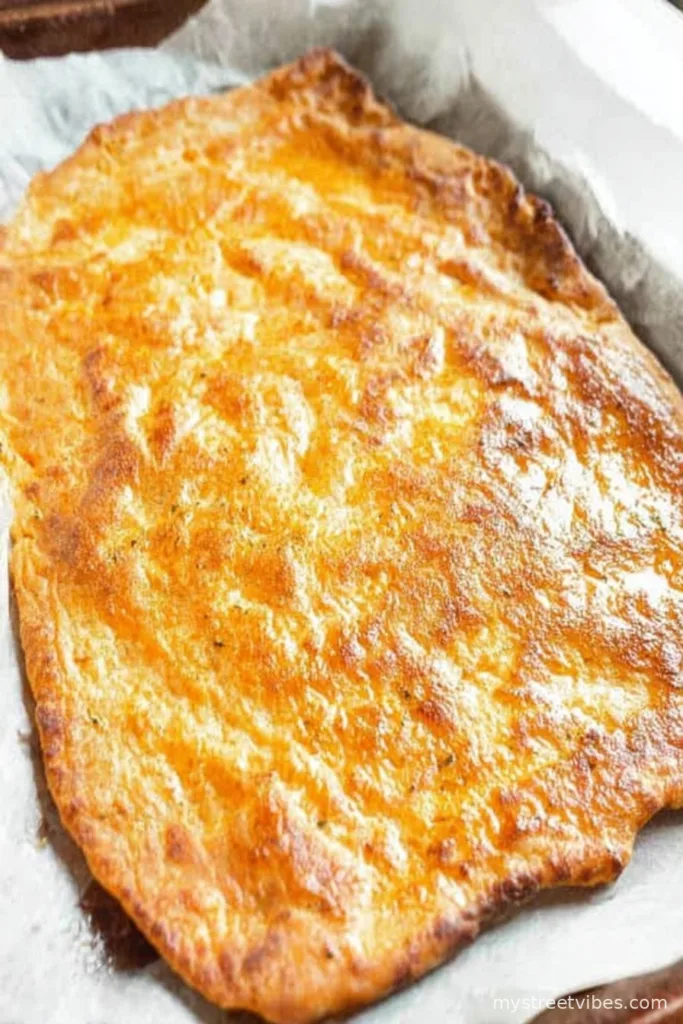
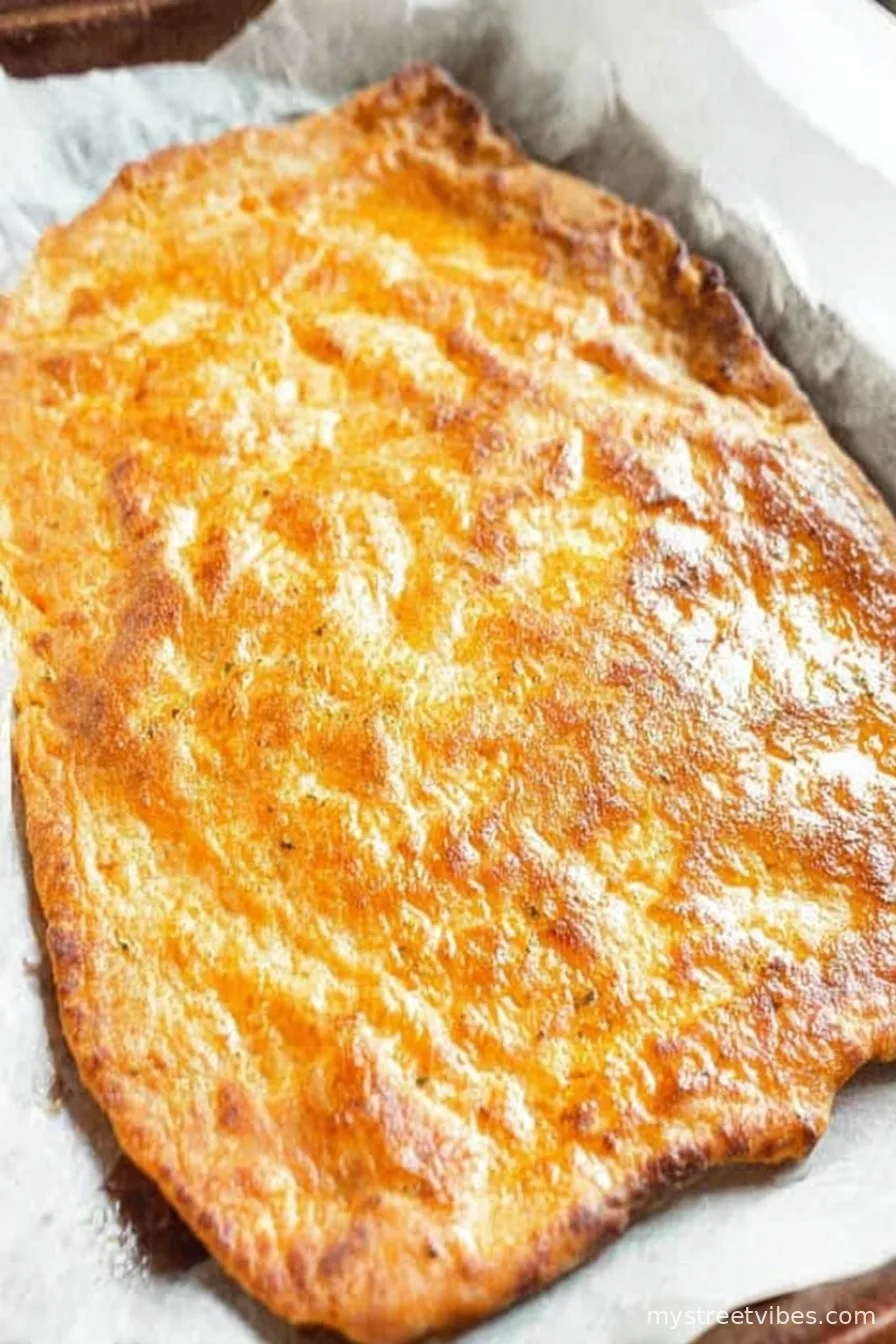
- Bake it: Pop it in for 20-25 minutes, until set and lightly golden. Sometimes it gets puffy; sometimes it sits flat, I never quite know what mood it’s in.
- Cool & peel: Let it sit a tick, then peel it off—don’t panic if it sticks a bit at the start. This is where I always sneak a little bit off the side, just to check it’s cooked (some call it quality control, I call it being weak).
Little Notes I’ve Picked Up
- Let it cool if you want it to roll up nicely. Hot out the oven, it’s floppy as a pancake in the rain.
- If you go heavy on cheese, it’ll be richer, but more likely to stick. Not sure why, but there it is.
- It looks weird when you mix it—seriously gloopy—but bake it anyway. Turns out better than it looks, promise.
Variations – My Experiments in Flatbread Land
- Chive & cracked pepper: Lovely! A sprinkle in the mix gives it a nice kick.
- Garlic powder: Big win if you want it more savoury.
- Once I tried blending in spinach for colour, but it ended up like a soggy omelette—wouldn’t recommend unless you’re after green goo.
Tools (Or What You Can Use If You Don’t Have Fancy Stuff)
Technically you want a blender, but when mine broke, I used an old potato masher followed by a fork and the results were, well, rustic but totally edible. Baking tray and parchment are really handy; in a pinch, just grease the pan like mad and cross your fingers.

Keeping It Fresh (Unless It Suddenly Vanishes…)
You can store this in the fridge for a couple days in an airtight box, but honestly, in my house it never lasts more than a day, mostly because midnight snacks are a thing. If it does last, zap it in a pan for 30 seconds to bring back some of that fresh-from-the-oven vibe.
How I Like to Serve It
Personal favourite: wrap it around scrambled eggs and hot sauce, or with peanut butter and banana if you want sweet. Every Friday, my niece insists we cut it up into little triangles and dunk it in tzatziki. Oh, and you can check out Serious Eats’ dip round-up for inspo—so many ideas.
Stuff I’ve Learned the Hard Way (Pro Tips, Sort Of)
- Don’t rush the bake, or it’ll be too soft to peel and you’ll end up eating it straight from the pan with a spoon—not as fun as you might think.
- The parchment helps more than you’d think. Tried skipping it once. Regretted it.
- It tastes better (to me anyway) once it’s cooled a bit, which I wouldn’t have guessed.
FAQ – Actual Questions My Friends Really Asked Me
Can I make this dairy-free?
Probably not. But maybe try a plant-based cottage cheese? Haven’t done that myself yet, so let me know if you do!
Can you freeze it?
Ehh, you can, but it gets a bit rubbery after thawing. Still edible though, especially if you toast it up after defrosting. Or just eat it all now, honestly.
Does it work for wraps?
Yep! That’s actually how I use it half the time. It’s amazing with grilled chicken or leftover salad. Here’s a really good variation if you want to learn more.
Do you need a blender, seriously?
Not need per se; fork and some determination work too. It’s a bit lumpy but that’s rustic, right?
Is this the same as cloud bread?
Kinda. This is heavier and not quite as fluffy. More filling. And, actually, I find it tastes more like real bread if you let it cool right down.
Oh! Before I forget—if you’re into gluten-free stuff, this is perfect, but I’m not a nutritionist or anything, just sharing what I know works for me in my little kitchen. Give it a whirl next time you’re out of actual bread or just want to feel a bit clever with your two ingredients and, who knows, maybe it’ll become your go-to lazy snack too.
Ingredients
- 1 cup cottage cheese
- 2 large eggs
- 1/4 teaspoon baking powder
- 1/4 teaspoon salt
- 1/4 teaspoon garlic powder (optional)
- 1/2 teaspoon dried oregano (optional)
- 1/4 teaspoon ground black pepper
- Olive oil spray for greasing
Instructions
-
1Preheat your oven to 375°F (190°C) and line a baking sheet with parchment paper. Lightly grease with olive oil spray.
-
2In a blender or food processor, add cottage cheese, eggs, baking powder, salt, garlic powder, oregano, and black pepper. Blend until smooth and fully combined.
-
3Pour the batter onto the prepared baking sheet and spread into a thin, even layer using a spatula.
-
4Bake for 18-22 minutes or until the edges are golden and the flatbread is set.
-
5Remove from the oven and allow to cool slightly before slicing. Serve warm or at room temperature.
Approximate Information for One Serving
Nutrition Disclaimers
Number of total servings shown is approximate. Actual number of servings will depend on your preferred portion sizes.
Nutritional values shown are general guidelines and reflect information for 1 serving using the ingredients listed, not including any optional ingredients. Actual macros may vary slightly depending on specific brands and types of ingredients used.
To determine the weight of one serving, prepare the recipe as instructed. Weigh the finished recipe, then divide the weight of the finished recipe (not including the weight of the container the food is in) by the desired number of servings. Result will be the weight of one serving.
Did you make this recipe?
Please consider Pinning it!!

