You Ever Just Want the Frosting? (I Do)
Let me tell you, vanilla frosting has caused a fair few family arguments in my kitchen — mostly over who gets to lick the bowl; sometimes over whether you can actually have cake without it. (Spoiler: you can, but why?) The first time I made this particular frosting recipe, I think half of it vanished before I’d even frosted anything. My brother still claims it was the cat, but I saw the sugar on his nose! Anyway, if you’re after something that tastes like the bakery (but without those weird aftertastes), this is my stand-by. And it’s honestly, truly not fussy.
Why You’ll Love This (Seriously, I Make It All the Time)
I pull out this recipe when I want an easy win—birthdays, cupcakes, or just those days when, let’s face it, cake is the only answer. My family goes all-in for this frosting because it’s not too sweet; it’s kinda creamy and fluffy, but dense enough that it doesn’t just slide right off the cake (had that happen once: disaster). And honestly? Sometimes I spread it on graham crackers for an after-dinner treat. Don’t tell! The best part is, it comes together in under ten minutes if you’re not sidetracked by, say, a cat knocking over your sugar jar. Again.
Here’s What You’ll Need (Substitutions Welcome)
- 2 cups powdered sugar (confectioner’s sugar; if you’re all out, granulated blitzed awhile in a blender can do in a pinch, though it can turn out a tiny bit gritty if you’re unlucky)
- 1/2 cup unsalted butter, softened (sometimes, if it’s all I’ve got, I’ll use salted and skip the pinch of salt; Grandma swore by Lurpak but, honestly, store brand is fine here)
- 2 to 3 tablespoons milk (whole milk, but I’ve grabbed oat milk once or twice and it worked fine, just a hint earthier)
- 2 teaspoons vanilla extract (the good stuff if you have it; I made it with the clear stuff once in a crunch…eh, not my favorite but it worked out okay)
- Pinch of salt (if you used unsalted butter; skip if not, or just wing it—taste as you go)
How I Pull It Together (And Where I Sneak a Spoonful)
- In a big-ish bowl, beat the softenend butter until it’s creamy (I like to use my hand mixer, but a good old wooden spoon does the job; just takes a bit longer—gives the arms a workout, honestly).
- Add in your powdered sugar about a half-cup at a time. I know, you’re tempted to dump it all in at once, but trust me, that’s how you get the sugar snowstorm apocalypse. Go slow, and keep scraping down the sides. If it seems super thick, don’t panic. That’s normal.
- Now, pour in the vanilla and a tablespoon or so of milk. Beat it, gently at first (unless you like your kitchen looking like a blizzard hit), then crank it up a bit. Add more milk, one spoon at a time, until it’s fluffy but still holds its shape. Here’s where I always taste; sometimes it needs a kiss more vanilla or that pinch of salt.
- Keep beating for another minute or two until it looks like, you know, actual frosting. Smooth but not soupy. If it looks kinda sad or grainy at this stage, just let it rest for a couple minutes and beat it again. (It usually sorts itself out. If not, more milk solves most problems. Actually, now I think about it, more butter fixes even more problems—but that’s another story.)
Notes From Someone Who’s Made This Far Too Many Times
- Organic powdered sugar sometimes clumps up like crazy; sift it if you remember. Or don’t. It mostly works out.
- If it gets too thin (happens to the best of us), chuck in another handful of sugar.
- Sometimes (okay, often) I forget to take the butter out ahead of time. Thirty seconds in the microwave—not melted!—does the trick. But watch it like a hawk.
Variations I’ve Actually Tried (and One Not-So-Great One)
- Chocolate: Just blend in a few tablespoons of cocoa powder instead of some sugar. Turns out you kind of need to use less sugar, or it’s overkill. Learn from my first batch, please.
- Lemon: Swapped the milk with lemon juice (gotta use less though, or it goes runny). Gives it a nice zing!
- Coconut Milk: Once made this dairy-free for a mate who can’t do lactose. Used coconut oil and coconut milk… honestly, it was a bit too coconutty for my taste, but she loved it.
Equipment: You Don’t Need Much (and Can Fake the Rest)
- Hand mixer (I say this is essential, but I’ve used a whisk or fork and survived—just takes ages and you’ll break a sweat)
- Mixing bowl (oh, and if you only have small bowls, do it in batches so you don’t end up with icing everywhere. Ask me how I know…)
How to Store (Though Mine Never Lasts That Long)
Just sling it in an airtight tub and pop it in the fridge if you’ve got leftovers. It’ll last a week, easy, but in all honesty, it never makes it past one day around here (I blame my midnight spoon raids). Let it stand at room temp for ten minutes before spreading, otherwise it’s like trying to spread cold butter—which, trust me, is a nightmare.
Serving Ideas That Aren’t Just Cake
We slather this on birthday cakes, cupcakes, and (my personal favorite) warm cinnamon buns. Occasionally, fresh strawberries become accidental vessels for leftover frosting. My cousin even uses it as a dip for pretzels, which sounds wrong, but actually—give it a try!
Pro Tips Learned the Hard Way
- I once tried rushing the butter-softening step and ended up with a lumpy mess. Slow and steady wins here.
- Add milk bit by bit. You can always add more, but once it’s too loose, it’s a pain to fix (unless you like really sweet frosting, then by all means: more sugar!).
- Creaming the butter till it’s light—think pale yellow, almost white—makes it fluffier than just mixing it till combined. I ignored this at first, but, actually, I find it works better if you’re patient here.
FAQ: Actual Questions I’ve Been Asked
- Can I freeze this frosting? Sure, you can! It might separate a bit once thawed, but just beat it again, and it’ll smooth out. Mind you, my freezer is where things go to be forgotten, so use your better judgment.
- Is it okay to use margarine? I tried it once when I ran out of butter (rookie mistake), and it was…fine. A little waxy. Butter’s way tastier, in my opinion!
- How do I stop lumps? Sift your powdered sugar if you’re feeling fancy, but really, a few lumps never hurt anyone. I usually just mash them out with the back of a spoon. Or call them “character.”
- What if I want it less sweet? Go easy on the powdered sugar, or swap in a spoonful of cream cheese. Actually, that’s a whole other recipe I love—but it’s a winner if you don’t mind a little tang. King Arthur does some great frosting guides for tweaking sweetness, by the way.
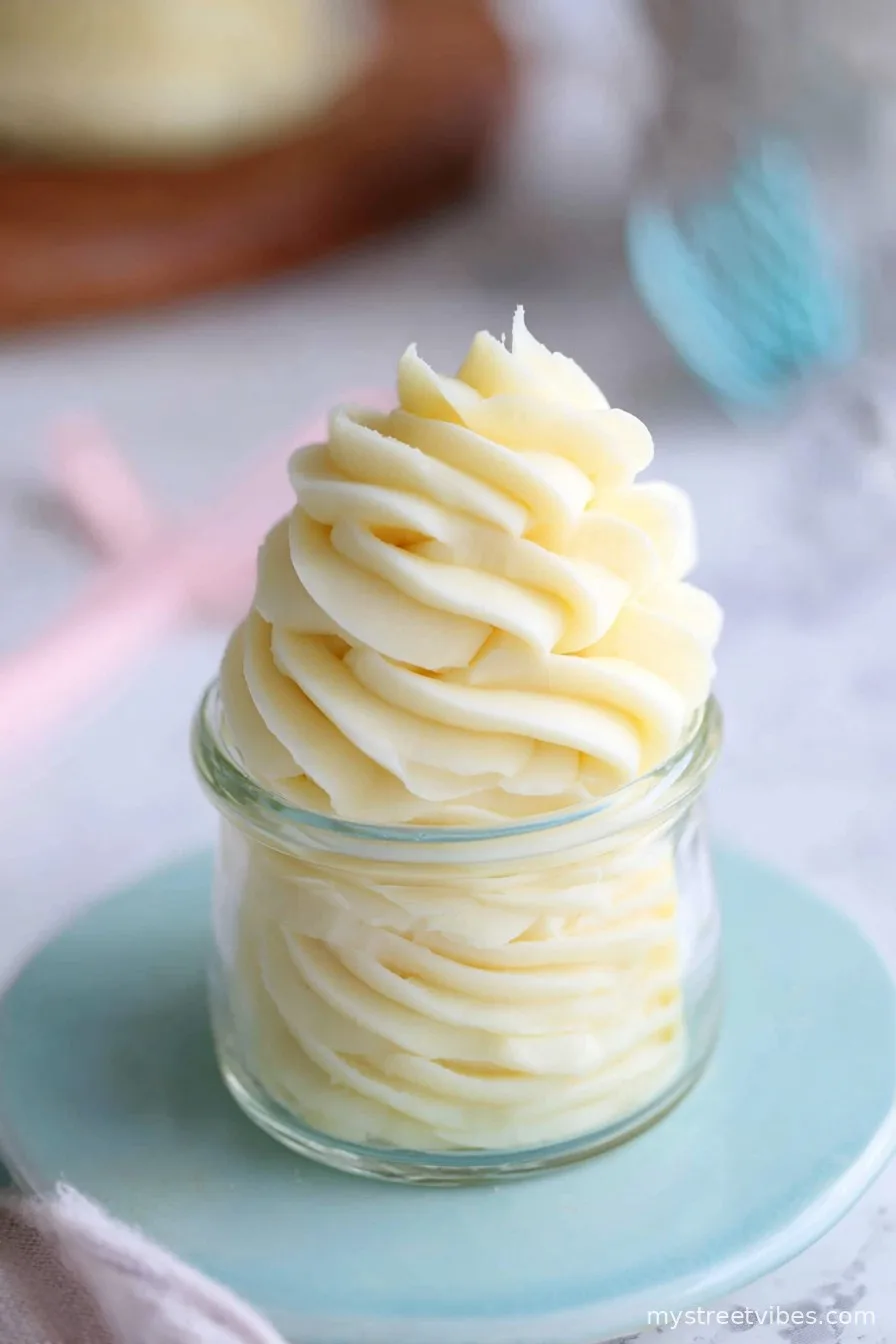
So, if you’re after the perfect vanilla frosting to slather, dip, or just eat with a spoon (no judgment), give this a whirl. And don’t worry if it comes out a bit imperfect—that’s half the charm, right?

Ingredients
- 1 cup (226g) unsalted butter, softened
- 3 1/2 cups (440g) powdered sugar, sifted
- 2 tablespoons whole milk, plus more as needed
- 2 teaspoons pure vanilla extract
- 1/8 teaspoon salt
- 1 tablespoon heavy cream (optional, for extra creaminess)
Instructions
-
1In a large mixing bowl, beat the softened butter with an electric mixer on medium speed until light and creamy, about 2 minutes.
-
2Gradually add the powdered sugar, 1 cup at a time, beating on low speed after each addition until well incorporated.
-
3Add the milk, vanilla extract, and salt. Increase the mixer speed to medium-high and beat for another 2-3 minutes until fluffy.
-
4If desired, add heavy cream for a silkier texture and beat for an additional 30 seconds.
-
5If frosting is too thick, add more milk 1 teaspoon at a time until desired consistency is reached. If too thin, add a little more powdered sugar.
-
6Use immediately to frost cakes, cupcakes, or cookies, or store covered in the refrigerator.
CLICK FOR NUTRITION INFO
↑
Approximate Information for One Serving
Serving Size:
1 serving
Calories:
180 caloriescal
Protein:
0gg
Fat:
9gg
Saturated Fat:
0g
Trans Fat:
0g
Cholesterol:
0mg
Sodium:
0mg
Potassium:
0mg
Total Carbs:
25gg
Fiber:
0g
Sugar:
0g
Net Carbs:
0g
Vitamin A:
0
Vitamin C:
0mg
Calcium:
0mg
Iron:
0mg
Nutrition Disclaimers
Number of total servings shown is approximate. Actual number of servings will depend on your preferred portion sizes.
Nutritional values shown are general guidelines and reflect information for 1 serving using the ingredients listed, not including any optional ingredients. Actual macros may vary slightly depending on specific brands and types of ingredients used.
To determine the weight of one serving, prepare the recipe as instructed. Weigh the finished recipe, then divide the weight of the finished recipe (not including the weight of the container the food is in) by the desired number of servings. Result will be the weight of one serving.
Did you make this recipe?
Please consider Pinning it!!