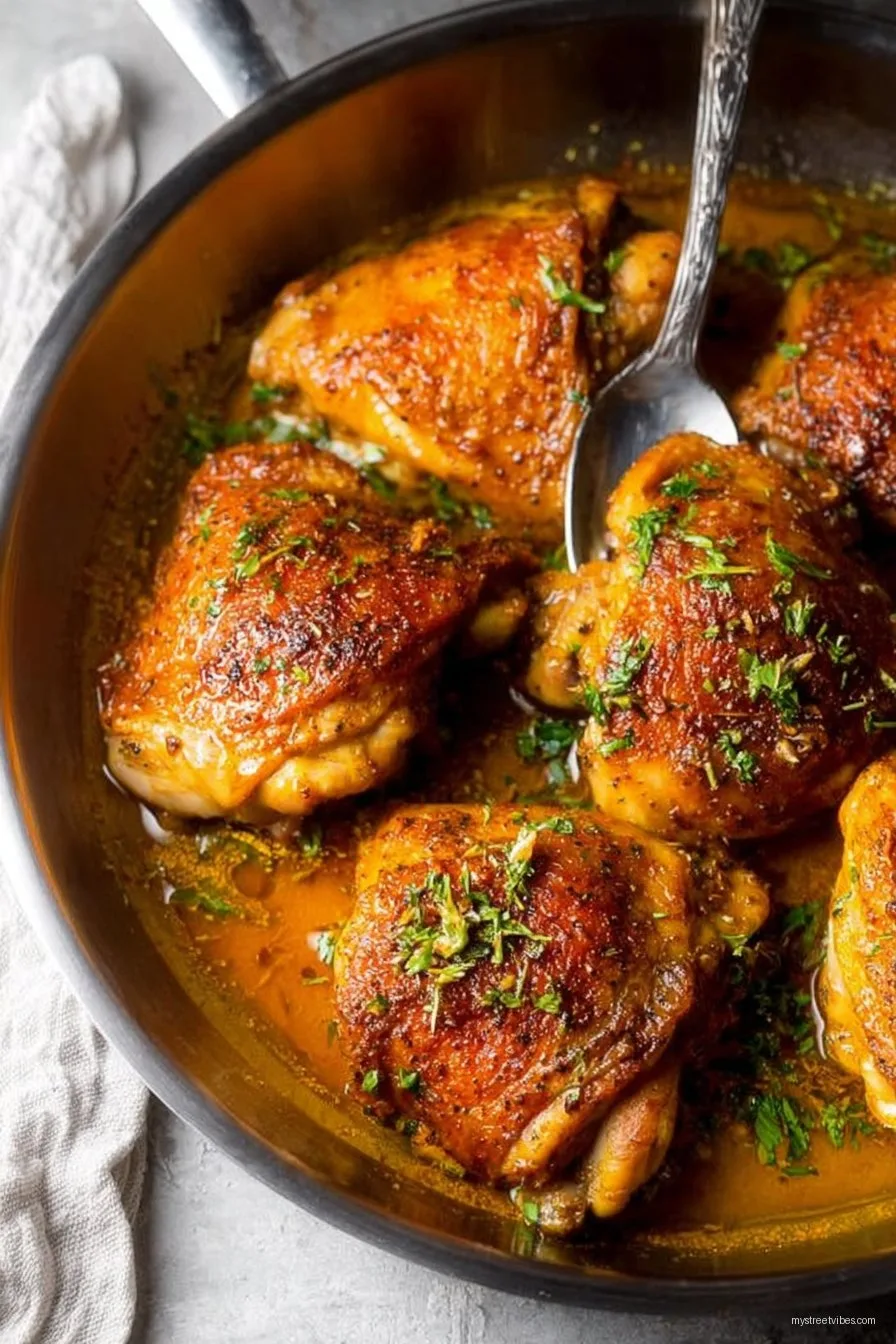
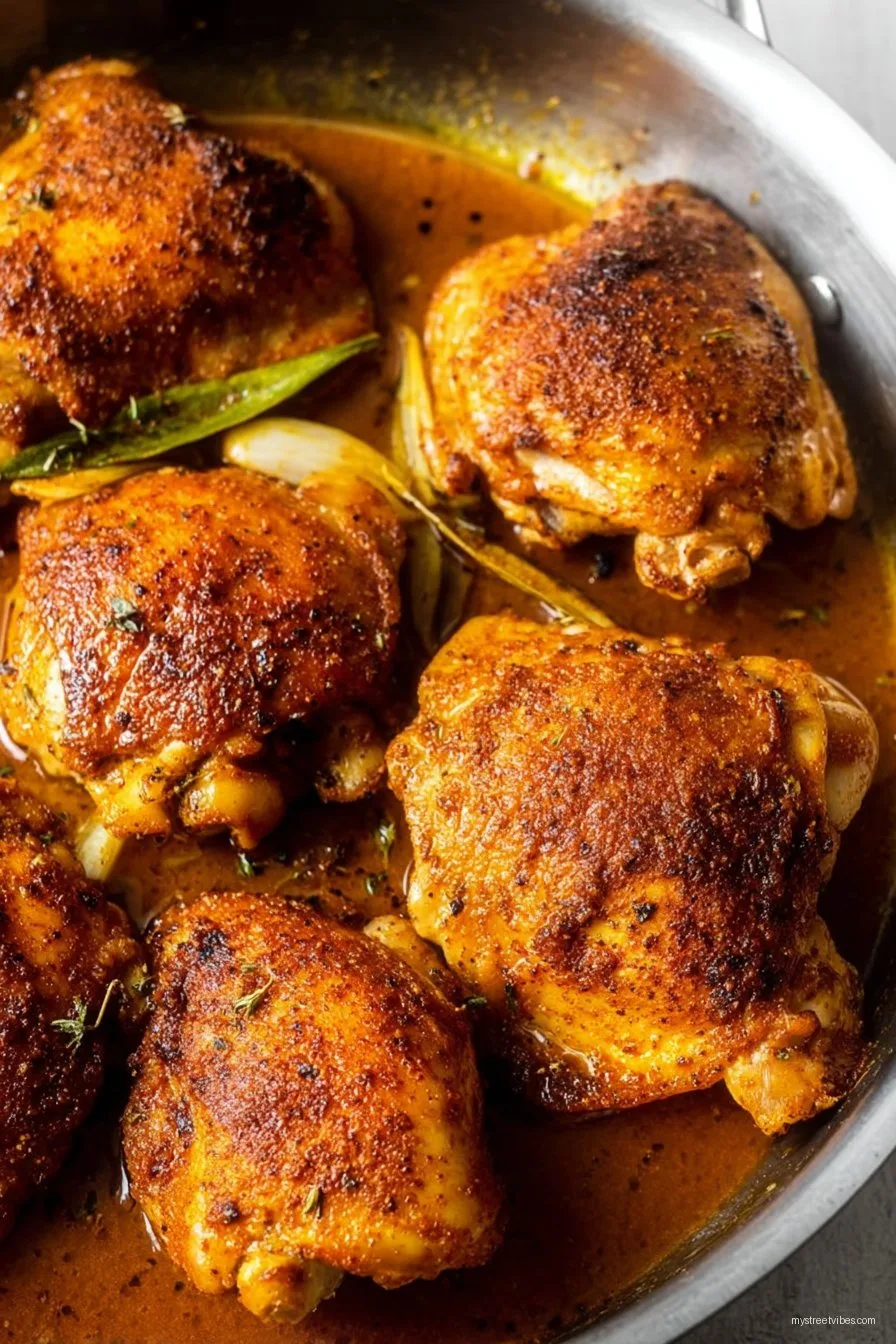
Let’s Chat About Pan Seared Chicken Thighs
Okay, so here’s the deal: I’ve probably cooked chicken thighs more times than I can count (and if you ask my family, way more than they’d want to admit, ha). You know the kind of recipe that’s just always there for you at the end of a weird Tuesday, when you’re not really sure if everyone WILL eat dinner but you soldier on anyway? That’s what these pan seared chicken thighs are to me. I first made them when I’d just moved into a tiny flat in Glasgow—it was raining sideways, my tin opener broke, and the smoke alarm did that special thing only rental smoke alarms can do. The smell, though! Oh my days, I knew I was onto something. Even managed not to set off the fire brigade that time.
By the way, I once tried to cook chicken thighs with nothing but a butter knife because I couldn’t find my tongs. (Pro tip: don’t do that, it’s proper daft.)
Why You’ll Probably Love This—Or At Least, Like It A Lot
I make this dish when I want proper golden, crispy skin but can’t be faffed turning on the oven (or, let’s be honest, cleaning it). My family goes a bit wild for the brown bits at the bottom of the pan! It’s fast, it’s cheap, and unless you wander off to check your phone like I’ve absolutely done, it’s pretty tough to mess up.
Sometimes, I get annoyed that the skin sticks (which is never fun), but honestly once you get the hang of leaving it be and not poking every two seconds, it comes good. And I’ve tried using chicken breasts, but everyone secretly prefers the thighs even if they claim otherwise.
Gather Your Ingredients (Or Whatever’s Close Enough!)
- 4 bone-in, skin-on chicken thighs (or boneless if, like me, you forget what you grabbed at the shop)
- 1 tablespoon olive oil (grandma always said to use brand X, but truthfully, supermarket stuff is fine)
- 1 tsp kosher salt (or sea salt—sometimes I use flaky Malden if I’m feeling posh)
- 1/2 tsp freshly cracked black pepper (though I got lazy and used pre-ground last week; all survived)
- 1/2 tsp smoked paprika (optional, but so tasty—sometimes I swap for chili powder for a little heat)
- 1/2 tsp garlic powder (if you’ve got fresh garlic, smash in a clove or two at the end)
- 1/2 tsp dried thyme, or a bit of fresh if you have it about
- Optional: Lemon wedges for serving (I forget these half the time)
How I Actually Cook These (Not Always Textbook!)
- Pat those thighs dry. Like, really dry. You can use a paper towel—or a clean tea towel if paper has mysteriously vanished since breakfast. Damp skin never crisps.
- Season like you mean it. Mix up your salt, pepper, and spices. Sprinkle the mix evenly over both sides (do it over the sink if you don’t want floors like the Sahara!).
- Heat your pan. Medium-high is the sweet spot. I use a big-ish cast iron skillet, but honestly nonstick or stainless both do the job, just watch for uneven hot spots. Flick a drop of water in—if it sizzles, you’re good.
- Add the oil and lay those thighs skin-side down. They should hiss at you a bit. Don’t crowd the pan; if they’ll overlap, cook in batches. And then—this is important—do not poke them for at least 5 minutes. It’s hard, I know.
- Flip ’em once the skin is deep golden brown. This is where I usually sneak a taste—strictly for quality control. Cook another 5-7 minutes. Don’t worry if they’re not done, we’ll fix that in a sec.
- Lower the heat. If you see the skin threatening to burn or the oil going a bit mad, turn it down. Add a splash of stock or water (a cheeky wine splash works too) and cover for another 3-5 minutes so the insides are juicy.
- Rest before serving. Let them hang out for a few minutes. This is when I usually start cleaning but never finish.
- Serve with lemon wedges if you remembered them. Or just dig in—I won’t tell.
Notes: Stuff I Wish I’d Known Earlier
- If your pan is too cold, you’ll get floppy skin. Ew.
- Using boneless works, but you’ll want to cut the cooking time by a couple minutes either side. (Alternatively, use a thermometer if you’re fancy—but I rarely do.)
- Actually, I find it works better if you crack open a window. Chicken fat likes to announce itself to the neighbours!
- The sauce at the bottom makes a brilliant drizzle—just spoon off a bit of fat first, unless you love things mega rich.
Some Ways I’ve Tweaked Things (With Mixed Results)
So, once I tried adding honey and a bit of Dijon at the end. It was almost amazing, but went from sticky to burnt in seconds; wouldn’t do that unless you’re watching like a hawk. Lately, I swap smoked paprika for za’atar or toss in thin sliced onions to caramelize under the thighs. Sometimes, I get wild and add sliced chorizo for a Spanish-ish vibe. Chicken breast? Meh, it’s never as juicy, but let your heart decide.
Equipment: Use What You’ve Got (Mostly)
- Large skillet (cast iron is king but honestly, any frypan will do—once I used a wok and survived)
- Tongs (or a spatula—I mean, I’ve even used two forks in a pinch!)
- Paper towels
No meat thermometer? Poke a little near the bone: juices should run clear. Not scientific, just classic mum tactics.
Storing Leftovers (Assuming Miracles Happen)
Pop ’em in a dish with a lid or wrap in foil and stash in the fridge—good for two, maybe three days at a really wild stretch. But honestly, in my house, it never lasts more than a day. Cold chicken the next morning is its own reward, I reckon!
How I Love To Serve These Up
Most nights these hit the plate with some mashed potatoes and whatever green veg didn’t collapse in the crisper drawer. If it’s just me, I’ll throw on some rice and call it dinner. My youngest loves dunking these in quick-mix gravy—no shame in that! OH, and if you’ve got leftover chicken, they make epic sandwich fillers.
Remember These If You Want to Avoid My Mistakes
- Don’t rush the first sear—once, I did and ended up with rubber bands instead of crispy skin. Regret!
- If you use too much oil, things get greasy fast; just a splash is enough. Actually, I think I’ve learned less is more here.
- Covering the pan for a bit keeps the chicken juicy, but keep watch so the skin doesn’t get sad and soggy.
FAQ: Stuff People Actually Ask Me (I Swear!)
- Can I use chicken breasts instead of thighs? Sure, you can, but I think they dry out faster. Lower the cook time, and maybe pound ’em a bit so they’re evenly thick. Or just embrace the thighs!
- What if I don’t have paprika? Just leave it out, or try a pinch of cumin—actually, any warm spice is worth an experiment. Let me know if you find a winner!
- How do I know they’re really done? I check that the juices run clear near the bone, or—if I’m being sensible—I use a meat thermometer (165°F/74°C inside) but honestly I’ve gone by feel more times than I’d admit to a pro chef.
- How do you keep the skin crispy? Two things: a dry pan and not touching them too soon. Oh, and don’t cover with foil afterwards. Trust me.
- Can I freeze leftovers? You probably can but the skin does go a bit flabby. I’d eat within the week though if you must!
P.S. If you’re looking for a full step-by-step photo tutorial, give this Bon Appétit guide a quick squiz. Otherwise, just trust yourself (and maybe give the pan a shake now and again, why not?).
Oh, random interjection: have you ever tried eating cold chicken standing in front of the fridge at 1am? It’s an underrated pleasure—like midnight tea, but with less ceremony and more napkins.
Ingredients
- 8 bone-in, skin-on chicken thighs
- 2 tablespoons olive oil
- 1 teaspoon kosher salt
- 1/2 teaspoon black pepper
- 1 teaspoon garlic powder
- 1 teaspoon paprika
- 1/2 teaspoon dried thyme
- 1/2 teaspoon onion powder
Instructions
-
1Pat the chicken thighs dry with paper towels and season both sides with salt, pepper, garlic powder, paprika, thyme, and onion powder.
-
2Heat olive oil in a large skillet over medium-high heat until shimmering.
-
3Arrange the chicken thighs skin-side down in the skillet. Cook undisturbed for 7-8 minutes until the skin is crispy and golden brown.
-
4Flip the chicken thighs and reduce heat to medium. Continue to cook for another 12-14 minutes, or until the internal temperature reaches 165°F (74°C).
-
5Remove from skillet and let rest for a few minutes before serving.
CLICK FOR NUTRITION INFO
↑
Approximate Information for One Serving
Serving Size:
1 serving
Calories:
350 caloriescal
Protein:
26gg
Fat:
26gg
Saturated Fat:
0g
Trans Fat:
0g
Cholesterol:
0mg
Sodium:
0mg
Potassium:
0mg
Total Carbs:
2gg
Fiber:
0g
Sugar:
0g
Net Carbs:
0g
Vitamin A:
0
Vitamin C:
0mg
Calcium:
0mg
Iron:
0mg
Nutrition Disclaimers
Number of total servings shown is approximate. Actual number of servings will depend on your preferred portion sizes.
Nutritional values shown are general guidelines and reflect information for 1 serving using the ingredients listed, not including any optional ingredients. Actual macros may vary slightly depending on specific brands and types of ingredients used.
To determine the weight of one serving, prepare the recipe as instructed. Weigh the finished recipe, then divide the weight of the finished recipe (not including the weight of the container the food is in) by the desired number of servings. Result will be the weight of one serving.
Did you make this recipe?
Please consider Pinning it!!