
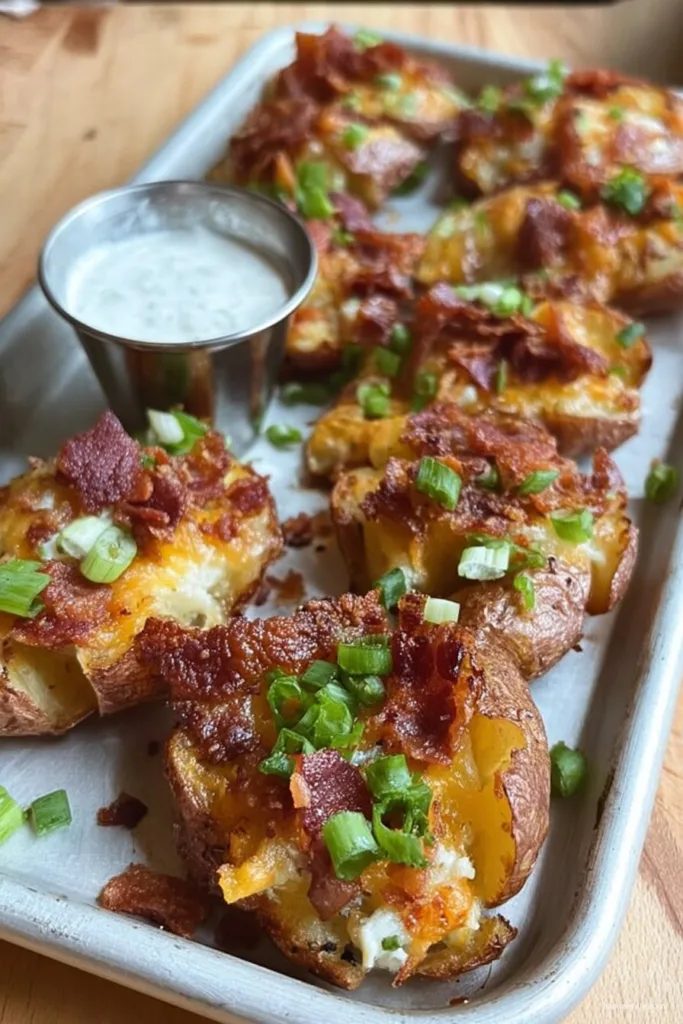
My Oddly Specific Love for Loaded Smashed Potatoes
I don’t know if it’s just me, but something magical happens when you combine potatoes, cheese, and a whole load of toppings (sometimes literally too many—I once ran out of tray space and had to pile them sky high). Anyway, I first made these loaded smashed potatoes for my cousin’s birthday and barely got a bite; folks pounced before I’d even put the tray on the table. Now I have to make a double batch if I want any leftovers. Or, you know, if I want to sneak some straight form the fridge after midnight (no judgement!).
Oh! Tangent—one time I tried making them after a long day at the shops and completely forgot to add the cheese until they’d nearly finished baking… I mean, not my finest hour, but hey, now I know that’s actually not the worst thing that can happen. More on that later.
Why You’ll Love This (Or, Why I Keep Making It Anyway)
I make this whenever my brain’s fried and I just want to eat something crispy and melty (the potato version of a big bear hug). My family’s obsessed—once my dad actually hid a tray in the garage in winter just so he’d have leftovers (it worked, I was too cold to venture out). These are the ultimate “feed a crowd without much fuss” recipe, unless you count scrubbing potatoes as a major life challenge—which, weirdly, I kind of do! But if you’re chill with a little elbow grease, well. You’re gonna want these on repeat.
What You’ll Need to Make These Spuds (Plus Those Little Swaps I Always End Up Doing)
- About 1 kg (2 lbs) small potatoes (baby Yukon Gold, red potatoes, or honestly, whatever looks cute at the market—sometimes I mix in a couple sweet potatoes for fun, though they mush more)
- 2-3 tablespoons olive oil (sometimes I grab avocado oil if I’m feeling posh)
- Salt and pepper (my gran swore by Maldon flakes, but table salt totally works too)
- 1 cup shredded cheddar cheese (swap: Jack, Swiss, or, in emergencies, a mystery bag of ‘pizza blend’ from the back of my fridge)
- 3-4 rashers crispy bacon, crumbled (or skip for veggie, or use smoked paprika and a little olive oil for that fake bacon thing)
- 1/4 cup sour cream (Greek yogurt works great in a pinch, mayo once worked but, hmm, I wouldn’t recommend)
- 2 green onions (scallions), sliced thin (red onion is okay if that’s all you’ve got, but it’s not quite the same)
- Optional: chives, a sprinkle of paprika, or hot sauce for serving
Cookin’ Directions (with Zero Pressure to Be Perfect)
- Preheat the oven to 220°C (425°F). If you remember—sometimes I totally forget and wonder why it takes forever.
- Boil potatoes: Pop your spuds in a big pot, cover with water. Bring to boil and let ‘em bubble for 15–20 mins, or until you can poke a fork through with about as much effort as finding your keys in a messy purse (so, not hard). Drain them well.
- Oil ’em up: Toss the potatoes with olive oil, salt, and plenty of pepper right on the baking tray (saves extra washing up. You’re welcome). Spread them out.
- Smoosh! Here’s the fun bit. Grab a potato masher or just a heavy mug—press each potato gently so it flattens and cracks open a bit, but don’t totally squish it into oblivion. (If they stick, I just use a spatula underneath.)
- Roast those smashed beauties for 25-30 minutes, until the edges look deep golden and you get that urge to just grab one and eat it plain. You can flip halfway if you’re feeling extra attentive, but usually I skip it.
- Add the love: Sprinkle on cheese and crumbled bacon, stick back in for 5–7 minutes, just until gooey. This is where I hover impatiently and, yes, occasionally burn my tongue on molten cheddar. Worth it, though.
- Top it off: Dollop with sour cream, shower on scallions and chives, then a smidge of paprika or hot sauce if you want a bit of jazz.
Serve warm, cold, or, as my cousin did once, straight off the tray with her fingers (not recommended, except when alone).
What I’ve Learned (a.k.a. stuff that’s gone sideways)
- If you overboil the potatoes until they split…well, they get extra crispy bits. Not a disaster, though.
- I once lined the tray with baking parchment and half the cheese stuck. Now I just do it straight on the tray, little oil helps nothing sticks.
- Pre-shredded cheese is easier, but can end up a bit plasticky. Sometimes, though, that’s all I’ve got (and honestly, who’s judging?).
Fun Variations I’ve Tried (or, Why Not?)
- Spicy version: a sprinkle of chili flakes and pepper jack cheese (my sister’s fave).
- Veggie swap: mix in roasted veggies like peppers—tasty! But, I once tried with broccoli and it just sorta fell off. Wouldn’t recommend.
- Everything Bagel style: a handful of everything bagel seasoning sprinkled before baking, which is unexpectedly awesome (give it a whirl, if you’re into that kind of thing).
Equipment You *Might* Need (But Improv Works Too!)
- A sturdy baking tray—though my cousin once made them right on foil layered over a toaster tray. Bit chaotic, but it did work, sort of.
- Potato masher (a heavy mug works in a pinch, or I’ve just used my palm in a hurry… messy, but effective.)
- Big pot—if you don’t have one, do the potatoes in batches (I’ve used a kettle once for boiling teeny potatoes… wasn’t my most organized day!)
If There Are Leftovers, Read On (But There Usually Aren’t)
Honestly, these never last long in my house—usually a couple sad potatoes wandering the fridge the next day. But, you can store leftovers in an airtight container in the fridge for up to 3 days. I think they taste even better the next day; just reheat in the oven for a few mins for max crispiness. Microwaving…eh, not as good, but still gets the job done if you’re in a rush.
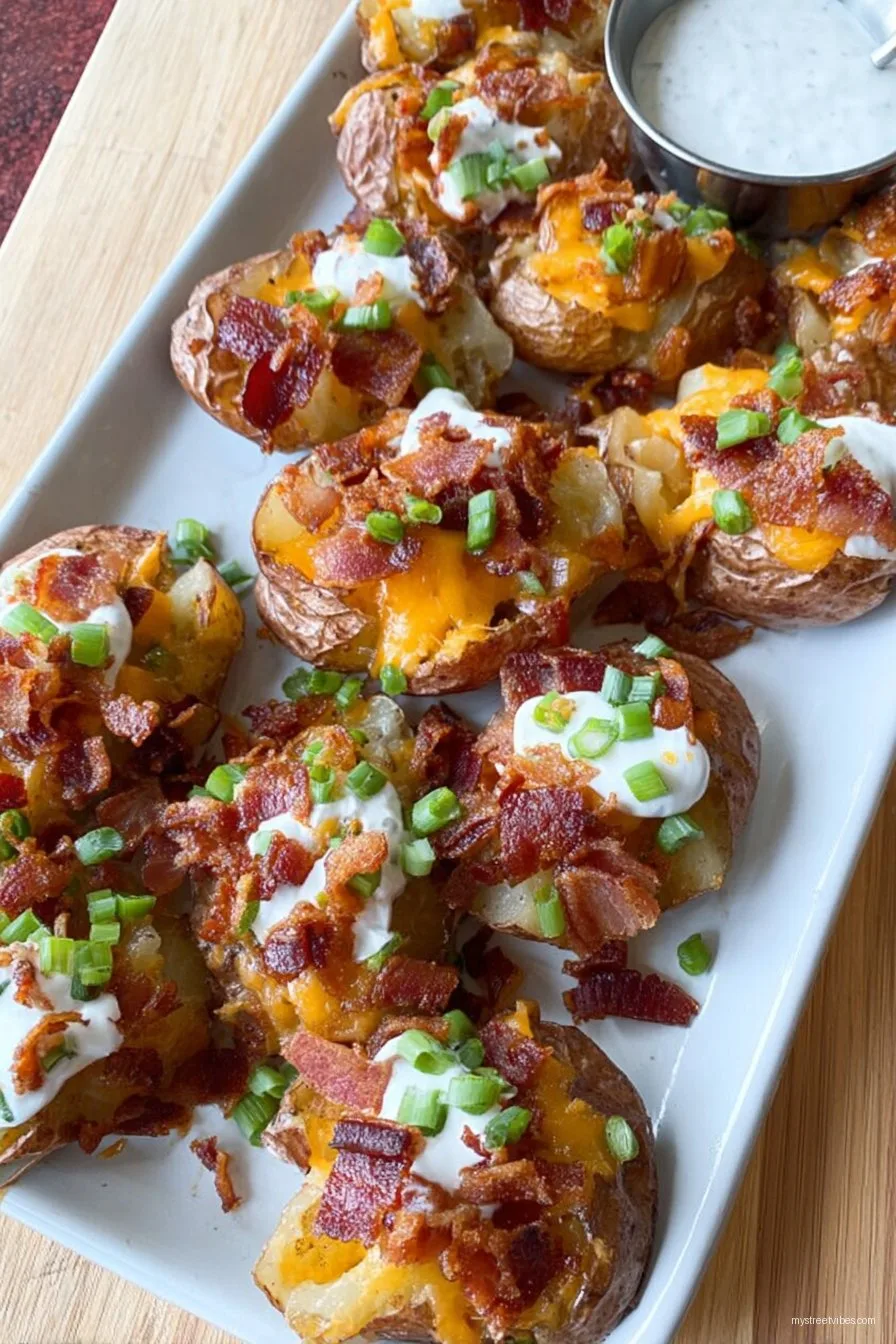
How I Like to Serve ‘Em (A Family Thing, Sorta)
I love piling these onto a big platter with a heap of freshly chopped herbs (parsley, whatever’s in the garden, or that tired bunch from the back of the fridge). Family tradition? We serve smashed potatoes alongside burgers in summer, but honestly, they’re a meal all by themselves with a big salad on the side. Or just hide them from the rest and call it a cook’s treat.
You Live, You Learn: My Pro Tips (Learned the Hard Way)
- Don’t try to smash them while they’re still piping hot—I’ve done this (ouch); patience pays off.
- I rushed the roasting once to “save time”—bad idea. They, well, aren’t nearly as crispy if you try to shortcut this step.
- Adding too much cheese before roasting can mean the cheese burns before the potatoes crisp. Actually, I find it works better if you add it near the end.
Frequently Asked Questions (And, Yep, Some Are From My Friends)
- Can I use big potatoes? Sure, just cut them into chunks first. Might look a bit messier, but works in a pinch.
- Any way to make it vegan? Oh, totally! Use olive oil, skip bacon, and grab your fave vegan cheese (I like the Violife one, but this DIY vegan parm works too).
- Can you freeze these? Not a fan. They get a little weird in texture. But if you must, freeze after roasting and before toppings, then finish when you reheat.
- Why are mine sticking? Ugh, that’s the worst! Make sure you oil your tray well, or give nonstick parchment a try (don’t use wax paper though—I have, and it’s a mess).
- Any good sides? I love them with a simple green salad or with soup for a cozy dinner.
If you want to geek out on potato types, the Serious Eats guide is a fun read (maybe more fun than scrubbing potatoes, if I’m honest).

Ingredients
- 1.5 lbs baby potatoes
- 2 tablespoons olive oil
- 1 teaspoon garlic powder
- Salt and black pepper to taste
- 1 cup shredded cheddar cheese
- 4 slices cooked bacon, crumbled
- 1/3 cup sour cream
- 2 tablespoons chopped chives
Instructions
-
1Preheat the oven to 425°F (220°C). Line a baking sheet with parchment paper.
-
2Boil the baby potatoes in salted water for 15-20 minutes until fork tender. Drain thoroughly.
-
3Arrange the potatoes on the baking sheet. Gently smash each potato with a fork or potato masher to flatten.
-
4Drizzle the potatoes with olive oil and sprinkle with garlic powder, salt, and black pepper.
-
5Bake for 20 minutes until golden and crispy. Sprinkle cheddar cheese and bacon over the potatoes and bake for an additional 5 minutes until the cheese is melted.
-
6Top with sour cream and chopped chives before serving.
CLICK FOR NUTRITION INFO
↑
Approximate Information for One Serving
Serving Size:
1 serving
Calories:
320 caloriescal
Protein:
10 gg
Fat:
18 gg
Saturated Fat:
0g
Trans Fat:
0g
Cholesterol:
0mg
Sodium:
0mg
Potassium:
0mg
Total Carbs:
31 gg
Fiber:
0g
Sugar:
0g
Net Carbs:
0g
Vitamin A:
0
Vitamin C:
0mg
Calcium:
0mg
Iron:
0mg
Nutrition Disclaimers
Number of total servings shown is approximate. Actual number of servings will depend on your preferred portion sizes.
Nutritional values shown are general guidelines and reflect information for 1 serving using the ingredients listed, not including any optional ingredients. Actual macros may vary slightly depending on specific brands and types of ingredients used.
To determine the weight of one serving, prepare the recipe as instructed. Weigh the finished recipe, then divide the weight of the finished recipe (not including the weight of the container the food is in) by the desired number of servings. Result will be the weight of one serving.
Did you make this recipe?
Please consider Pinning it!!


