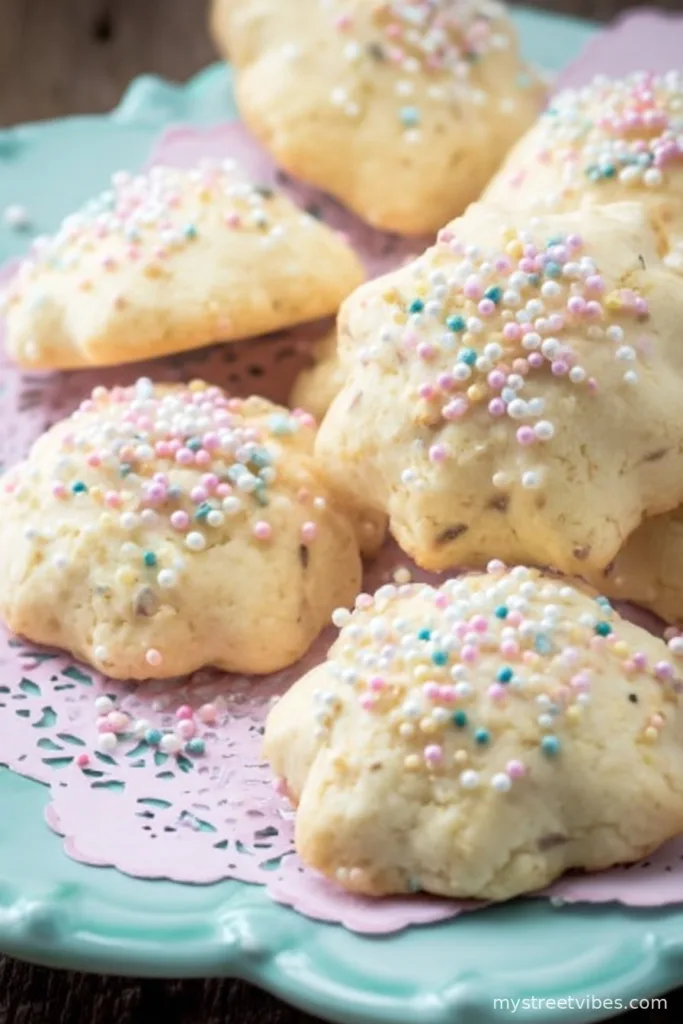
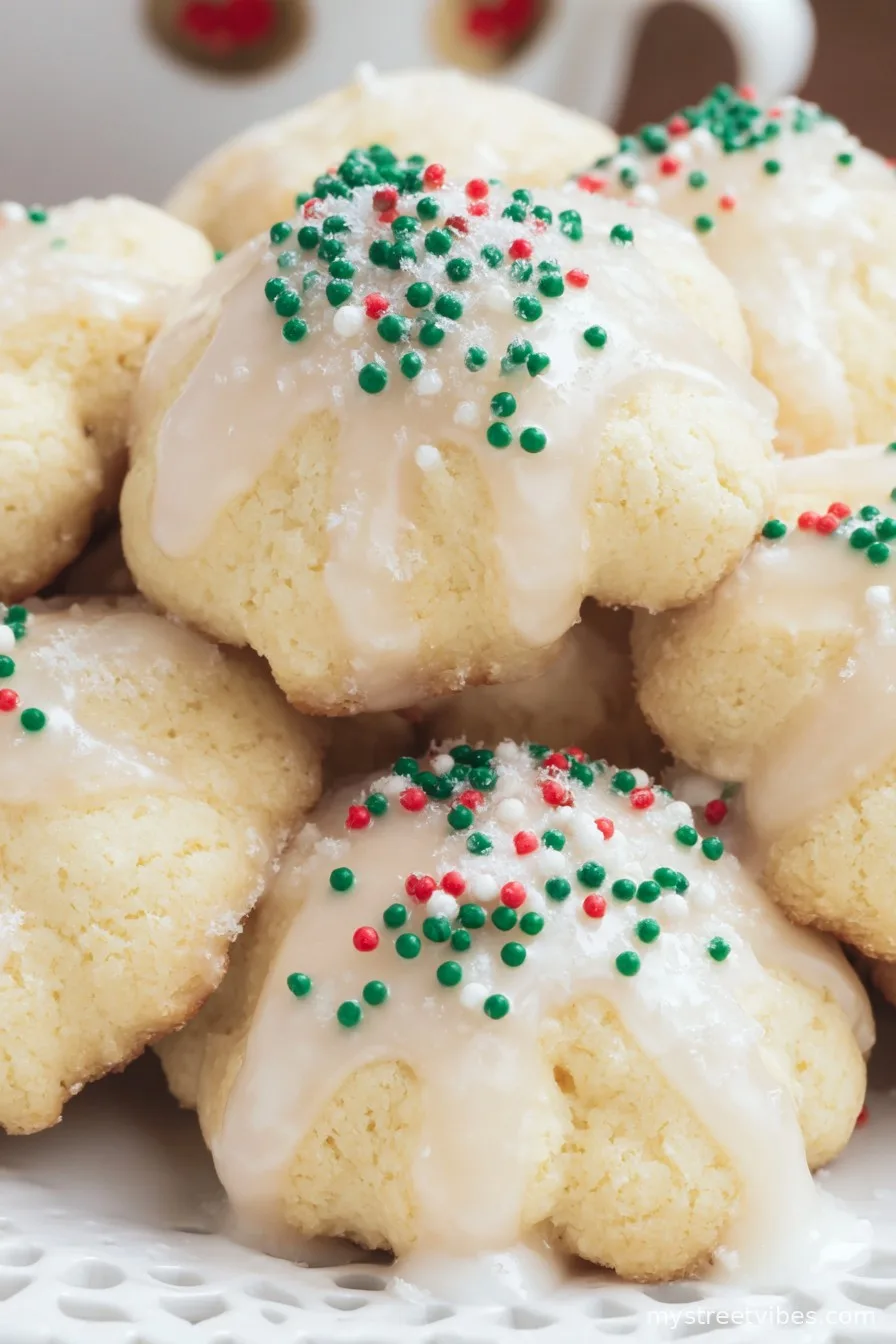
So, Let’s Talk About These Italian Anise Christmas Cookies…
You know, just saying “Italian Anise Christmas Cookies” makes me feel like I’m right back in my Nonna’s not-so-big kitchen, dodging my cousin’s sticky fingers and pretending not to care who’s licking the spoon. Actually, these cookies are the reason I learned to fight (nicely) over the last batch left on the tray—they’re that good. And here’s the real confession: even after all these years, I still can’t manage not to sneak a couple warm from the oven with a coffee, even when I know I’ll burn my tongue. Worth it every time.
Why I Keep Coming Back to This Recipe
I make these whenever anyone in the family is feeling nostalgic—or when it’s one of those slightly gloomy days and I just need the house to *smell* like love. My niece always claims the ones with the most sprinkles (totally fair, to be honest), and I keep a not-so-secret stash for myself. (Who else feels like rolling dough is underrated therapy?) Oh, and if you’ve found the whole anise thing a bit much, you’re not alone—I used to only make half the batch with it until I realized… the flavor sort of mellows by day two, which is almost better than day one; controversial opinion, I know.
What You’ll Need (Give or Take)
- 3 cups all-purpose flour (sometimes I swap in 1/4 cup almond flour if I’m feeling fancy, but regular is just fine—I promise)
- 1/2 cup unsalted butter, softened (my grandmother insisted on Kerrygold, but truly, whatever’s in the fridge works)
- 1 cup granulated sugar
- 3 large eggs
- 1 tablespoon anise extract (I’ve tried anise liqueur too—just use a smidge less, or it’s, well, a wild ride)
- 2 teaspoons baking powder
- 1/4 teaspoon salt (or a smidge more if you like savory-sweet things)
- Zest of 1 lemon (some folks go orange, but lemon keeps it brighter, I think)
- 2 tablespoons milk (any kind, really—I’ve even used oat, just don’t tell Nonna)
For The Icing:
- 1 1/2 cups powdered sugar
- 2-3 tablespoons milk (you’ll add gradually—consistency is everything here)
- 1/2 teaspoon anise extract, or vanilla is fine if you’re not all-in on the anise thing
- Sprinkles! (Rainbow nonpareils are classic, but one time I used cricket-shaped sugar bits for a laugh—10/10 do not recommend, looks-wise)
Let’s Make Some Magic
- Cream butter and sugar. In a big mixing bowl, beat the butter and sugar together until it’s all pale and fluffy. (This takes a solid 2-3 minutes, and yes, you can use your stand mixer or just a hand mixer and lots of enthusiasm—I’ve done both, depending on how many cookies I’m making.)
- Add eggs one at a time. Crack ‘em in, one after the other, and mix each in before the next joins the party. The batter might look a bit weird right now—kind of gloopy?—but that’ll change once the flour goes in, promise.
- Pour in anise extract and lemon zest. Stir well. (Sometimes I sniff the bowl because it smells amazing; is that just me? No? Good.)
- Combine your dry stuff. In a separate bowl, mix together flour, baking powder, and salt. No need to sift—unless you’re feeling extra, then by all means, get sifting.
- Fold dry into wet. Add about a third of the flour at a time, mixing slowly. Switch to a wooden spoon when things get really thick—unless you’re aiming for a flour explosion.
- Add milk. Drizzle the milk in just until the dough comes together. It should be soft—not overly sticky but not dry. If it clings to your hands a bit, you’re on the right track.
- Shape into balls. Scoop out about a tablespoon of dough and roll into little balls—maybe walnut sized. Place these onto parchment-lined baking sheets, an inch apart. (I always wind up with dough on my shirt. Occupational hazard.)
- Bake. Into a preheated oven at 350°F (175°C) for 10-12 minutes; tops should be pale, bottoms just barely golden. And my word, the smell is half the reward.
- Cool completely. Try to avoid eating them at this stage. (Or don’t, who am I to judge?)
- Mix up the icing. Whisk powdered sugar, milk (a little at a time), and anise extract until you get a thick-yet-drizzly glaze. Adjust milk as needed. Taste a dab; adjust if you need to.
- Dip and decorate. Dunk the tops of each (cooled! trust me) cookie into the icing, then immediately shower with sprinkles. Let them set on a rack or parchment—this is where I lose patience and start eating again.
Some Notes Form the Trenches
- I once doubled the anise by accident; the kitchen smelled like a licorice factory. Not… terrible, but maybe dial it back for sensitive noses.
- If your glaze looks like glue, just add a squirt more milk; fixable!
- Day-old cookies? Even better, actually—something about letting them sit overnight brings out the flavor.
- On second thought, if the dough is super sticky, chill it for half an hour. Saves you grief and sticky palms.
- Baking sheets: parchment is your friend, but, hey, foil worked in a pinch when I ran out last Christmas.
Variations I’ve Actually Tried (and a Few Flops)
- Lemon glaze. Omit the anise, use straight lemon juice/zest in the icing. It’s zingy and fresh—totally different vibe.
- Gluten-free attempt. Swapped in 1:1 GF flour, and they were decent, but a bit crumbly. Not my top pick, but for friends who need it, not bad.
- Chocolate chips added. Nope. Too strange, honestly—I’ll just stick to sprinkles or plain, thanks.
- Castagnole-style (fried instead of baked). Fun experiment! Takes longer but extra puffy. But I usually go baked for easy cleanup.
If You Don’t Have All the Equipment (No Biggie)
No stand mixer? Just use a big old mixing bowl and a wooden spoon (and maybe some elbow grease)—it’s good for the soul. Forgot your cookie scoop? A teaspoon and your hands will do. And I’ve even baked these right on a greased sheet pan when I couldn’t find parchment; just watch for sticking.
Keeping ‘Em Fresh—Not That They Ever Last
Pop these in an airtight tin or container, and they’ll stay tender for 4-5 days at room temp. But honestly, in my house, they’re gone by the second day—so don’t worry too much. If you hide a few, they’re excellent with morning coffee, even day three onward.
How We Serve Them (and a Totally Unrelated Story)
Okay, serving suggestions—my family puts them out in a big bowl with espresso and a splash of sambuca on Christmas Eve (adults only for the sambuca, obviously). My uncle likes to turn any excuse into a coffee break, so these show up on random Sundays, too. Oh, once I tried to stack them into a cookie tree, but they kept tumbling off—looked a bit like a holiday disaster, but still tasted great!
Here’s What I Wish I’d Known (Pro Tips)
- I once thought chilling the dough was needless, but if your kitchen’s warm, skip it and you’ll spend forever cleaning sticky dough. Lesson learned.
- Don’t rush the icing—if the cookies are warm, it just slides right off. I tried quick-setting one year (hairdryer, don’t ask), but patience truly tastes better.
- Stack cooled cookies with wax paper between layers if you’re gifting them—unless you want sprinkle smudges everywhere.
Real Questions People (Okay, Mostly Friends) Have Asked
Do I have to use anise extract? Nope, you can totally do vanilla, lemon, or almond. Or skip flavoring in the icing for a simpler cookie.
Can I freeze the dough? Sure thing! Scoop into balls, freeze on a tray, then bag them up. Bake from frozen—just tack on 1-2 minutes.
My dough is sticking like crazy—help? Try chilling it for a bit, or flour your hands. And keep a bench scraper close by; such a lifesaver (here’s one I like to use: King Arthur Bowl Scraper).
Can I make these ahead? Yes! (And honestly they taste even better, in my humble opinion, after a rest. Go figure.)
Is there a nice box for gifting? Oh, yes—I’ve been happy with these from Paper Mart. They fit a dozen easily, and sprinkles don’t get squished.
Anyway—if you try these out, let me know how your batch turns out! And if you want a peek at how other folks decorate their Italian Christmas cookies (or need abrupt bursts of holiday joy), just scroll through these on Instagram—so much inspiration. Happy baking, my friend. Don’t burn your tongue. (Actually, you probably will, but let me know if you figure out how not to!)

Ingredients
- 3 cups all-purpose flour
- 2 teaspoons baking powder
- 1/4 teaspoon salt
- 1/2 cup unsalted butter, softened
- 1/2 cup vegetable oil
- 1 cup granulated sugar
- 3 large eggs
- 1 tablespoon anise extract
- 2 cups powdered sugar (for glaze)
- 3–4 tablespoons milk (for glaze)
- Colorful sprinkles (for decoration)
Instructions
-
1Preheat the oven to 350°F (175°C) and line two baking sheets with parchment paper.
-
2In a bowl, whisk together flour, baking powder, and salt; set aside.
-
3In a large mixing bowl, beat the butter, oil, and granulated sugar until light and creamy. Add eggs one at a time and beat until well combined.
-
4Mix in the anise extract. Gradually add the flour mixture and mix until a soft dough forms.
-
5Roll dough into 1-inch balls and place on prepared baking sheets. Bake for 10–12 minutes or until bottoms are lightly golden. Cool completely on a rack.
-
6For the glaze, whisk powdered sugar with enough milk to create a thick but pourable glaze. Dip cooled cookies into the glaze and top with sprinkles. Allow glaze to set before serving.
CLICK FOR NUTRITION INFO
↑
Approximate Information for One Serving
Serving Size:
1 serving
Calories:
90 caloriescal
Protein:
1gg
Fat:
3gg
Saturated Fat:
0g
Trans Fat:
0g
Cholesterol:
0mg
Sodium:
0mg
Potassium:
0mg
Total Carbs:
14gg
Fiber:
0g
Sugar:
0g
Net Carbs:
0g
Vitamin A:
0
Vitamin C:
0mg
Calcium:
0mg
Iron:
0mg
Nutrition Disclaimers
Number of total servings shown is approximate. Actual number of servings will depend on your preferred portion sizes.
Nutritional values shown are general guidelines and reflect information for 1 serving using the ingredients listed, not including any optional ingredients. Actual macros may vary slightly depending on specific brands and types of ingredients used.
To determine the weight of one serving, prepare the recipe as instructed. Weigh the finished recipe, then divide the weight of the finished recipe (not including the weight of the container the food is in) by the desired number of servings. Result will be the weight of one serving.
Did you make this recipe?
Please consider Pinning it!!