Homemade Apple Pie: So Here’s My (Not-So-Secret) Family Method
Hey friend, ever feel like homemade pie is something only grandmas or pie-crazed aunts are born knowing how to make? (Honestly, my first pie looked… well, like a pancake with a crust hat.) But over the years, and after a very memorable Thanksgiving where the apples kind of boiled over into the oven (so glad for that old baking sheet), I’ve fine-tuned a pie that I actually look forward to making—even on a lazy Sunday. Not perfect, but always delicious. And I sort of think the wonky-looking ones taste better. Or maybe that’s just my excuse when it comes out lopsided?
Why You’ll Love This Pie (Or Why I Keep Making It…)
I make this whenever the apples on my neighbor’s tree start dropping. My family goes wild for it—seriously, my sister threatens to eat it straight form the dish if I’m not looking. Sometimes it’s just for the sweet smell it brings (trust me, nothing beats cinnamon and apples bubbling away). I’ve tried the fancy lattice crust and all, but usually I just slap that dough on top and call it a day. And if you’ve ever had soggy-bottom-pie syndrome (I’m waving at you, Paul Hollywood), this is the recipe that finally fixed it… well, mostly.
Gather This Stuff: Ingredients (with My Swaps)
- 6-8 apples (I love Granny Smith for tang, but Honeycrisp or Gala when I want it sweeter—sometimes I mix ‘em. My grandmother swore by Cortland, but honestly, you do you.)
- 2/3 cup sugar (brown or white, or half and half if you’re indecisive like me)
- 2 tbsp all-purpose flour (or cornstarch—handy if you’ve run out, which I do, a lot)
- 1 tsp ground cinnamon (a big heaping teaspoon, who’s counting)
- 1/4 tsp nutmeg (I grate it fresh if I’m feeling posh, but jarred works fine—no judgments)
- 1/4 tsp salt (just a pinch really, but I wrote it for you)
- 2 tbsp lemon juice (or apple cider vinegar in a pinch, gives a nice zing)
- 2 tbsp butter (dabbed in little pats, or sometimes I forget and chuck it in late)
- 1 package of pie dough (yes, store-bought is fine, but homemade is better—it’s not that scary; Sally attacks it here)
- 1 egg + a splash of milk (for that shiny golden thing called an egg wash. Optional.)
Let’s Make Pie (Don’t Stress If It Gets Messy)
- Preheat your oven to 425°F (220°C). Sometimes I forget this and have to awkwardly pause everything while the oven gets up to temp. Happens to the best of us, right?
- Peel, core, and slice those apples. No need for perfect slices—use a knife or a corer if you’ve got one, or just hack at ‘em. Thinner = more tender. I munch on a slice or two (quality control!)
- In a big bowl, toss apples with sugar, flour, cinnamon, nutmeg, salt, and lemon juice. I like to use my hands but you can use a spoon. It’ll look a bit gloopy; that’s totally normal.
- Roll out your pie dough. If it cracks, just smoosh it back together, pie dough is forgiving (or at least, that’s what I tell myself each time). Line your pie dish, trim edges if they bother you—scraggly looks rustic though.
- Dump the apple mixture in. Add butter pats over the apples. Honestly, if you forget, you can dot ‘em on after the top goes on—melted butter finds its way.
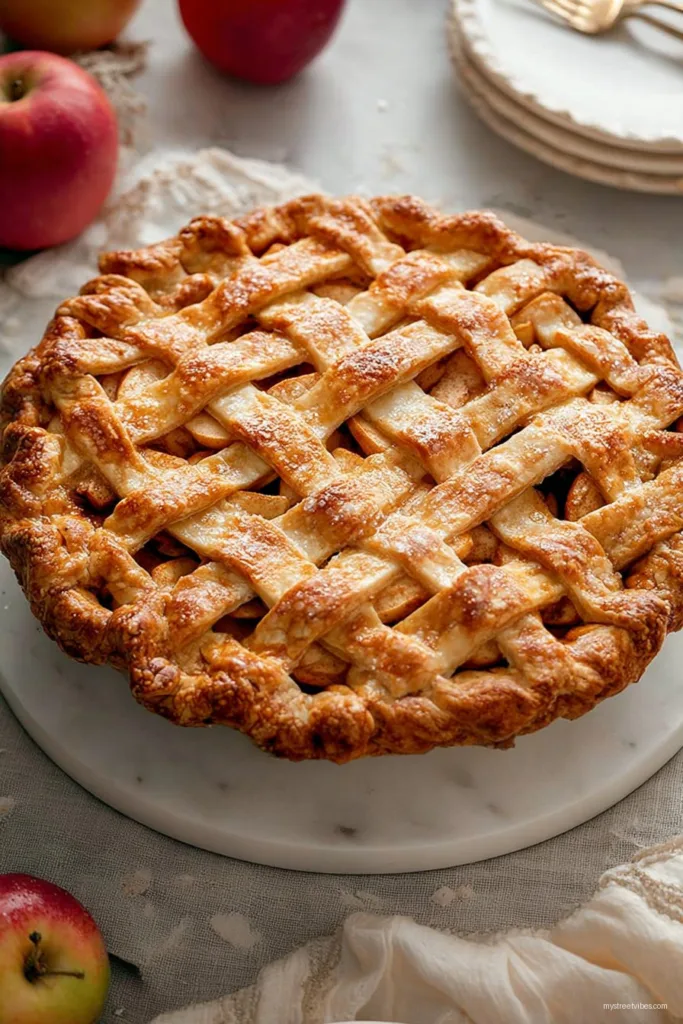
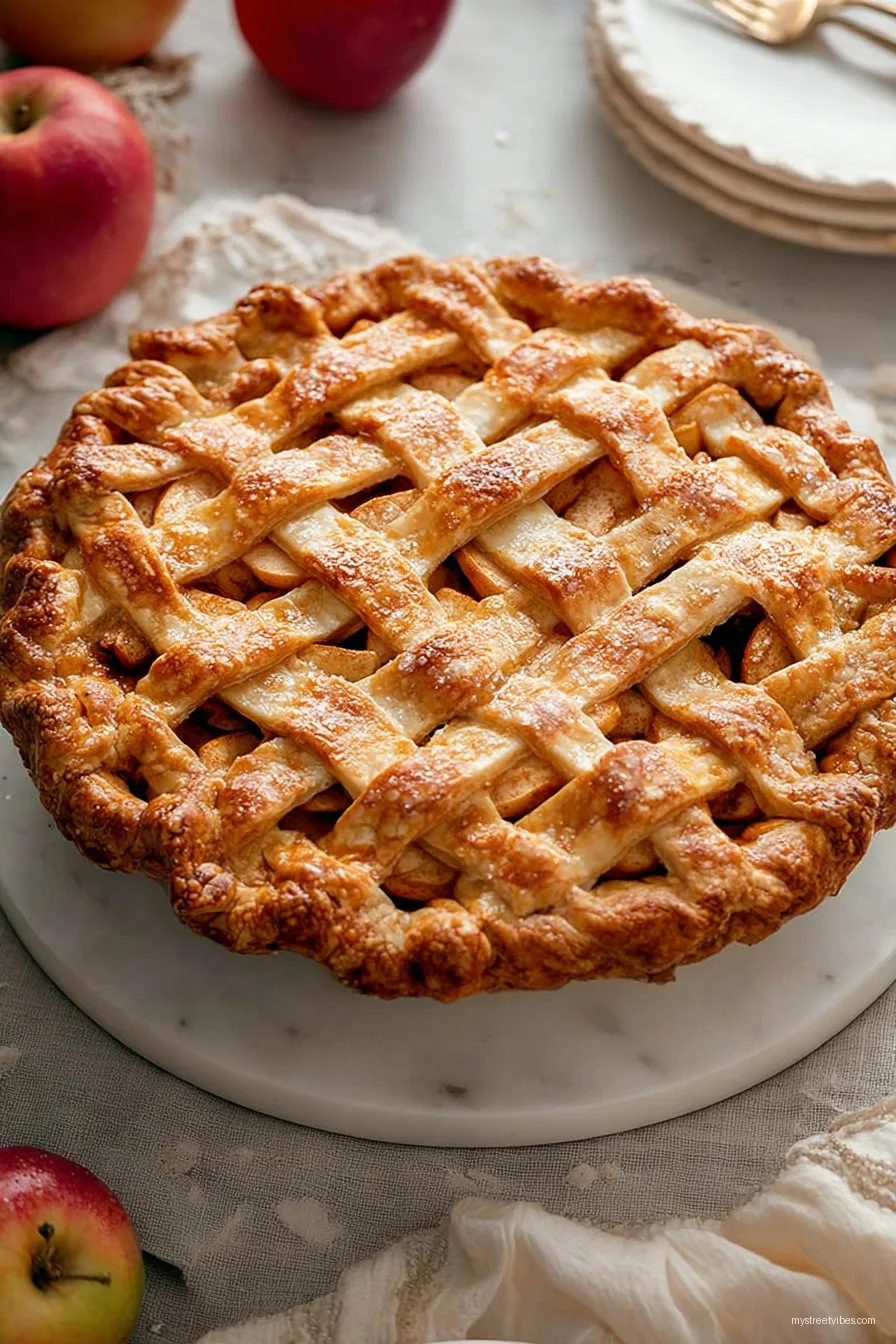
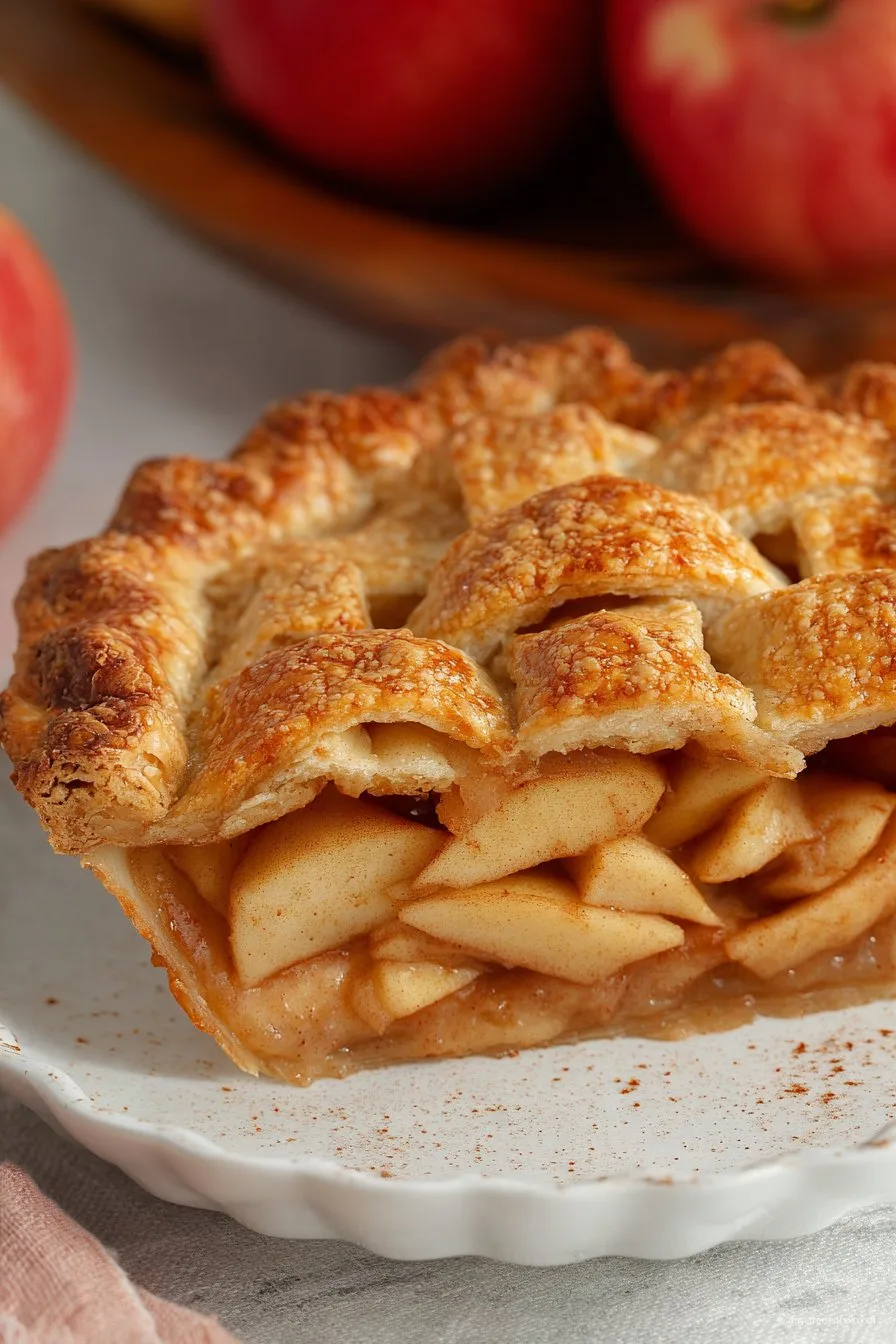
- Cover with another round of dough (classic) or try a lattice if you’re feeling artistic. Pinch the edges with your fingers or a fork. Cut a few vents so the steam escapes—don’t skip this, or it’ll get weirdly bubbly (my whole crust once rose up like a balloon; true story).
- Brush with egg wash, if using. It gets golden and pretty, but no biggie if you skip it.
- Bake for 20 minutes at 425°F, then drop the heat to 375°F (190°C) and bake another 30-35 min. If the edges brown too fast, shield with foil (or that snazzy silicone ring, if you’ve got one—mine’s always missing).
- Done when the crust is golden and juices are bubbling through the vents. Cool for at least 2 hours, though I am terrible at waiting and usually cut in at 30 minutes (don’t do that unless you like pie soup).
Stuff I’ve Learned Along the Way (Aka: Notes)
- If your filling seems too dry, splash a bit more lemon juice or even water. I once tried to fix it with milk. Not my brightest idea. Got pudding instead.
- The pie is way easier to slice the next day (if you can wait!)
- Sometimes apples give off too much juice—dust a little extra flour or even a bit of oats at the bottom, like a secret shield.
- Crust edges burning? I just crimp tinfoil around them—rustic and effective, and one less gadget to store.
If You Want to Tweak It – Here’s Some Pie Experiments
- Toss in a handful of cranberries or raspberries for zing (my neighbor calls it “breakfast pie”)
- Swapped the apples for peaches once—not my best work, kind of soupy, but maybe you’ll have better luck
- Add a splash of vanilla or almond extract into the filling; both are great, but almond is surprisingly fancy
- Sub half the sugar with maple syrup if you’re feeling Canadian, though the filling runs a bit more but it’s tasty
Do You Actually Need Fancy Equipment?
A pie dish makes life easier, but one summer I used a battered old cake tin—worked fine (looked rustic, but who cares). No pastry blender? Just chop the butter into flour with two knives like you’re waltzing (or hacking, in my case). If you have a food processor, it makes dough in a blink, and you barely have to clean anything except, well, the processor.
How to Keep This Pie (If That’s Even a Problem)
It’ll live happily on the kitchen counter (covered loosely) for 2 days, or in the fridge for a week—but honestly, in my house it never lasts more than a day. If you actually want to freeze it, wrap cooled slices in foil and bag ‘em. Defrost in the fridge or just microwave if you’re really impatient (been there).
How We Eat It (And You Should Try This Too)
My favorite? Slightly warm, with a dollop of clotted cream or “proper” vanilla ice cream (my uncle swears by cheddar cheese, which I didn’t believe until I tried it—a bit bonkers, but good). Sometimes we have it with hot tea after Sunday lunch, though it’s equally good with cold milk straight from the bottle.
Pro Tips Straight from My Messy Kitchen
- I once tried making the filling ahead and storing it overnight—turns out, the apples go a bit too soft. Better to make and bake the same day.
- Don’t rush chilling the dough. I once tried to roll warm dough and it stuck everywhere—utter disaster.
- Use cold butter, always. If it’s soft, you’ll get pasty, melty dough. Which, fine, but it’s not flaky like you want.
Questions? Yep, I Get These a Lot
- Can I use canned apples? Sure—it’s not quite the same but it’ll work in a pinch. Drain off as much liquid as possible though, or it’ll get soupy. Been there, learned that the hard way.
- Is it okay to skip the egg wash? Absolutely. Your pie will look more “country” but will taste the same.
- How do I get a really flaky crust? Cold butter, and don’t overwork it. Actually, I find it works better if I leave some pea-sized chunks of butter—when they melt, magic happens.
- My crust is always soggy underneath—why? Preheat a baking sheet in your oven and place the pie dish on top. Or try a glass dish so you can peek underneath. Or just decide you love soggy pies, like my cousin does.
- Do I have to peel the apples? No, but the peels get kinda chewy. Some people love that though, so up to you. I skip peeling if I’m feeling lazy (sorry, grandma!).
- What apples are best? Up to you! I like a mix. You can check apple types on Allrecipes. Just avoid Red Delicious—not so delicious in pie, in my opinion.
And there you have it. Homemade apple pie, as real as it gets, complete with messes, shortcuts, a little wonkiness, and a whole lot of love. If anything turns out odd, well—welcome to the club!
Ingredients
- 2 1/2 cups all-purpose flour
- 1 cup (2 sticks) unsalted butter, chilled and cubed
- 1 teaspoon salt
- 6-8 tablespoons ice water
- 6 cups peeled, cored, and sliced apples (Granny Smith or Honeycrisp)
- 3/4 cup granulated sugar
- 1/4 cup brown sugar
- 2 tablespoons all-purpose flour
- 1 teaspoon ground cinnamon
- 1/4 teaspoon ground nutmeg
- 1 tablespoon lemon juice
- 1 egg, beaten (for egg wash)
Instructions
-
1In a large bowl, mix 2 1/2 cups of flour and 1 teaspoon salt. Cut in the chilled butter until mixture resembles coarse crumbs. Gradually add ice water and mix just until dough forms. Divide, shape into disks, wrap, and chill for at least 1 hour.
-
2Preheat oven to 425°F (220°C). In another bowl, combine apples, granulated sugar, brown sugar, 2 tablespoons flour, cinnamon, nutmeg, and lemon juice. Toss until apples are well coated.
-
3Roll out one dough disk to fit a 9-inch pie plate. Place crust in pie plate and fill with prepared apple mixture. Dot with a few small pieces of butter if desired.
-
4Roll out second dough disk and place over filling. Trim, seal, and crimp the edges. Cut a few slits in the top crust to vent. Brush with beaten egg.
-
5Bake for 45-55 minutes, until crust is golden and filling is bubbling. If needed, cover edges with foil to prevent over-browning. Cool before slicing and serving.
Approximate Information for One Serving
Nutrition Disclaimers
Number of total servings shown is approximate. Actual number of servings will depend on your preferred portion sizes.
Nutritional values shown are general guidelines and reflect information for 1 serving using the ingredients listed, not including any optional ingredients. Actual macros may vary slightly depending on specific brands and types of ingredients used.
To determine the weight of one serving, prepare the recipe as instructed. Weigh the finished recipe, then divide the weight of the finished recipe (not including the weight of the container the food is in) by the desired number of servings. Result will be the weight of one serving.
Did you make this recipe?
Please consider Pinning it!!
