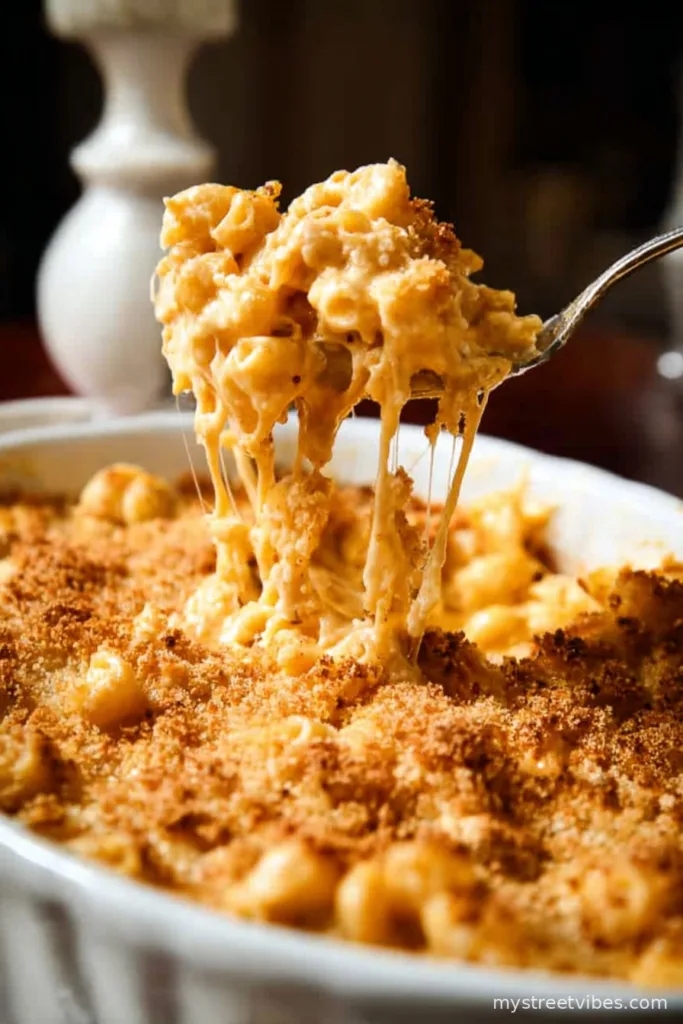
Alright, friend, let me tell you about Grandma’s Old Fashioned Baked Macaroni and Cheese—and why it’s hands-down the coziest thing in my cookbook (if I can even call my scattered recipe notes a cookbook). There’s just something magic about pulling a big bubbling pan of cheesy goodness out of the oven that makes me feel like a kid back in Nana’s sunny kitchen—her barking at me not to snack on the shredded cheddar (which, yes, I did anyway). I remember one time she tossed in some leftover ham and told us it was “for protein” but honestly, I think it was just to clean out the fridge. And I seriously considered making this my birthday dinner as a grown-up. Anyway, here’s the recipe—or at least, my wobbly version of it.
Why I Always Go Back to This Mac and Cheese
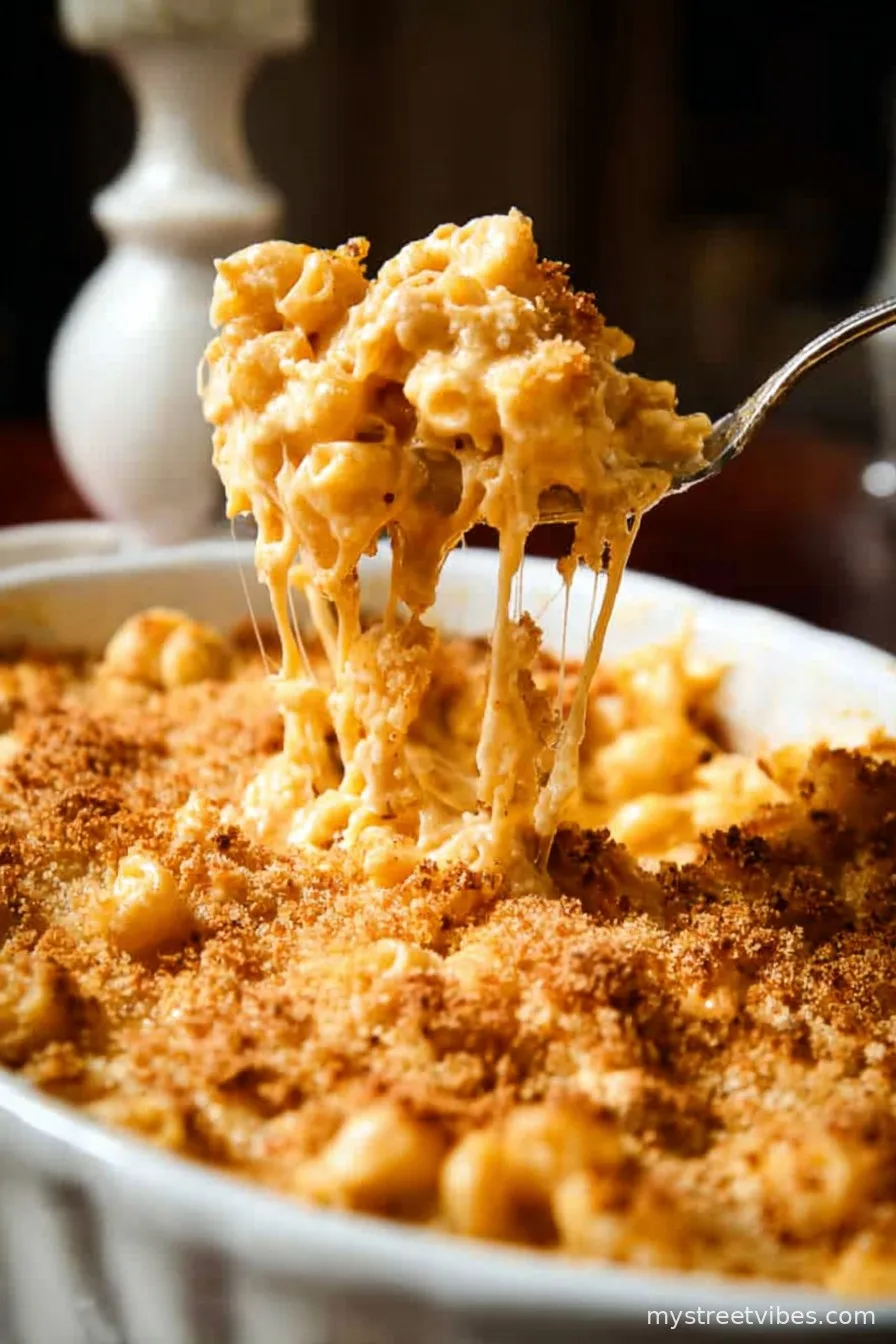
I make this on rainy days, when my patience is as short as my supply of elbow noodles. My family goes a little nutty for it (with or without the crunchy top), and even picky eaters stop complaining. Sometimes—if I’ve had a long week—I’ll sneak in a bit more cheese than the recipe calls for; no one’s caught me yet. And if I mess up and it goes a little brown? Actually, everyone likes those crispy corners best. So who cares, right?
What You’ll Need (Plus Some Substitutions Because We’re Realists)
- 250g (about 2 cups) elbow macaroni — I’ve also used shells when I’m out of elbows, honestly not a huge difference
- 3 cups shredded sharp cheddar cheese — My grandma swore by Cracker Barrel, but whatever’s on sale works
- 2 cups whole milk — or half-and-half if you really want it rich, I’ve done both
- 1/4 cup (half a stick) unsalted butter — salted is fine, just skip the extra salt later
- 1/4 cup all-purpose flour
- 1 teaspoon dry mustard powder (I sometimes just use a shot of regular mustard from the fridge, works in a pinch)
- 1/2 teaspoon paprika (optional, but I like the color)
- 1/2 teaspoon ground black pepper
- 1 teaspoon salt (unless you used salted butter, then maybe just a pinch)
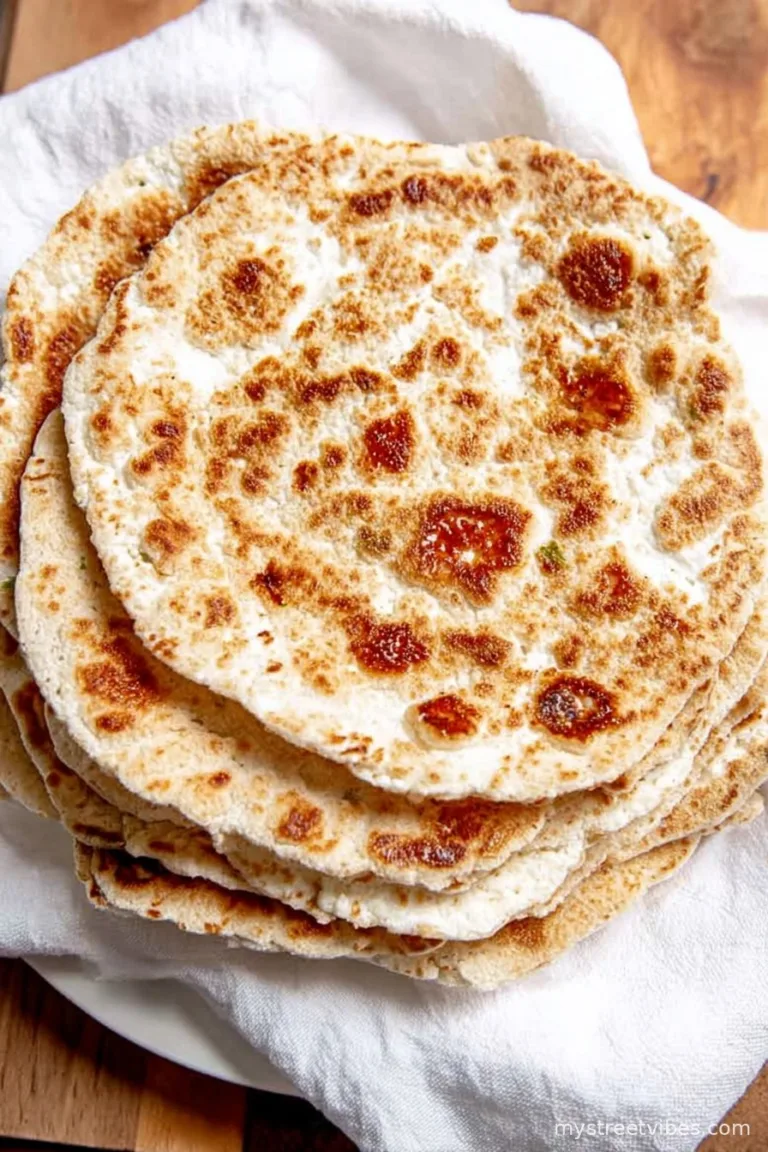
- 1/2 cup breadcrumbs (Panko makes it crunchier, but homemade’s what Nana used)
- 2 tablespoons melted butter (for the breadcrumbs on top)
- 1 or 2 handfuls of leftover ham, bacon bits, or peas if you want extras—totally optional
How To Make Grandma’s Baked Mac and Cheese (Without Losing Your Mind)
- Turn your oven to 375°F (190° if you’re metric-minded). Grease up a baking dish—around 9×13 inchesish. I’ve used a smaller one and made it deeper, just add a few more minutes to the bake.
- Boil the elbow macaroni. You want it just shy of done—call it al dente. Or a bit firmer than you’d normally eat, because it’ll soften up in the oven. Drain and set aside (I always forget to salt the water, but you shouldn’t!).
- Melt your butter in a biggish saucepan over medium heat. Toss in the flour and stir like you mean it. It’ll look sort of paste-like; don’t panic, keep whisking for a minute or two so the flour cooks out. THEN gradually add the milk. Whisk, whisk, whisk. This is where I sometimes get distracted and it gets a bit lumpy. But honestly, a vigorous whisk and nobody’s the wiser.
- Add the mustard (powder or squeezy bottle), salt, pepper, and paprika. Keep stirring until it thickens up — you want it like thin gravy. If it gets a tiny bit too thick, just splash in a bit more milk. If it’s too thin, well… try standing over it a minute longer.
- Now, off the heat, stir in 2 cups of the cheese. That’s when things get dreamy. I always steal a spoonful here (blame habit), but remember it’s hot, so don’t burn your tongue like I’ve done. Should melt right in, no stress.
- Toss the cooked macaroni in and gently mix it up till everything’s coated. If you want to add extras (bits of ham, peas, whatever’s knocking about), do it now.
- Pour the lot into the baking dish. Scatter the last cup of cheese over the top (I sometimes go rogue and add more—don’t tell my doctor).
- Mix breadcrumbs with melted butter, sprinkle evenly over the cheesy top. This step’s optional—skip the crumbs if you’re short on time, or just feeling lazy.
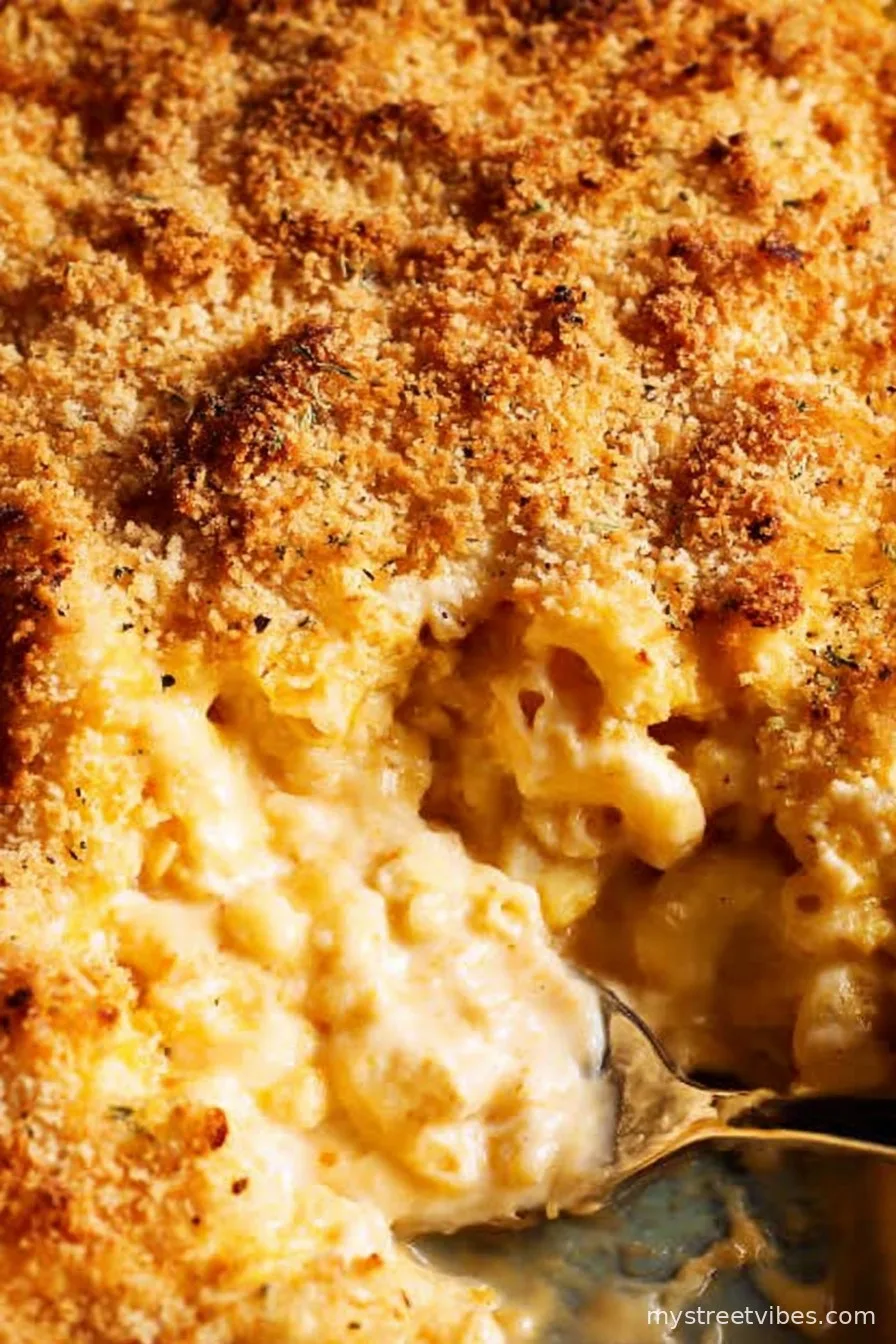
- Into the oven it goes for about 25–30 minutes, or until golden and bubbling. If the top’s getting brown too fast, lay a bit of foil over it. (I tend to check it every ten minutes, old habit.)
- Let it cool for 5–10 minutes before serving; it firms up and won’t burn the roof of your mouth (learned that the hard way!)
Some Notes I Learned (the Hard Way)
- If you forget the mustard, it’s still delicious—the sharp cheese does most of the heavy lifting anyway.
- Don’t overbake or the bottom goes chewy. Or maybe you like that? (I do. Sometimes.)
- Actually, I find it tastes better the next day, microwaved with a splash of milk so it’s not dry as old boots.
Variations (and a Couple Fails)
- Tried smoked gouda for some of the cheese once—wow, that’s bold. Good, but not exactly what I’d call classic.
- One time I tossed in cauliflower florets because I read about it online… eh, nobody ate the leftovers.
- For a little zip, a shake of hot sauce mixed into the cheese sauce is ace. My partner likes that extra bite.
What If I Don’t Have Fancy Equipment?
My grandma used a battered baking dish and a wooden spoon—that’s about it! If you don’t have a whisk, I’ve legit used a fork, just don’t let anyone see. And for grating cheese, bagged pre-shredded works in a pinch… Ignore any cheese snobbery you hear (unless it’s moldy, then, maybe listen).
How to Store (Not That You’ll Need To)
Keep leftovers tightly wrapped in the fridge; should last 3–4 days, but honestly, in my house it never lasts more than a day! Reheat with a splash of milk to revive the creaminess. Or eat it cold. I won’t judge.
How I Like to Serve It (And a Little Family Secret)
This goes down a treat with a scoop of stewed tomatoes (sounds odd, tastes amazing). Sometimes we do it with a green salad and call it “balanced.” If it’s Sunday, maybe a fried chicken leg on the side—my cousin swears by it, but to each their own.
Things I’ve Learned the Hard Way (Pro-ish Tips)
- I once tried rushing the bake—it ended up soupy. Gotta let it get golden and bubbly, patience pays (trust me!)
- If the sauce is lumpy at any stage, just blitz it with an immersion blender (or a regular old hand blender). Saved my bacon a couple times.
FAQ (Real Questions I’ve Actually Had)
- Can I make it ahead? Yep! Assemble, cover, and stash in the fridge up to a day ahead. Bake when ready, might need an extra 10 mins if it’s cold.
- Does it freeze well? Eh, honestly—not as good. The noodles go mushy, so I wouldn’t bother unless desperate.
- Can I make it without eggs? Huh—I never had eggs in my recipe! I know some folks add them but truthfully it gets plenty rich without.
- Is pre-shredded cheese okay? Yep. I use it when I’m feeling lazy. As long as it tastes good, that’s what matters.
One last thing: If you want a deep-dive into mac and cheese history (or you’re just really bored), Southern Living has a cool article. And for homemade breadcrumbs, Simply Recipes steps it out gently. Anyway, I’ll stop rambling—time to get cheesy!
P.S. If you spill flour all over the counter at step 3, you’re cooking it right.
Ingredients
- 3 cups elbow macaroni, uncooked
- 2 cups sharp cheddar cheese, shredded
- 1 cup whole milk
- 1/2 cup heavy cream
- 1/4 cup unsalted butter
- 1/4 cup all-purpose flour
- 1/2 teaspoon salt
- 1/2 teaspoon black pepper
- 1/4 teaspoon paprika
- 1/2 cup bread crumbs (for topping)
Instructions
-
1Preheat your oven to 350°F (175°C). Lightly grease a 2-quart baking dish.
-
2Cook elbow macaroni according to package directions until al dente. Drain and set aside.
-
3In a saucepan over medium heat, melt butter. Whisk in flour and cook for 1-2 minutes, stirring constantly.
-
4Gradually whisk in milk and heavy cream. Cook until thickened, about 3-5 minutes. Stir in salt, pepper, and paprika.
-
5Remove sauce from heat and stir in 1 1/2 cups of cheddar cheese until melted and smooth.
-
6Combine cheese sauce with cooked macaroni and transfer to the prepared baking dish. Top with remaining cheese and bread crumbs. Bake for 30-35 minutes until golden and bubbling. Let cool slightly before serving.
CLICK FOR NUTRITION INFO
↑
Approximate Information for One Serving
Serving Size:
1 serving
Calories:
450cal
Protein:
17 gg
Fat:
24 gg
Saturated Fat:
0g
Trans Fat:
0g
Cholesterol:
0mg
Sodium:
0mg
Potassium:
0mg
Total Carbs:
41 gg
Fiber:
0g
Sugar:
0g
Net Carbs:
0g
Vitamin A:
0
Vitamin C:
0mg
Calcium:
0mg
Iron:
0mg
Nutrition Disclaimers
Number of total servings shown is approximate. Actual number of servings will depend on your preferred portion sizes.
Nutritional values shown are general guidelines and reflect information for 1 serving using the ingredients listed, not including any optional ingredients. Actual macros may vary slightly depending on specific brands and types of ingredients used.
To determine the weight of one serving, prepare the recipe as instructed. Weigh the finished recipe, then divide the weight of the finished recipe (not including the weight of the container the food is in) by the desired number of servings. Result will be the weight of one serving.
Did you make this recipe?
Please consider Pinning it!!