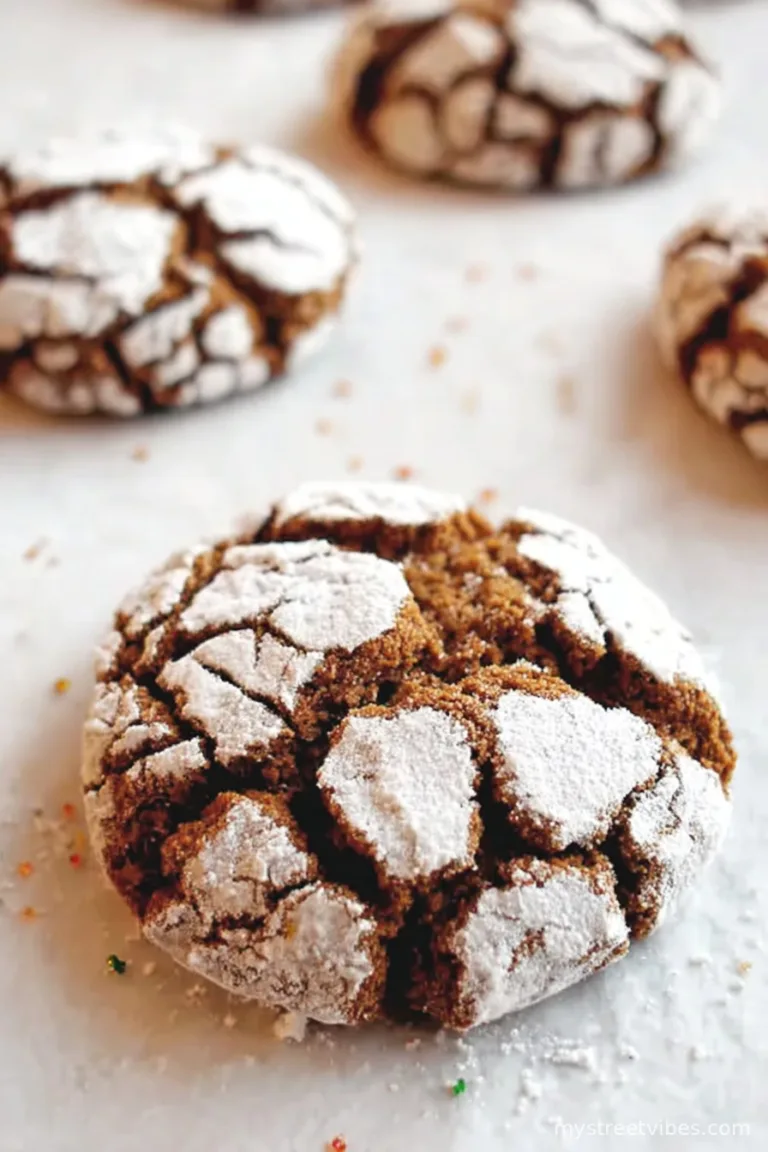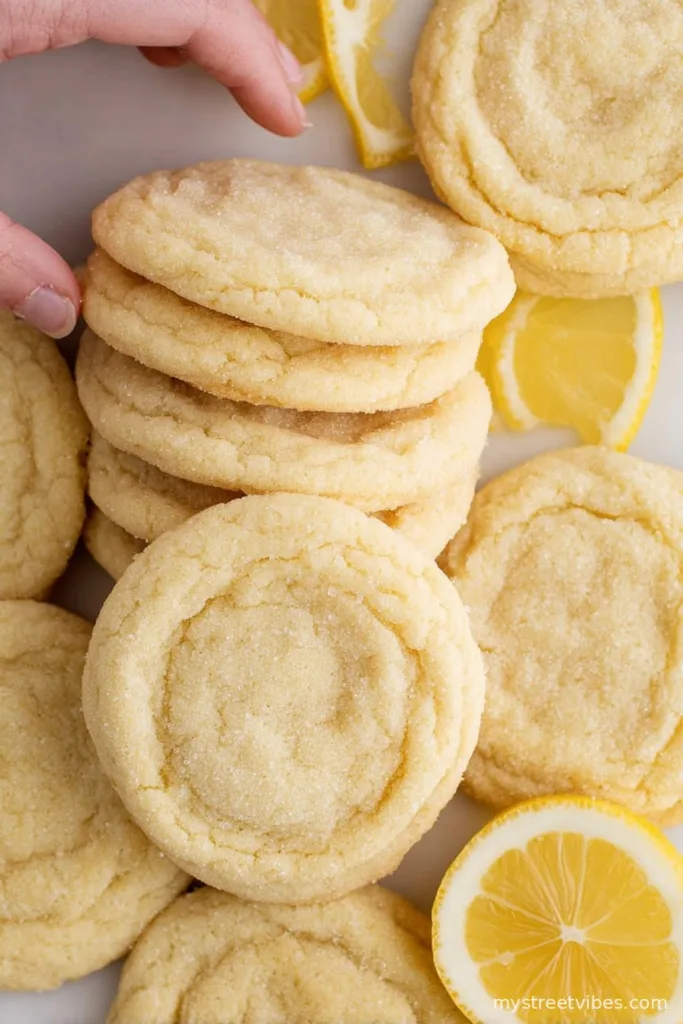
Okay, Let’s Talk About My Lemon Sugar Cookie Obsession
I’ll admit it—lemon desserts have always felt like summer in a bite to me. It started some years back when my auntie handed me a still-warm lemon sugar cookie at a backyard picnic. Since then, these have become my go-to whenever I want a cookie that tastes like actual sunshine. I’ve probably baked too many batches (if that’s a thing), and yeah, I’ve learned a few things along the way. Like, if you use too much zest you’ll end up with cookies that taste like lemon cleaning spray, rather than that subtle tartness we want. Anyway, this recipe is the not-so-secret weapon I bring out when citrus cravings strike. Or honestly, whenever I’ve got extra lemons lying about and no idea what to make for an afternoon snack.
Why You’ll Love This (Trust Me!)
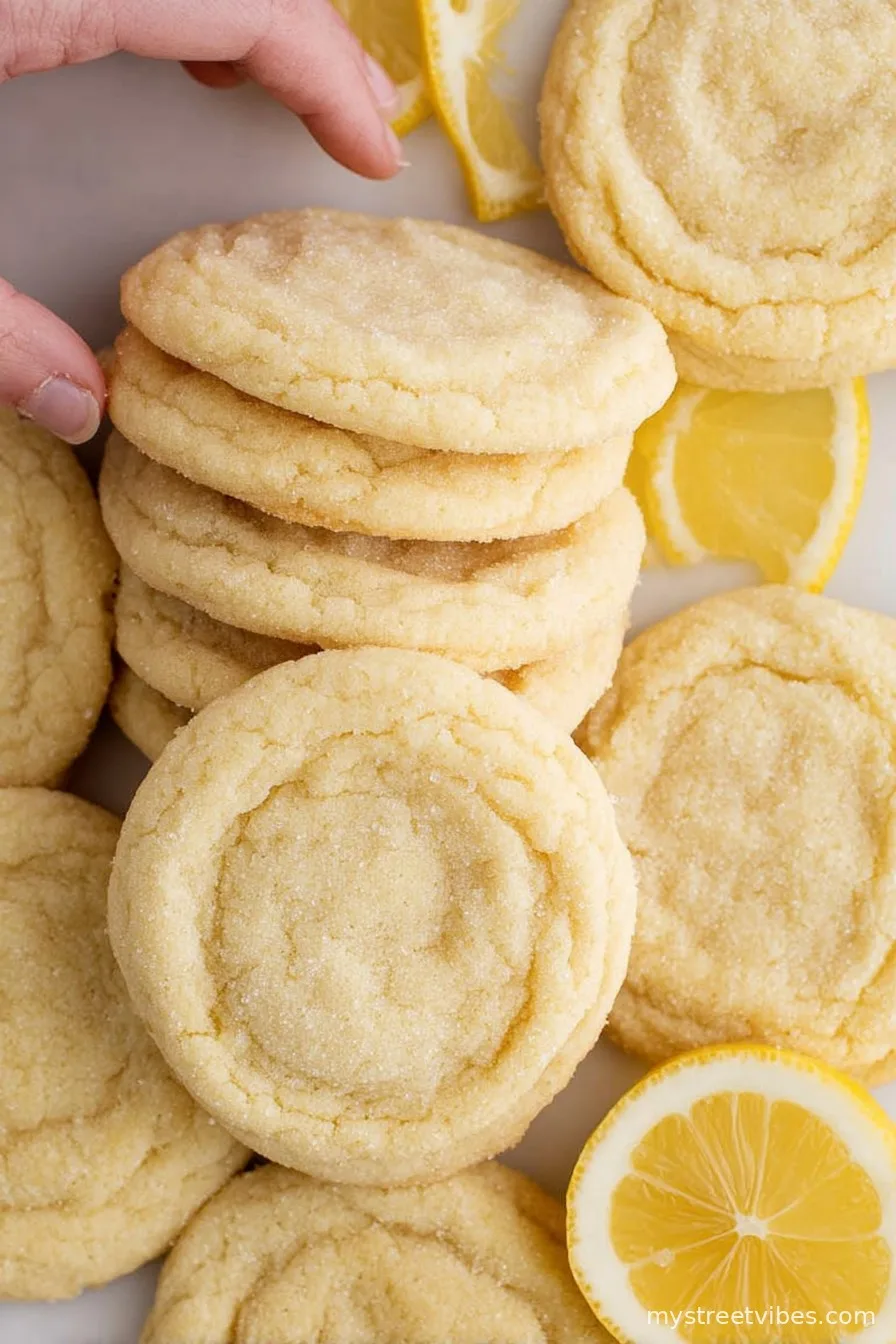
I make this Lemon Sugar Cookie Recipe when I need to brighten up a dreary day or surprise the kids after school (they’ll fight over the biggest one). My family goes a bit nuts for these—especially when I let them eat one before dinner, which, okay, probably sets a bad example, but life’s short. I love how these cookies turn out soft in the middle with just a hint of crunchy edge. And if my measuring is a bit loose, the dough still forgives me. For real, if you’ve ever taken out cookies that basically spread into one big cookie blob (been there), these are pretty foolproof.
Ingredients (And My Personal Tweaks)
- 2 ¼ cups (about 295g) all-purpose flour (sometimes I replace ¼ cup with cake flour for a softer bite but plain flour is totally fine)
- 1 teaspoon baking soda
- ½ teaspoon salt (I use kosher salt, but table salt works too—don’t overthink it)
- ½ cup (115g) unsalted butter, room temp (my grandma swears by salted butter… I secretly use it if that’s what’s in the fridge)
- 1 cup (200g) granulated sugar, plus extra for rolling
- 1 large egg
- 2 teaspoons lemon zest (packed but not squished—add more if you like things super zingy)
- 2 tablespoons fresh lemon juice (bottled lemon juice can work, but honestly, fresh is better)
- 1 teaspoon vanilla extract (sometimes I forget and nobody notices, but try not to skip)
How To Make Them (With Some Real Talk)
- Grab your biggest bowl and whisk together the flour, baking soda, and salt. Nothing fancy—just get it mixed. Sometimes if I’m feeling lazy, I skip the separate bowl and dump dry stuff right in, but old habits die hard.
- In another big bowl (or stand mixer if you’re feeling fancy), beat the butter and sugar together until it’s, like, fluffy and pale. 2 minutes should do it. I usually start with a fork before giving up and going to the hand mixer.
- Add in the egg, lemon zest, lemon juice, and vanilla. Mix until everything’s together. It might look a bit weird and slightly curdled—don’t panic. It always evens out with the flour.
- Gradually toss in the dry mixture, either in two or three bits, mixing gently. Don’t overbeat or you’ll get tough cookies. Sometimes I add a drizzle more lemon juice by accident—no biggie, it just gets a bit more lemony.
- Cover the bowl (plastic wrap, beeswax wrap, a tea towel—whatever works), and stick it in the fridge for 30 minutes. If you forget it in there for a couple hours, even better; extra chill time makes them bake up thicker.
- Scoop out little balls, about a tablespoon or so each (I use two spoons, but ice cream scoops are fantastic for this, too). Roll in a shallow dish of sugar for that crackly surface. And no, you don’t have to get them all exactly the same size—it’s homey!
- Place them about 2 inches apart on a parchment-lined baking sheet. Bake in a preheated oven (350°F or 175°C) for 9–11 minutes. I pull them when they still look pale in the middle but a little golden at the edges. Let them sit on the sheet a few mins—they finish cooking as they cool anyway (this is usually when I try to sneak one and burn my tongue… learn from my mistakes).
- Transfer to a wire rack. Eat one warm if you’re impatient — they’re sublime. The rest can cool fully (if they last that long).

Bits I’ve Figured Out (Aka: Notes)
- I tried letting the dough sit overnight once because I forgot I even made it, and honestly, the cookies were even better. So if you’re scatterbrained like me, don’t stress.
- If your cookies spread too much, your butter was probably too melty. Happens to the best of us.
- Once I swapped half the sugar for brown sugar… they turned out cakey and not in a good way, but if you like that, maybe give it a shot.
All the Weird Ways I’ve Tried to Mix it Up (Variations)
- I stirred in a handful of white chocolate chips and actually, it was dreamy, but the cookies got sweet fast.
- One time I tried adding poppy seeds for “fancy” effect and it tasted like I dropped my cookie in a bagel shop—sort of fun, not a total win.
- Swapping some lemon zest for lime zest brings a tropical twist. Good if you’ve got random citrus at hand.

Kit You’ll Want (But Don’t Stress If You Don’t Have It)
- Baking sheets lined with parchment or a nonstick mat—skip the parchment and use a greased pan if that’s all you’ve got.
- Mixing bowls (big and, uh, slightly less big)
- Electric hand mixer—fine to use a big whisk, but your arm might fall off
- Microplane or fine zester—if not, a box grater’s fine in a pinch (just scrape the outside of the lemon gently)
- Wire rack—if you’re short, a clean oven rack works too, honestly
Does Anyone Actually Store These? (Storage Info!)
These will keep in an airtight container at room temp for up to 4 days… though, actually, in my house, they disappear within a day. If you wanna freeze ‘em, you totally can, both as baked cookies (just layer with parchment) or freeze the dough balls to bake off later. But, seriously, they’re best fresh.
How I Like to Serve Them
I’m pretty basic—give me a stack of these with a lemony cup of tea (PG Tips works too), and I’m chuffed. If I’m feeling posh, a drizzle of simple lemon glaze and some extra zest on top makes them party-worthy. My youngest insists we dip them in vanilla yogurt. Not my thing, but it’s become a tradition now.
Stuff I’ve Learned the Hard Way (Pro Tips)
- Chill that dough. I once tried to bake straight from mixing and got frisbee cookies. It’s just not worth it.
- Don’t sit on your hands waiting for them to brown on top—they’ll be overdone. Pull them when the middle looks just barely set.
- I learned the hard way that zesting a lemon straight onto the counter wastes the oils—just zest straight into the sugar bowl.
The Questions I Get (FAQ)
- Can I make these with gluten-free flour? Yeah, you totally can. I tried Bob’s Red Mill 1:1 and it worked, though the texture’s a bit drier. Maybe add a small splash of milk to the dough.
- Do I have to use fresh lemons? You don’t have to, but it really does taste fresher. If you’re in a pinch (or your lemon’s as dry as an old boot), bottled will work, promise.
- Can I double this? Oh for sure! Just use a really large bowl, or you’ll have flour in places you can’t even imagine.
- Why are my cookies tough? Hmm. Probably overmixed. I still do this when I’m distracted—just mix till it comes together, no more.
- What do I do if I forgot to chill the dough? Actually, pop the tray of scooped cookies in the fridge for 10 minutes. It helps almost as much. Or just bake and accept the flat ones—they’re still tasty.
And there you go! If you try these, let me know if yours vanish as quick as mine. Or if you did something wild with them—lemon cookies are built for “happy accidents.”
Ingredients
- 2 1/4 cups (about 295g) all-purpose flour (sometimes I replace ¼ cup with cake flour for a softer bite but plain flour is totally fine)
- 1 teaspoon baking soda
- 1/2 teaspoon salt (I use kosher salt, but table salt works too—don’t overthink it)
- 1/2 cup (115g) unsalted butter, room temp (my grandma swears by salted butter… I secretly use it if that’s what’s in the fridge)
- 1 cup (200g) granulated sugar, plus extra for rolling
- 1 large egg
- 2 teaspoons lemon zest (packed but not squished—add more if you like things super zingy)
- 2 tablespoons fresh lemon juice (bottled lemon juice can work, but honestly, fresh is better)
- 1 teaspoon vanilla extract (sometimes I forget and nobody notices, but try not to skip)
Instructions
-
1Grab your biggest bowl and whisk together the flour, baking soda, and salt. Nothing fancy—just get it mixed. Sometimes if I’m feeling lazy, I skip the separate bowl and dump dry stuff right in, but old habits die hard.
-
2In another big bowl (or stand mixer if you’re feeling fancy), beat the butter and sugar together until it’s, like, fluffy and pale. 2 minutes should do it. I usually start with a fork before giving up and going to the hand mixer.
-
3Add in the egg, lemon zest, lemon juice, and vanilla. Mix until everything’s together. It might look a bit weird and slightly curdled—don’t panic. It always evens out with the flour.
-
4Gradually toss in the dry mixture, either in two or three bits, mixing gently. Don’t overbeat or you’ll get tough cookies. Sometimes I add a drizzle more lemon juice by accident—no biggie, it just gets a bit more lemony.
-
5Cover the bowl (plastic wrap, beeswax wrap, a tea towel—whatever works), and stick it in the fridge for 30 minutes. If you forget it in there for a couple hours, even better; extra chill time makes them bake up thicker.
-
6Scoop out little balls, about a tablespoon or so each (I use two spoons, but ice cream scoops are fantastic for this, too). Roll in a shallow dish of sugar for that crackly surface. And no, you don’t have to get them all exactly the same size—it’s homey!
-
7Place them about 2 inches apart on a parchment-lined baking sheet. Bake in a preheated oven (350°F or 175°C) for 9–11 minutes. I pull them when they still look pale in the middle but a little golden at the edges. Let them sit on the sheet a few mins—they finish cooking as they cool anyway (this is usually when I try to sneak one and burn my tongue… learn from my mistakes).
-
8Transfer to a wire rack. Eat one warm if you’re impatient — they’re sublime. The rest can cool fully (if they last that long).
CLICK FOR NUTRITION INFO
↑
Approximate Information for One Serving
Serving Size:
1 serving
Calories:
95 caloriescal
Protein:
1gg
Fat:
3gg
Saturated Fat:
0g
Trans Fat:
0g
Cholesterol:
0mg
Sodium:
0mg
Potassium:
0mg
Total Carbs:
16gg
Fiber:
0g
Sugar:
0g
Net Carbs:
0g
Vitamin A:
0
Vitamin C:
0mg
Calcium:
0mg
Iron:
0mg
Nutrition Disclaimers
Number of total servings shown is approximate. Actual number of servings will depend on your preferred portion sizes.
Nutritional values shown are general guidelines and reflect information for 1 serving using the ingredients listed, not including any optional ingredients. Actual macros may vary slightly depending on specific brands and types of ingredients used.
To determine the weight of one serving, prepare the recipe as instructed. Weigh the finished recipe, then divide the weight of the finished recipe (not including the weight of the container the food is in) by the desired number of servings. Result will be the weight of one serving.
Did you make this recipe?
Please consider Pinning it!