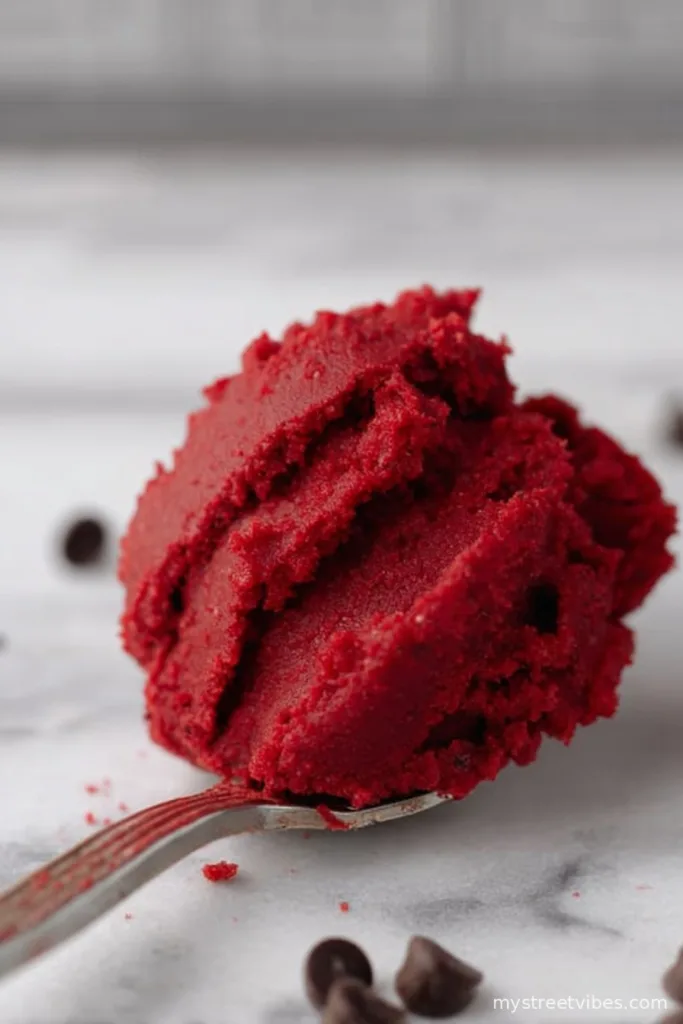
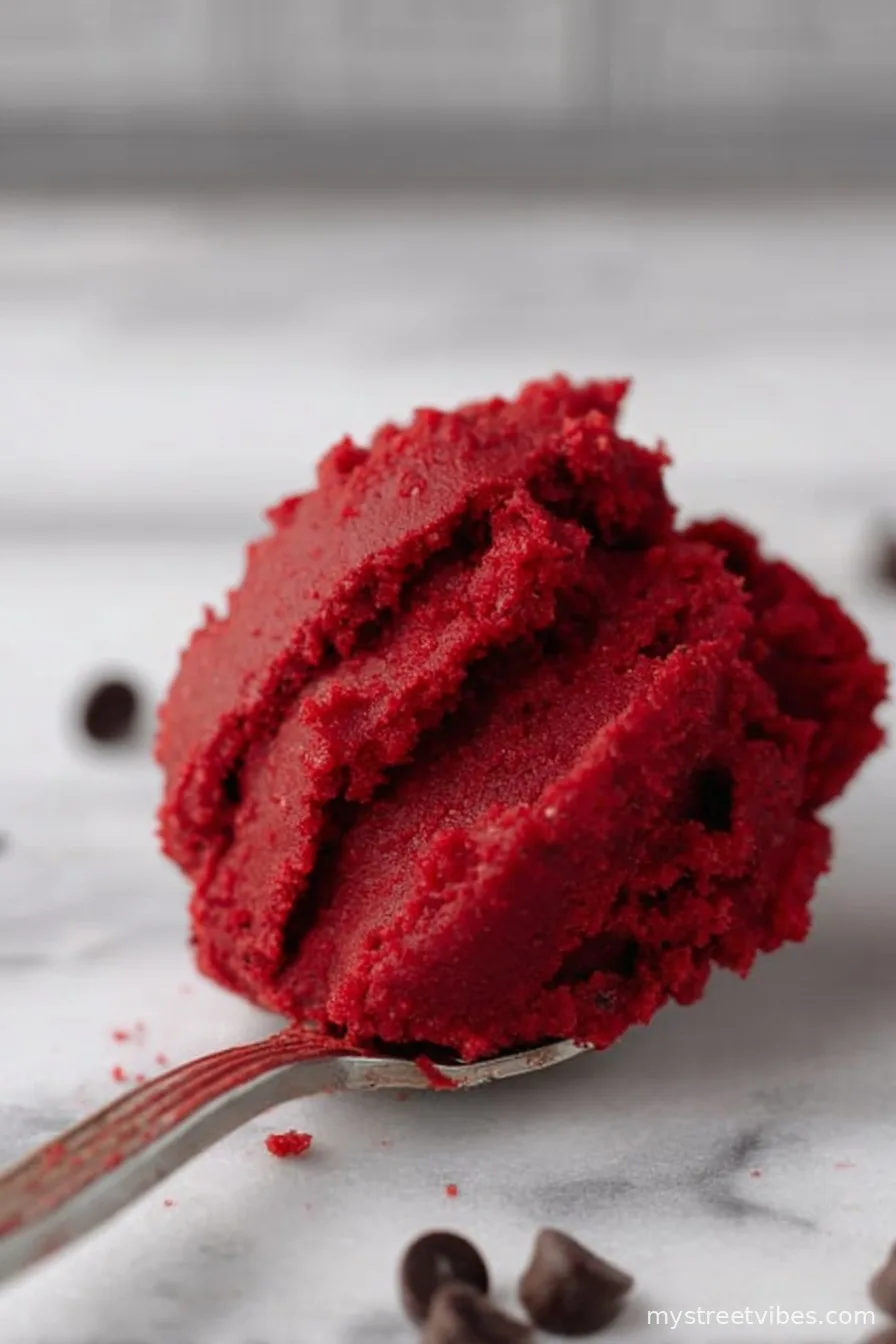
Let me tell ya, late night cravings and I are basically best mates. Ages ago, when I first discovered edible cookie dough was a thing, I absolutely lost the run of myself, especially with red velvet. There’s just something about those shamelessly red crumbs and the (let’s be honest: overhyped) cream cheese frosting thing, right? This recipe is the delicious result of one of those oh-no-I-stayed-up-too-late movie marathons in my kitchen. Honestly, my friend Emma still talks about the batch I made during a thunderstorm. It vanished before the rain even stopped. Also, a warning: don’t wear white while making this unless you enjoy accidental fashion statements.
Why You’ll Love This Stuff (or at least, why I do)
I make this edible red velvet cookie dough when I can’t decide between cake and cookies but absolutely don’t want to bake anything. My family goes a bit mad for it; I have to guard the bowl like some sort of sugar dragon. And, if I’m honest, half the reason I throw this together is because you can eat it straight out the bowl (just like when you were a kid—except, you know, less chance of getting a mum lecture about raw eggs). Oh! Plus, if you have a pal who thinks they’re too sophisticated for cookie dough… toss in some chocolate chips and see how long they last.
Alright, What You’ll Need (And What You Can Swap)
- 1 cup all-purpose flour (if I’m out, I’ve used oat flour in a pinch. My Gran swore by Gold Medal, but any will do honestly)
- 1/4 cup unsalted butter, softened (sometimes, I’ll sub in coconut oil if I’m feeling a bit health-ish—doesn’t taste the same, just FYI)
- 1/4 cup cream cheese, softened (block or tub; really doesn’t matter, despite what the internet tells you)
- 2/3 cup granulated sugar (brown sugar works if you want it extra chewy/squidgy)
- 2 tablespoons milk (I’ve used almond when that’s what I had—no one noticed)
- 1 teaspoon vanilla extract (though I did try almond extract once, and it was… fine. Not amazing.)
- 2 tablespoons cocoa powder (Dutch process or regular—I’ve never noticed a huge difference)
- Red gel food coloring (I’ve run out and used liquid, just needed more; if you want to go all ‘natural,’ some folks try beetroot powder, but I can’t recommend it. Still stuck in my whisk from 2021)
- 1/4 teaspoon salt (honestly, use a pinch more if you like things less sweet)
- 1/2 cup white chocolate chips (dark are fine, though less “red velvet”)
How To Throw This Edible Dough Together
- Heat-treat your flour: Spread the flour on a baking tray and bake at 350°F (177°C) for 6-8 minutes, just to kill anything questionable. Let it cool. (Yes, this step sounds boring, but it’s insurance. I forgot once and felt oddly rebellious.)
- Cream butter, cream cheese, and sugar together in a biggish bowl. No fancy mixer required, but if you have one, power to you. If mixing by hand, it’ll be a bit of an arm workout—good for the soul.
- Add in vanilla, salt, cocoa powder, and a squirt (or squeeze? splash?) of food coloring. Mix again. This is where I usually sneak a taste—it always looks sort of weird at this stage. Don’t panic.
- Toss in milk, then add your cooled, heat-treated flour. Keep mixing until it comes together. If it seems crumbly, dribble a little more milk, but don’t go overboard or you’ll get red velvet soup. Learned that the hard way.
- Stir in white chocolate chips. (Or, you know, just eat them straight out of the bag—no judgment here.)
- Scoop into a bowl, mug, Tupperware—whatever. Chill for 20 minutes if you want firmer dough, though I usually can’t wait that long.

Notes, aka Stuff I Figured Out By Accident
- Don’t add too much food coloring at once. One time my dough ended up looking like a traffic light. Start with a little and add more if needed.
- If you skip heat-treating the flour, it’s technically edible—but I guess bacteria can be a thing, so don’t quote me on it. (Do your own research, as they say.)
- I once used vanilla yogurt instead of cream cheese—result was… not ideal. A bit tangy, but not in a good way.
What Else Can You Try? (And What Flopped)
- Chocolate sprinkles = party vibe, just don’t add too many or it gets sandy.
- Mini marshmallows actually worked surprisingly well—bit like a rocky road vibe.
- Someone suggested adding crushed Oreos. It sounded fun in theory, but the color mix wasn’t exactly appetising, so… try at your own risk.

What If You Don’t Have All the Gear?
You *really* don’t need much, honestly—a mixing bowl, spoon, and some determination. I have used a big mug as a mixing bowl in a tiny Airbnb kitchen, and it worked grand. If you don’t have a baking tray for the flour, just use foil and the rack. Not fancy, but it does the trick.
How To Store (If You Manage Not To Eat It All)
Pop leftovers (lol) into an airtight container in the fridge, where it’ll last about 3 days. You can freeze portions if you want, but honestly, in my house it never lasts more than a day. (I once hid some at the back of the fridge…and promptly forgot until days later. Oops, science project.)
How I Serve This (And Maybe You Will Too)
It’s best straight from the bowl if you ask me, but my niece insists on putting it in tiny cones like mini ice creams. On birthdays, we scatter rainbow sprinkles and dig in with tiny spoons—makes it feel like a proper treat. One time I spread it between two graham crackers, s’mores style. For science, obviously.
Speed Bumps I’ve Hit (aka My Best Tips)
- Measure your flour before heat-treating—it shrinks a bit. I once tried to eyeball it, ended up a sticky mess. Never again.
- Don’t rush softening the butter and cream cheese. I popped them in the microwave once… part of it went runny, part still cold; kind of a comedy of errors.
- If it’s too dry, add milk little by little—not all at once. Trust me, red velvet slop is not the vibe, mate.
What Folks Usually Ask Me About This Recipe
- Can you bake this dough? Sorta. I tried out of curiosity—it got weird and didn’t rise much. Stick to eating it raw; life is short.
- Is food coloring really necessary? Not strictly. You’ll miss out on the iconic color, but tastewise it’s still lush. Or try skipping it if you just want classic cookie dough in a different shade.
- What’s with the flour-baking thing? Yeah, it sounds odd but raw flour sometimes has bacteria. Quick bake fixes that. (I also tell folks you can microwave it, but watch it close—it clumps fast.)
- Can you make it vegan? Probably! Swap butter and cream cheese for vegan options, and use non-dairy milk. The taste is just a bit different; I like the original, but vegan pals seemed pretty happy with the plant-based one I once tried.
- Can you double the recipe? Absolutely. Just use a giant bowl or, as I once did, the biggest salad spinner you own (clean, of course!).
There you have it—my favourite edible red velvet cookie dough, warts and all. Try not to eat the whole batch standing at the kitchen counter. Or do, I’m not your mum.
Ingredients
- 1 cup all-purpose flour (if I’m out, I’ve used oat flour in a pinch. My Gran swore by Gold Medal, but any will do honestly)
- 1/4 cup unsalted butter, softened (sometimes, I’ll sub in coconut oil if I’m feeling a bit health-ish—doesn’t taste the same, just FYI)
- 1/4 cup cream cheese, softened (block or tub; really doesn’t matter, despite what the internet tells you)
- 2/3 cup granulated sugar (brown sugar works if you want it extra chewy/squidgy)
- 2 tablespoons milk (I’ve used almond when that’s what I had—no one noticed)
- 1 teaspoon vanilla extract (though I did try almond extract once, and it was… fine. Not amazing.)
- 2 tablespoons cocoa powder (Dutch process or regular—I’ve never noticed a huge difference)
- Red gel food coloring (I’ve run out and used liquid, just needed more; if you want to go all ‘natural,’ some folks try beetroot powder, but I can’t recommend it. Still stuck in my whisk from 2021)
- 1/4 teaspoon salt (honestly, use a pinch more if you like things less sweet)
- 1/2 cup white chocolate chips (dark are fine, though less “red velvet”)
Instructions
-
1Heat-treat your flour: Spread the flour on a baking tray and bake at 350°F (177°C) for 6-8 minutes, just to kill anything questionable. Let it cool. (Yes, this step sounds boring, but it’s insurance. I forgot once and felt oddly rebellious.)
-
2Cream butter, cream cheese, and sugar together in a biggish bowl. No fancy mixer required, but if you have one, power to you. If mixing by hand, it’ll be a bit of an arm workout—good for the soul.
-
3Add in vanilla, salt, cocoa powder, and a squirt (or squeeze? splash?) of food coloring. Mix again. This is where I usually sneak a taste—it always looks sort of weird at this stage. Don’t panic.
-
4Toss in milk, then add your cooled, heat-treated flour. Keep mixing until it comes together. If it seems crumbly, dribble a little more milk, but don’t go overboard or you’ll get red velvet soup. Learned that the hard way.
-
5Stir in white chocolate chips. (Or, you know, just eat them straight out of the bag—no judgment here.)
-
6Scoop into a bowl, mug, Tupperware—whatever. Chill for 20 minutes if you want firmer dough, though I usually can’t wait that long.
CLICK FOR NUTRITION INFO
↑
Approximate Information for One Serving
Serving Size:
1 serving
Calories:
370 caloriescal
Protein:
4gg
Fat:
18gg
Saturated Fat:
0g
Trans Fat:
0g
Cholesterol:
0mg
Sodium:
0mg
Potassium:
0mg
Total Carbs:
49gg
Fiber:
0g
Sugar:
0g
Net Carbs:
0g
Vitamin A:
0
Vitamin C:
0mg
Calcium:
0mg
Iron:
0mg
Nutrition Disclaimers
Number of total servings shown is approximate. Actual number of servings will depend on your preferred portion sizes.
Nutritional values shown are general guidelines and reflect information for 1 serving using the ingredients listed, not including any optional ingredients. Actual macros may vary slightly depending on specific brands and types of ingredients used.
To determine the weight of one serving, prepare the recipe as instructed. Weigh the finished recipe, then divide the weight of the finished recipe (not including the weight of the container the food is in) by the desired number of servings. Result will be the weight of one serving.
Did you make this recipe?
Please consider Pinning it!