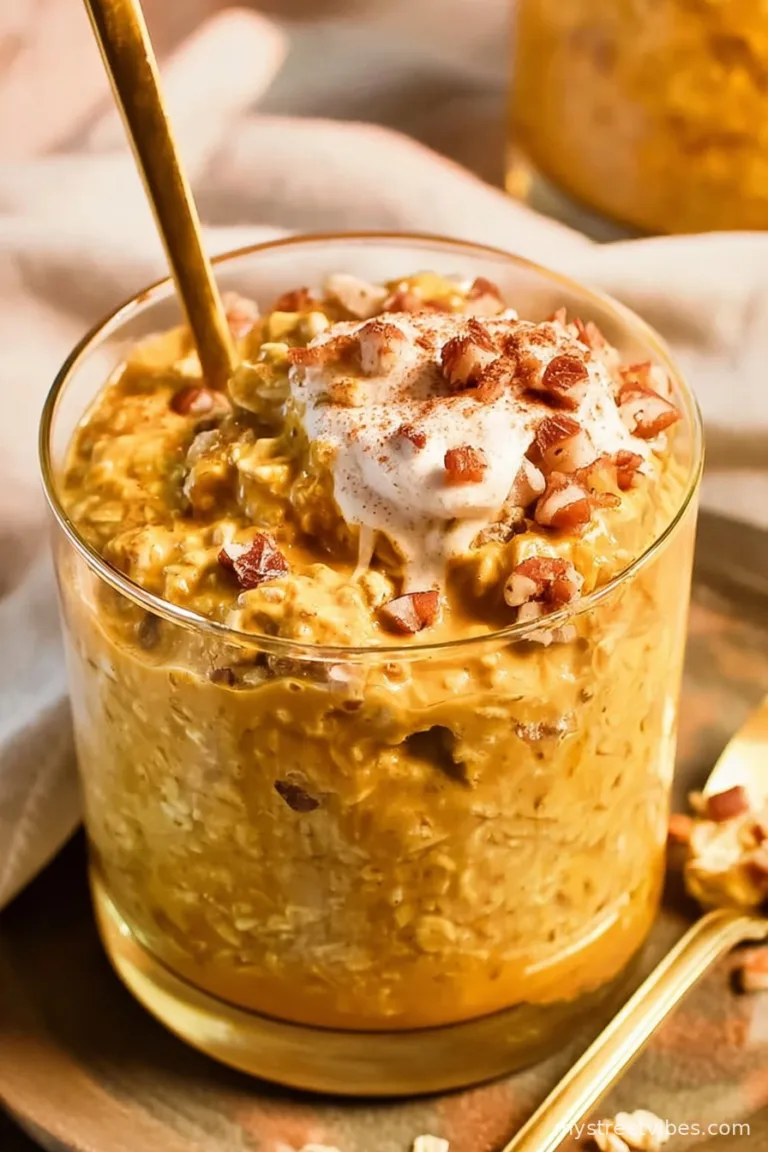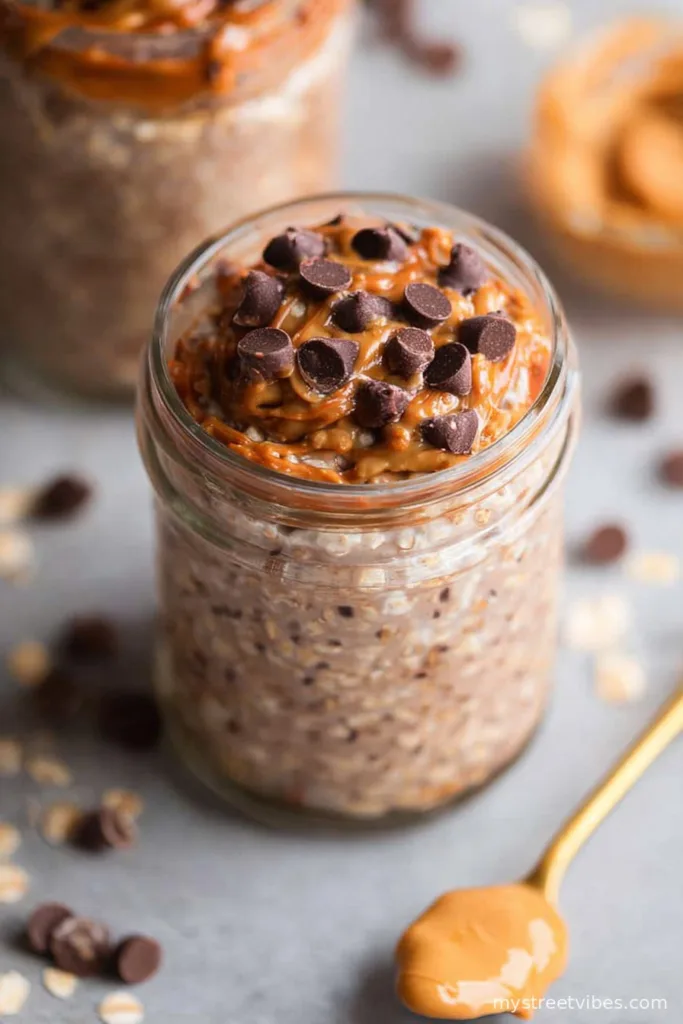
Let Me Tell You About These Oats…
Okay, picture this: It’s a groggy Tuesday, I’m late for work (again), my hair is doing something I can’t even describe, and I desperately need something quick but still tasty for breakfast. Enter: Chocolate Peanut Butter Overnight Oats. Seriously, these oats have rescued me more times than I can count. I whipped up a batch once out of desperation (ran out of bread, forgot to buy eggs), and now it’s honestly my lazy breakfast lifeline. My kid calls them “breakfast dessert,” which feels pretty spot on, though slightly misleading since there’s actual oats and fiber and all that grown-up stuff in here, too. Oh – and my dog always eyes the jar, but you know, chocolate and pups, nope.

Why I Keep Making This (and You Probably Will Too)
I make this when I’m craving something sweet at 7am but don’t want the sugar crash. My family goes a little wild for these oats because they taste like pudding, which, I mean, who’s mad about that? I even converted my husband, who’s a late riser and lifelong “what’s oatmeal ever done for me?” skeptic. It’s also a sanity-saver on school mornings (you ever try to dress a wiggly 6-year-old while also frying eggs? 0/10, don’t recommend). Oh, and every once in a while, I triple the batch, thinking: “Finally, breakfasts for days!” but they’re gone by Wednesday so, I just gave up trying to outsmart the snackers in this house. True story.
What You’ll Need (And What I Swap In Real Life)
- 1/2 cup rolled oats (I sometimes use quick oats when I forgot to shop – they work, just softer)
- 2/3 cup milk (dairy, oat, or almond all work; honestly, I use whatever isn’t empty)
- 1 heaping tablespoon Peanut Butter (crunchy is fun, but smooth stirs in easier… my grandma swears by Jif, but store brand’s fine)
- 1 tablespoon unsweetened cocoa powder (if you’ve only got hot cocoa mix, it’s sweeter but surprisingly okay in a pinch)
- 1-2 teaspoons honey or maple syrup (or no sweetener, if that’s your thing; I eyeball it, who measures syrup?)
- Pinch of salt (totally makes it taste “chocolatey-er”)
- 1/4 teaspoon vanilla extract (I forget this half the time, so… optional?)
- Optional: chia seeds, flaxseed, a handful of chocolate chips, or sliced banana on top (my guilty pleasure)
How I Throw It All Together
- Grab a jar or Tupperware with a lid – mason jar looks pretty but a yogurt tub does the job too.
- Dump in the oats, cocoa powder, and a little pinch of salt.
- Add in the milk, peanut butter (sometimes gets stuck on the spoon forever, so I just use another spoon to knock it in), the honey or syrup, and vanilla. If you like things extra creamy, a splash more milk isn’t the end of the world. (This is where I usually sneak a taste. It’s not the same as the finished thing, but…)
- Mix it *really* well. You don’t want a big cocoa or peanut butter blob hiding in the corner. Those take forever to mix later, trust me.
- If you’re using chia seeds or flaxseed, stir them in now. Or forget, and toss them on top in the morning. Life’s too short for oat guilt.
- Pop the lid on (I once tried plastic wrap, didn’t go great) and stick it in the fridge. Minimum 4 hours, but overnight is easier. And if you pull it out and it looks squishy or a bit weird? Don’t stress, it always comes together once you give it a stir.
- In the morning, give everything a good mix. Top with chocolate chips, sliced banana, or whatever your heart desires. Or just eat it straight out of the jar standing at the fridge. No judgement here.
A Few Things I’ve Learned (Sometimes the Hard Way)
- Once, I doubled the cocoa. Would not recommend – it basically tasted like a bitter mud bath (but hey, live and learn).
- If you forget the salt, it’s a little flat, so I stick with a quick pinch now.
- If you try this with water instead of milk, it works but isn’t as creamy. Lesson learned; just use any sort of milk.
- The texture is best if you let it sit at least 6 hours, but four works if you’re in a pinch (and can’t wait any longer).
Twists and Experiments That (Mostly) Worked
- Once swapped peanut butter for almond butter – pretty good, a bit lighter.
- Added instant espresso powder once. Tasted like dessert for breakfast and made me wide awake by 8am. Success!
- Tried topping with fresh strawberries – my favorite so far.
- Threw in raisins one time and… nah, wouldn’t do that again, but maybe that’s just me.

Do You Really Need Fancy Equipment?
Honestly, no. A jar with a lid is all you need. In a pinch, I just use a big old mug and stick some foil on top. The real secret is giving it a good mix so the peanut butter doesn’t just sit there, judging you from the sides.
Storing Your Oats (a.k.a How Long Can You Make Them Last?)
Fridge life is about 2-3 days (I reckon it’s tastiest the next day, the flavors get all cozy together), but, in my house, it never lasts more than a day! If you’re actually good at making breakfasts ahead, congrats, that’s wizardry in my opinion.
How We Serve Ours
I usually top mine with chocolate chips or banana slices. My son sprinkles on granola for crunch (because why not live a little?). Sometimes, I eat it cold straight from the jar, and sometimes I’ll zap it in the microwave for 30 seconds when it’s chilly out – both ways are good. Someone once put whipped cream on theirs at a brunch here, which, yeah, go big or go home, right?
A Few Lessons Learned the Hard Way
- I tried rushing the mixing once—big mistake. I ended up with a peanut butter clump in one bite and a bland one in the next. Just mix it like you mean it.
- Don’t skimp on the lid. Spilled overnight oats is… let’s just say, not fun to clean off fridge shelves.
- If you forget it overnight, and remember only at 4am (guilty), it’ll still taste decent by 8am with a thorough stir.
Got Questions? Here’s What People Actually Ask Me
Can I use steel cut oats? Eh, technically, but they don’t get soft enough overnight for my liking. Some folks like the chew, so it’s up to you, but I prefer rolled oats.
Is it sweet enough? That depends – I like to drizzle an extra bit of honey if it needs something. Or just add a few more chocolate chips, why not?!
Can I use crunchy peanut butter? For sure. I do sometimes, and I honestly like the nutty bits. But smooth stirs in much easier (learned that the sticky way).
What’s the best milk? Any you’ve got. Once, I even used chocolate milk (don’t judge)—tasted like a milkshake by breakfast.
Can I freeze these? I tried it once out of curiosity… let’s just say, not their finest form after thawing. Stick to making a few days at a time.
Anyway, let me know if you try these—or just text me a photo at midnight when you’re prepping tomorrow’s breakfast and feeling pretty smug. Just don’t expect leftovers. Trust me.
Ingredients
- 1/2 cup rolled oats (I sometimes use quick oats when I forgot to shop – they work, just softer)
- 2/3 cup milk (dairy, oat, or almond all work; honestly, I use whatever isn’t empty)
- 1 heaping tablespoon peanut butter (crunchy is fun, but smooth stirs in easier… my grandma swears by Jif, but store brand’s fine)
- 1 tablespoon unsweetened cocoa powder (if you’ve only got hot cocoa mix, it’s sweeter but surprisingly okay in a pinch)
- 1-2 teaspoons honey or maple syrup (or no sweetener, if that’s your thing; I eyeball it, who measures syrup?)
- Pinch of salt (totally makes it taste “chocolatey-er”)
- 1/4 teaspoon vanilla extract (I forget this half the time, so… optional?)
- Optional: chia seeds, flaxseed, a handful of chocolate chips, or sliced banana on top (my guilty pleasure)
Instructions
-
1Grab a jar or Tupperware with a lid – mason jar looks pretty but a yogurt tub does the job too.
-
2Dump in the oats, cocoa powder, and a little pinch of salt.
-
3Add in the milk, peanut butter (sometimes gets stuck on the spoon forever, so I just use another spoon to knock it in), the honey or syrup, and vanilla. If you like things extra creamy, a splash more milk isn’t the end of the world. (This is where I usually sneak a taste. It’s not the same as the finished thing, but…)
-
4Mix it *really* well. You don’t want a big cocoa or peanut butter blob hiding in the corner. Those take forever to mix later, trust me.
-
5If you’re using chia seeds or flaxseed, stir them in now. Or forget, and toss them on top in the morning. Life’s too short for oat guilt.
-
6Pop the lid on (I once tried plastic wrap, didn’t go great) and stick it in the fridge. Minimum 4 hours, but overnight is easier. And if you pull it out and it looks squishy or a bit weird? Don’t stress, it always comes together once you give it a stir.
-
7In the morning, give everything a good mix. Top with chocolate chips, sliced banana, or whatever your heart desires. Or just eat it straight out of the jar standing at the fridge. No judgement here.
CLICK FOR NUTRITION INFO
↑
Approximate Information for One Serving
Serving Size:
1 serving
Calories:
350cal
Protein:
12 gg
Fat:
14 gg
Saturated Fat:
0g
Trans Fat:
0g
Cholesterol:
0mg
Sodium:
0mg
Potassium:
0mg
Total Carbs:
44 gg
Fiber:
0g
Sugar:
0g
Net Carbs:
0g
Vitamin A:
0
Vitamin C:
0mg
Calcium:
0mg
Iron:
0mg
Nutrition Disclaimers
Number of total servings shown is approximate. Actual number of servings will depend on your preferred portion sizes.
Nutritional values shown are general guidelines and reflect information for 1 serving using the ingredients listed, not including any optional ingredients. Actual macros may vary slightly depending on specific brands and types of ingredients used.
To determine the weight of one serving, prepare the recipe as instructed. Weigh the finished recipe, then divide the weight of the finished recipe (not including the weight of the container the food is in) by the desired number of servings. Result will be the weight of one serving.
Did you make this recipe?
Please consider Pinning it!