Straight-Up, Here’s Why I Always Go for Corn on the Cob
Okay, confession time: I can’t actually remember the first time I made corn on the cob myself, but I do remember those summer cookouts at my Aunt Geri’s place. She’d always have this massive stockpot bubbling away, all noisy and steamy, and there’d be kids (mainly me) bouncing around the kitchen, hoping the corn got done before the burgers. Now it’s one of those things I make when I want something that feels like summer—even in October, which probably breaks some sort of corn law. It just screams “home” to me, as cheesy as that sounds. Side note: Once, my dog literally dragged an ear off the table, so even the pets are fans.
Why You’ll Love This (Or At Least, Why I Keep Making It)
I pull out this corn on the cob recipe whenever I want straight-up, no-nonsense comfort food. My family goes nuts for it (and not just because it’s one of the only veggies they’ll eat willingly). It’s easy enough for a Tuesday night and forgiving if you need to improvise. Honestly, if you’ve ever had one of those days where boiling water feels like a challenge (been there!), this recipe is as friendly as they come. The trickiest part for me used to be figuring out how not to overcook the corn—rubbery corn is the enemy. Oh, and pro tip: don’t get fancy with the gadgets. Simple’s best here.
What You’ll Need (Substitutes Welcome)
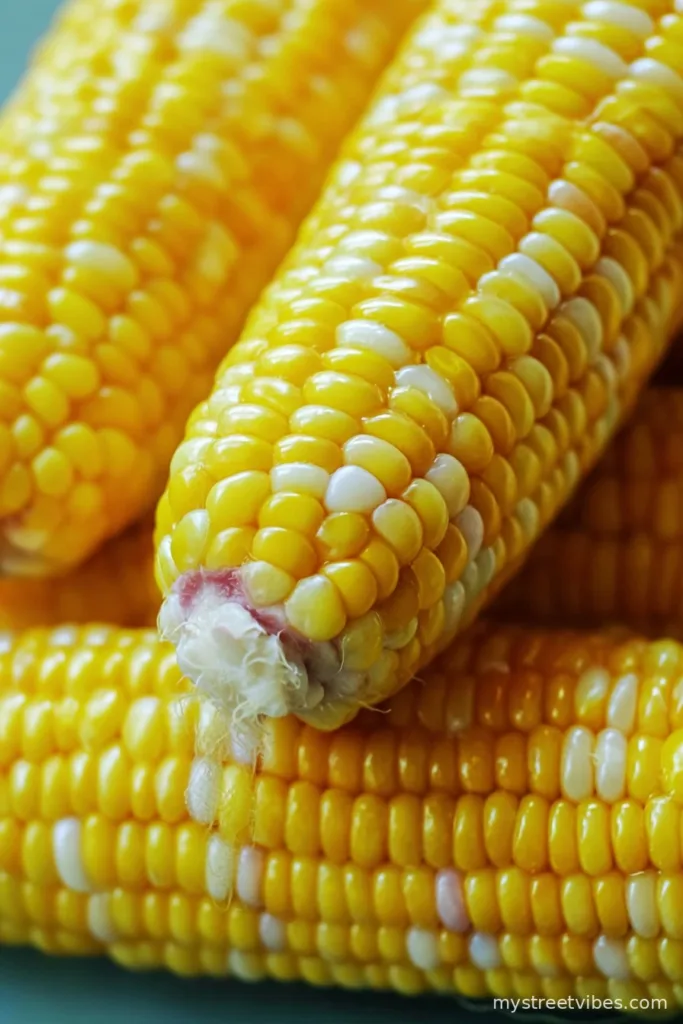
- Fresh corn on the cob (as fresh as you can get; I’ve been known to use the supermarket kind out of desperation—you do what you gotta do)
- Water (enough to fill your pot; never really measured it)
- Salt (my grandmother insisted on kosher, but table salt works just fine, honestly)
- Butter (plenty! Or, if I’m feeling wild, a little olive oil—not traditional but tastes pretty good)
- Optional: Black pepper, paprika, parmesan (when I want to actually impress people—or myself, really)
Here’s How I Do It (Loose Instructions, Tight Flavor)
- Get all the husks and silk off your corn. This part’s messy—just embrace it. I sometimes do it outside to avoid tracking silk everywhere (plus the birds love the scraps).
- Toss the corn in a big pot—something that fits them in one layer, mostly. Pour in enough water to cover. If it’s a squeeze, you can stack ’em a bit, they’ll cook anyway.
- Crank up the heat and bring to a good rolling boil. Add a healthy pinch of salt. This is where I usually sneak a taste (of the water, not the corn—it should be pleasantly salty like the sea, or at least a convincing puddle).
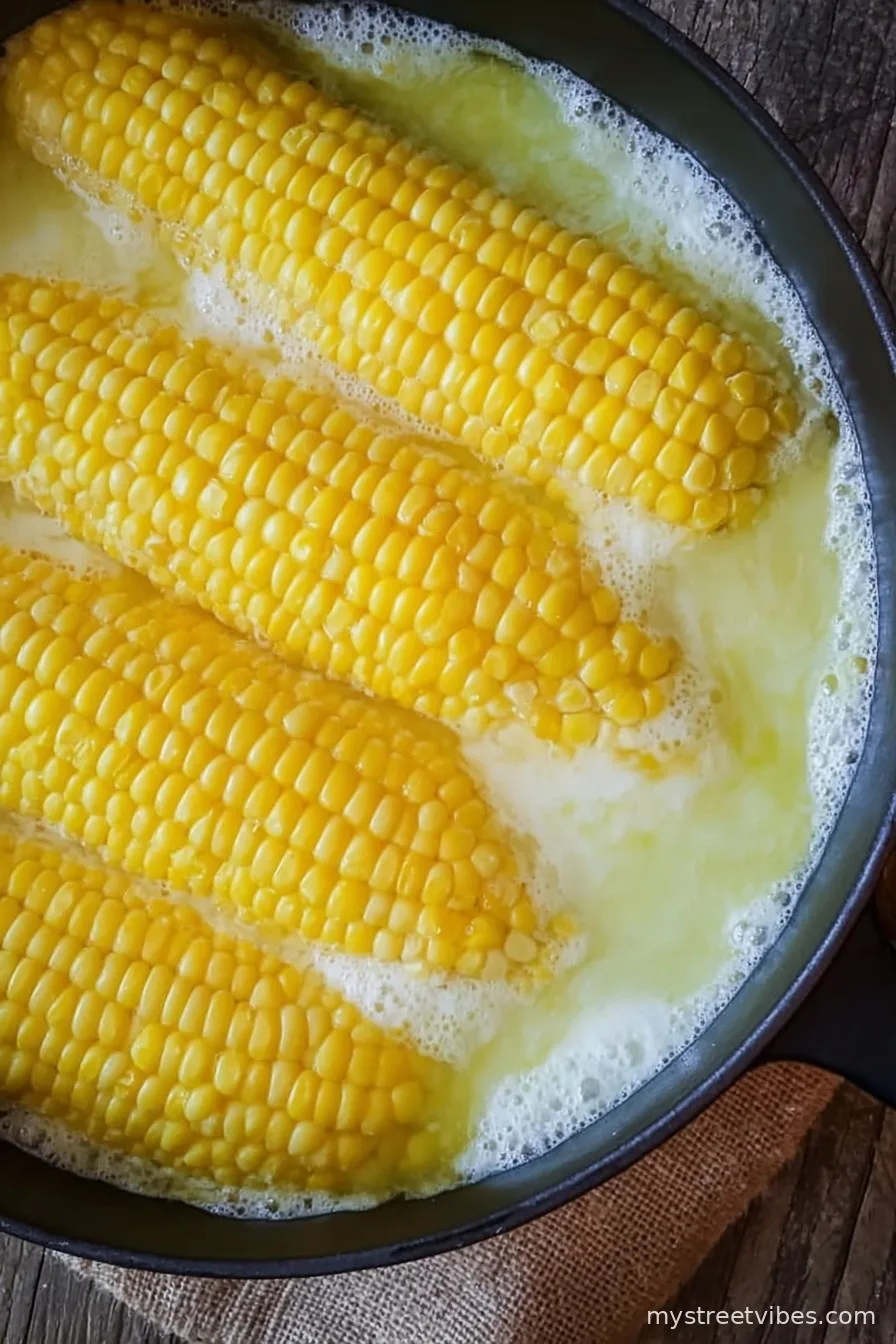
- Once boiling, set a timer for about 5 minutes. Some folks say 6, some say 4—I’ve found 5 is the sweet spot in my kitchen. If the cobs are huge, maybe give it another minute, but keep an eye out. You want them bright yellow, not faded and sad.
- Using tongs (or your hands if you like living on the edge—ouch), pull out the cobs and let them drip a second. This is when I grab the butter so it’s nice and melty by the time it hits the hot corn.
- Roll the corn in butter, sprinkle with more salt, pepper, or whatever you fancy. I sometimes just eat these standing over the sink. Don’t judge.
Notes, or Lessons Learned the Hard Way
- If you store corn too long before cooking, it gets starchy—so use it up quick, or just roast the heck out of it and call it rustic.
- Actually, I find letting the corn cool a minute before buttering keeps it from being too slippery (slippery corn is basically a game of culinary dodgeball at the table).
- If you’ve only got frozen corn raw, just give it an extra minute. But I honestly think it loses something—the crunchy-fresh vibe is harder to get back.
Variations (Some Worked, Some…Not So Much)
- I tried grilling the cobs once, husks and all. Half of them caught fire. Good times, great flavor, slightly terrifying.
- Mexican style is a winner: slather mayo, cotija cheese, chili powder, and lime (bless whoever invented this).
- I once tossed some dill and lemon zest on top—sounds nice, but honestly, I didn’t love it. Maybe you will?
What If You’re Missing a Tool?
No tongs? Try two forks or, in a pinch, your bare hands, just don’t burn yourself! You can even use a spatula, though that’s a bit awkward and I’ve definitely dropped a corn or two down the sink that way.
Keeping Leftovers (But Who Really Has Leftovers?)
Just pop any leftover cobs in the fridge, wrapped in foil or a container. They taste great cold or microwaved—though honestly, in my house these never last more than a day! If you have extra (small miracle), slice the kernels onto salads or stir fries.
How I Like to Serve It (And a Bit of a Family Tradition)
We always pile the corn up on a big platter, swimming in melted butter, with a little bowl of flaky salt on the side. My brother always gets possessive about the last cob so you’ve gotta be quick. Sometimes, I’ll cut the cobs in half for little hands. Or, if I’m having friends over, I set out fun toppings—think smoked paprika, crumbled feta, or even a drizzle of sriracha (my mum isn’t a fan, but I adore it).
Mistakes I’ve Made (So You Don’t Have To)
- I once tried to shortcut the boiling and dumped the corn in before the water hit a true boil—result: sad, tough corn, 0/10, do not recommend.
- Don’t over-salt the water. I was a little over-enthusiastic once and it turned out like licking a salt block. Just a pinch, promise.
- If you forget to butter right away, you can warm your cob in the microwave for a few seconds; just don’t nuke it too long or it’ll go chewy.
Questions I’ve Actually Gotten (Believe It or Not)
- Can I cook corn on the cob in the microwave?
Yup, you can; just wrap it in a damp paper towel and zap for a couple minutes. Not exactly the same, but in a rush, it’ll do. - What about grilling?
Absolutely—try leaving the husk on, but maybe watch the flames. I had some charred casualties once; lesson learned. - Do I need fancy corn holders?
Nope. Fingers work fine, or just use a napkin if it’s piping hot. That said, those little plastic corncob pokers are a riot if you have ‘em. - Is it okay to add sugar to the water?
I don’t, but some folks swear by it. Feels a tad sneaky to me, but hey, follow your bliss. If you’re curious, The Kitchn has a detailed how-to about sweetening your corn water. - What’s the best way to get all the silk off?
My secret weapon: an old dish towel. After husking, rub the ear down gently and most of the silk comes right off. Sometimes. Or just embrace the strands and call it fiber. Mayo Clinic (https://www.mayoclinic.org/healthy-lifestyle/nutrition-and-healthy-eating/expert-answers/corn/faq-20058029) actually says it’s got some nutrition, so win-win, eh?
If you’re still craving more corn inspiration, Simply Recipes breaks down even more variations, and maybe someday I’ll try every one…or maybe just stick with the classic. Life’s too short to sweat the small stuff, especially when there’s buttered corn staring you down.

Ingredients
- 4 ears of fresh corn, husked
- 8 cups water
- 1 tablespoon salt
- 2 tablespoons unsalted butter, for serving
- 1/2 teaspoon ground black pepper, for serving
- 2 teaspoons chopped fresh parsley (optional)
- Lemon wedges (optional for serving)
- 1 teaspoon sugar (optional, for extra sweetness)
Instructions
-
1Bring 8 cups of water to a boil in a large pot over high heat. Add 1 tablespoon of salt to the water.
-
2Carefully place the husked corn ears into the boiling water. Add 1 teaspoon sugar for extra sweetness if desired.
-
3Boil the corn for 6–8 minutes, turning occasionally, until the kernels are bright yellow and tender.
-
4Use tongs to remove the corn from the pot. Drain briefly and place on a serving platter.
-
5Brush each ear of corn with butter and sprinkle with black pepper, parsley, and a squeeze of lemon juice if using. Serve immediately.
CLICK FOR NUTRITION INFO
↑
Approximate Information for One Serving
Serving Size:
1 serving
Calories:
120cal
Protein:
3 gg
Fat:
4 gg
Saturated Fat:
0g
Trans Fat:
0g
Cholesterol:
0mg
Sodium:
0mg
Potassium:
0mg
Total Carbs:
23 gg
Fiber:
0g
Sugar:
0g
Net Carbs:
0g
Vitamin A:
0
Vitamin C:
0mg
Calcium:
0mg
Iron:
0mg
Nutrition Disclaimers
Number of total servings shown is approximate. Actual number of servings will depend on your preferred portion sizes.
Nutritional values shown are general guidelines and reflect information for 1 serving using the ingredients listed, not including any optional ingredients. Actual macros may vary slightly depending on specific brands and types of ingredients used.
To determine the weight of one serving, prepare the recipe as instructed. Weigh the finished recipe, then divide the weight of the finished recipe (not including the weight of the container the food is in) by the desired number of servings. Result will be the weight of one serving.
Did you make this recipe?
Please consider Pinning it!!