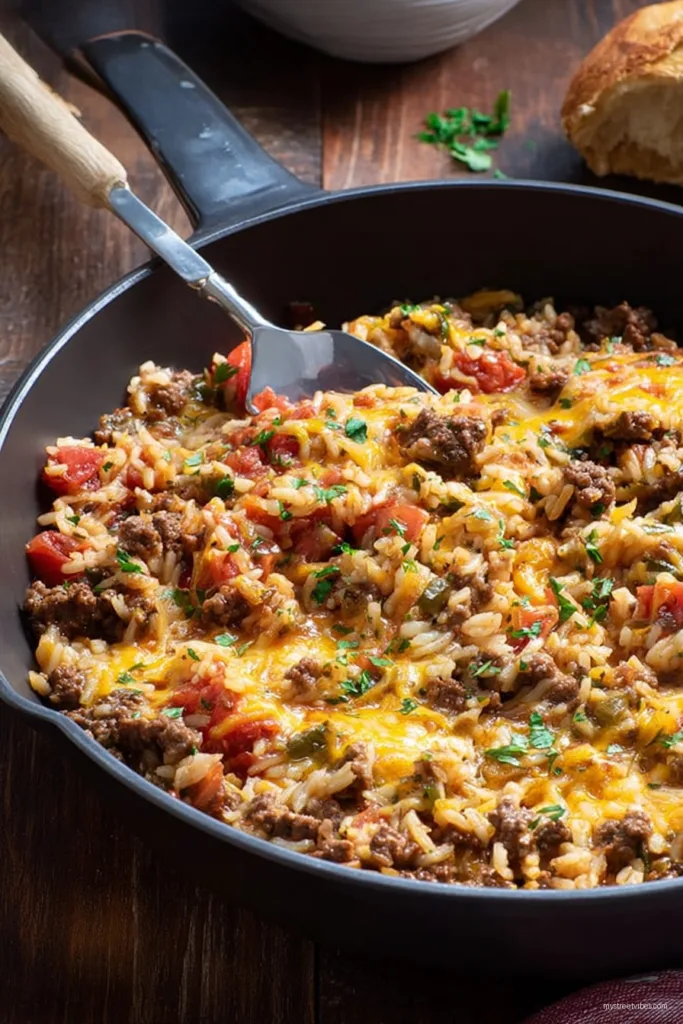
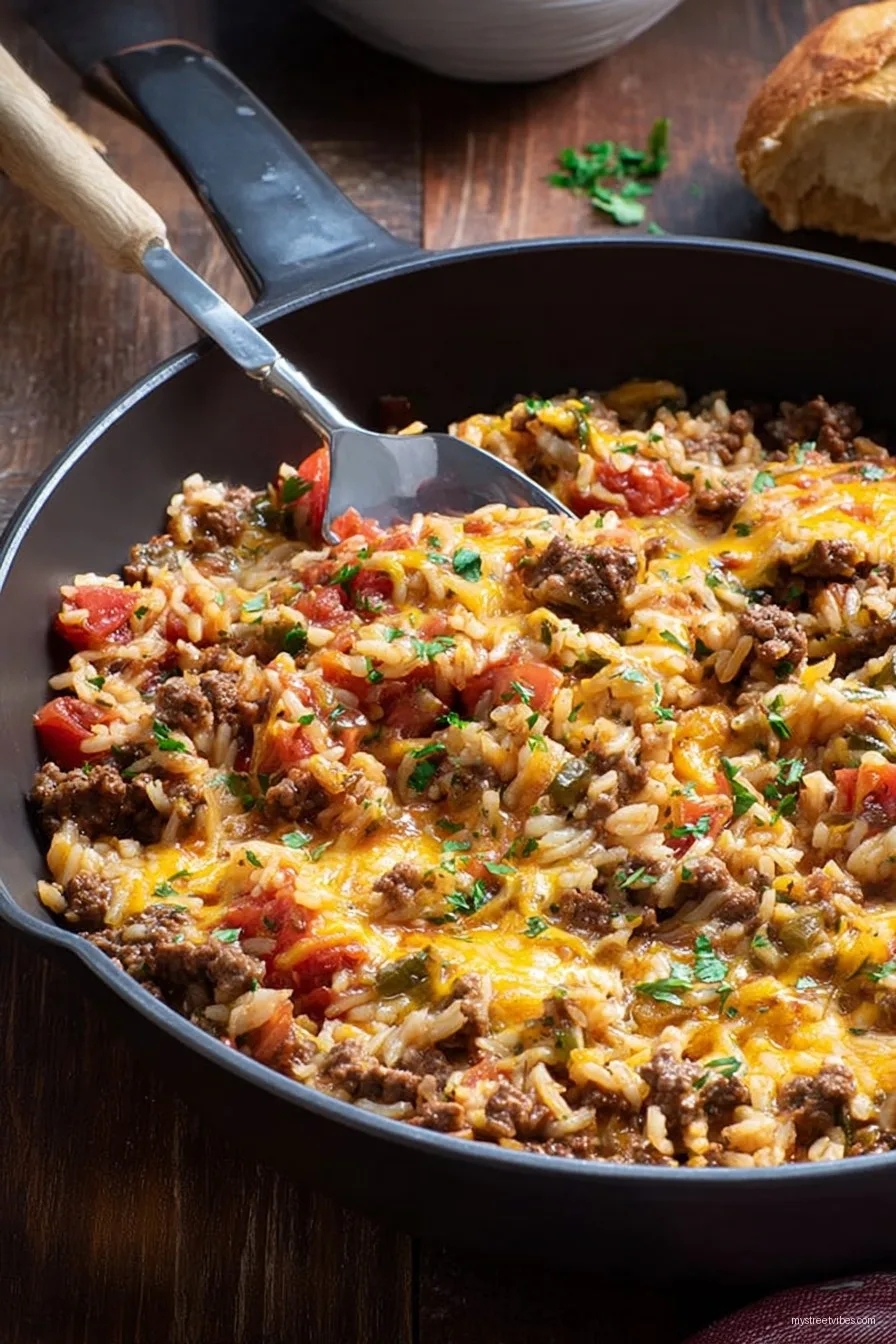
Alright friend, grab a mug of tea (or whatever you’re sipping on) because we’re about to dive into my well-loved Ground Beef and Rice Skillet recipe. I swear every time I make this, it’s like pressing a magic button for dinnertime happiness—at least in my house. My kids call it ‘the one with the good leftovers’ (but honestly, it’s a miracle if any leftovers survive the night!). Most of the time, I cook this on those hectic midweek nights when I’m pretty sure there’s nothing in the fridge, only to discover a pack of ground beef sitting there like it’s been waiting for this very moment. Oh, and fun fact: I once tried to make this with leftover turkey instead; suffice it to say, the less said about that experiment, the better.
So, Why Do I Actually Love Making This?
I make this when I feel like being a domestic wizard but with the bare minimum of actual spell-casting (and by that I just mean effort). My family goes crazy for it because it’s hearty, simple, and—best of all—doesn’t dirty up a mountain of dishes. You know those recipes that always need ONE weird ingredient you forgot to buy? Not this one; pantry staples galore. Occasionally, my rice ends up a bit chewy—blame me yakking on the phone instead of stirring—but nobody ever seems to mind, they just call it ‘extra texture.’ Plus, this works with whatever you’ve got lingering at the back of the veggie drawer, which is sort of amazing if you’re not feeling a grocery run.
What You’ll Need (and What You Can Totally Swap)
- 1 pound ground beef (Anything between 80/20 to 90/10 works, or turkey if you’re feeling virtuous. My neighbor swears by bison. I’ve tried it; wasn’t wowed.)
- 1 cup long-grain white rice (Jasmine is nice, but I sometimes use brown rice if that’s all I have—just add a splash more broth and let it simmer longer. Minute rice will work… but it’s just not the same, ya know?)
- 2 cups beef broth (Chicken broth totally works; I’ve even done a mix with water and a bouillon cube when the cupboard was bare.)
- 1 small onion, diced (Red, yellow, white, it all works, even pre-chopped frozen if you’re in full lazy mode.)
- 2–3 garlic cloves, minced (Honestly, a spoonful of jarred stuff is straightforward enough for busy nights.)
- 1–2 handfuls of veggies (Bell peppers, frozen peas, carrots, corn—my Granny always said green beans but I think she just liked the color.)
- 1 teaspoon paprika
- ½ teaspoon dried oregano (If you have Italian seasoning instead, dump that in!)
- Salt and pepper, to taste (I usually eyeball it. Don’t stress.)
- 1 can diced tomatoes, undrained (Or leave them out for a less saucy version; sometimes I add a squirt of tomato paste instead.)
- 1 cup shredded cheddar or mozzarella (Optional but honestly, why would you skip cheese?)
How I Actually Make It (Warts and All)
- Heat a big ol’ skillet (12 inch is best, but I’ve used a big soup pot in a pinch) over medium heat. Toss in the beef. Break it up with whatever utensil is closest (I once used a potato masher—it mostly worked!). Cook till it’s just browned.
- Toss in your onion and garlic. Stir it around till it softens up and smells like dinner is, indeed, on its way. Don’t worry if there’s a brown bit sticking to the pan—adds flavor.
- This is when you add your rice. Stir it right into the beef and onion business for a minute or two. If it looks a bit goopy right now, that’s OK. Actually, I find it works better if you let the rice catch a bit of the beef fat.
- Now’s the fun part: Pour in your broth and tomatoes (juice and all). Chuck in your veggies, paprika, oregano, salt, and pepper. Give it a good stir. It’ll look like a cozy mess. Slap a lid on it (or use a sheet pan if your lid pulled a disappearing act) and let it simmer for 18–20 minutes, stirring once or twice so the rice doesn’t get stuck on the bottom and burn (which, hey, it happens).
- Lift the lid. If the rice is fluffy and most of the liquid’s been slurped up, you’re golden. If not, give it another few minutes, maybe add a splash more broth if things start to look sad and dry.
- Scatter the cheese over the top and let it melt, or just stir it right in if you’re feeling impatient. And—this is where I always sneak a spoonful for “testing” purposes (chef’s privilege!).
- Spoon it into bowls. If anyone’s complaining about being hungry, hand them a ladle and point them to the stove.
Messy Notes That Actually Help (Promise!)
- If your rice is taking forever, odds are the lid isn’t tight enough. I used a dinner plate once; worked fine but not perfect.
- The cheese layer isn’t critical. I love it, but once I forgot and added a dollop of sour cream instead—no disasters.
- I think this tastes even better the next day. Something about all those flavors having time to mingle in the fridge.
- Don’t panic if it gets a little crispy on the bottom; in fact, I think those crunchy bits are kinda the best part.
Things I Tried (Some Better Than Others)
- I threw in leftover taco meat once (don’t judge); it tasted like a Tex-Mex dream.
- Swapping white rice for quinoa changed the texture, not in a bad way, but my youngest made a suspicious face.
- Tried it with just mushrooms and no beef for my veggie sister—wasn’t my fave, but maybe it’d work with lentils next time?
If You Don’t Have the ‘Right’ Skillet—My Two Cents
Okay, so my aunt claims you *need* a heavy cast-iron skillet, but honestly, I’ve made this in a normal nonstick pan and once in a behemoth saucepot when I couldn’t find the skillet; turned out fine. Just keep an eye on it—thin pans cook faster.

Storing What’s Left (If You Have Any…)
Let it cool, then stash leftovers in an airtight box in the fridge. They’re good for up to 3 days (theoretically—mine never last beyond day two, tops). You can freeze portions, too, but the rice goes a little mushy so I usually don’t bother unless I’m feeling extra organized. Not that it happens much.
How I Like to Serve This
I usually just scoop it straight from skillet to bowl, but my gang likes a dollop of sour cream and maybe some hot sauce on top. Sometimes we do a side of crusty bread, or I’ll throw together a quick salad if I’m feeling fancy (rarely). On cold nights, I put on cheesy 80s tunes and call it ‘comfort food night,’ which is—let’s be honest—just an excuse to dance in the kitchen.
Some Lessons I Learned the Hard Way
- Don’t crank up the heat to ‘blast furnace’ mode—undercooked rice and chewy beef aren’t the vibe.
- Give the rice time to do its thing. I once rushed through this step and ended up with a weird soupy pan. (But the dog was happy.)
- Stir occasionally—trust me, that scorched rice layer isn’t always intentional. Unless you’re making tahdig, which is a whole other ballgame (I was inspired when I read about it here).
- Season as you go—you can always add more salt later, but you can’t take it away. Learned that one the hard way one salty Tuesday.
Your (Actual) Questions About This Recipe
- Can I double this recipe for a crowd?
- Yup, just use the biggest skillet or soup pot you’ve got. You may need to cook it a few minutes longer, and maybe use a bit more broth. Keep an eye out, though!
- Do I absolutely have to use ground beef?
- Nope! Turkey, chicken, pork, or even plant-based stuff work here. Just watch the seasoning, as leaner meats can be a bit bland.
- Does it freeze well?
- Sort of. It’ll freeze, but sometimes the rice gets mushy. If that doesn’t bother you, go for it. I saw a good guide on freezing rice dishes over at Southern Living.
- Can I make this less saucy?
- Sure can! Just cut back on the diced tomatoes or skip ’em altogether. Or add more rice.
- What if my skillet doesn’t have a lid?
- I’ve used foil, a pizza pan, even another upside-down frying pan. Improvise! It’s not fancy, but it works.
- Is there a way to make this spicier?
- Toss in half a teaspoon of chili flakes, or use pepper jack cheese instead of cheddar. Sometimes I hit it with a splash of hot sauce at the table—depends how wild I feel.
And on a completely unrelated note, if you ever accidentally burn the onions while chatting on the phone, just scrap ’em and start again. No judgment. We’ve all been there (well, I have).
Ingredients
- 1 lb ground beef
- 1 cup long grain white rice, uncooked
- 1 medium onion, diced
- 1 bell pepper, chopped
- 2 cloves garlic, minced
- 1 can (14.5 oz) diced tomatoes, undrained
- 2 cups beef broth
- 1 teaspoon paprika
- 1 teaspoon dried oregano
- Salt and black pepper to taste
- 2 tablespoons olive oil
- 1 cup shredded cheddar cheese (optional, for topping)
Instructions
-
1Heat olive oil in a large skillet over medium heat. Add diced onion and chopped bell pepper, sauté for 2-3 minutes until softened.
-
2Add ground beef and cook, breaking it up with a spoon, until browned and no longer pink. Drain excess fat if necessary.
-
3Add minced garlic, paprika, dried oregano, salt, and black pepper. Stir and cook for 1 minute until fragrant.
-
4Pour in uncooked rice, diced tomatoes with juices, and beef broth. Stir to combine and bring to a gentle boil.
-
5Reduce heat to low, cover, and simmer for 18-20 minutes or until rice is tender and liquid is absorbed. Stir occasionally.
-
6Remove from heat, sprinkle with shredded cheddar cheese if desired, and let stand for 2 minutes before serving.
Approximate Information for One Serving
Nutrition Disclaimers
Number of total servings shown is approximate. Actual number of servings will depend on your preferred portion sizes.
Nutritional values shown are general guidelines and reflect information for 1 serving using the ingredients listed, not including any optional ingredients. Actual macros may vary slightly depending on specific brands and types of ingredients used.
To determine the weight of one serving, prepare the recipe as instructed. Weigh the finished recipe, then divide the weight of the finished recipe (not including the weight of the container the food is in) by the desired number of servings. Result will be the weight of one serving.
Did you make this recipe?
Please consider Pinning it!!
