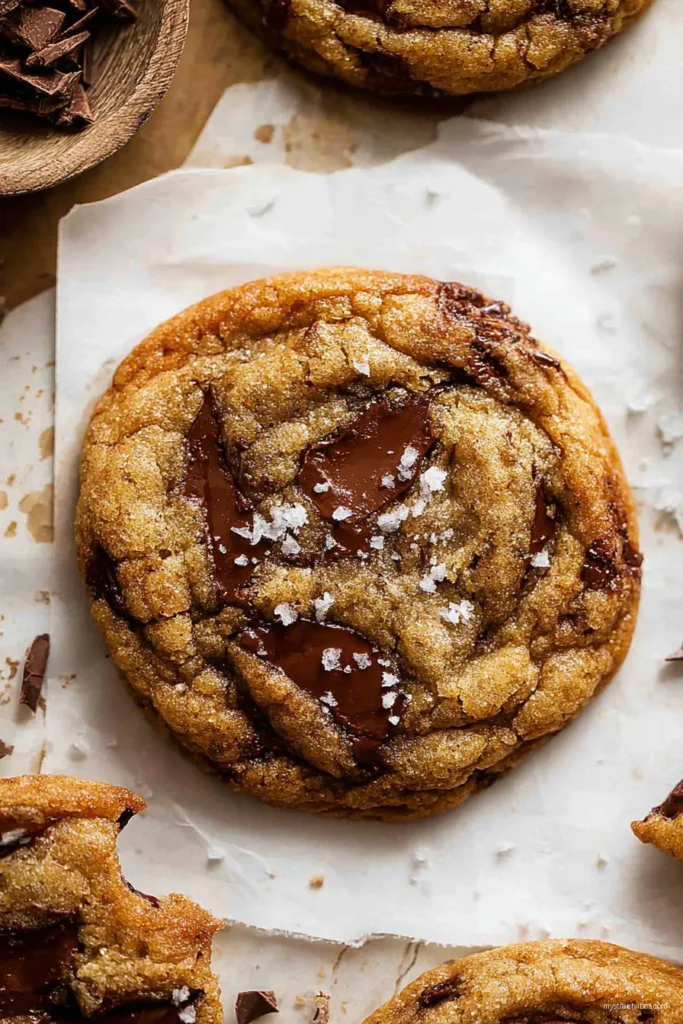
Let Me Tell You About These Unreal Cookies
The first time I made Browned Butter Miso Chocolate Chip Cookies, it was actually supposed to be regular old cookies, but I had some miso left over (from a soup I somewhat butchered… but that’s a whole different story) and thought, “Why not?” I was a bit skeptical, honestly, but the results had my nephew declaring, “These slap, Auntie!”—which I guess is a good thing (I still don’t always get Gen Z slang). Anyway, now every time there’s a gloomy Saturday or a random school bake sale, these are my secret weapon. Oh, and if you hear crunching, it’s probably me sneaking a piece before anyone else finds them.
Why I Keep Making These (Even When I’m Tired)
I make these when my friends come over and someone claims they “don’t like sweets” (yet somehow the plate’s empty by the end of the night). My family goes a bit wild for them because the miso gives you this subtle, almost caramelly savouriness that shouldn’t work—but totally does. If you’ve ever been burnt out on basic chocolate chip cookies (it’s happened to me and it’s a low point) these will give you hope again. Warning: you will probably eat the dough straight from the bowl… just try not to eat it all before baking. Or do, it’s your kitchen.
What You’ll Need (But Feel Free to Wing It)
- 1 cup (about 225g) unsalted butter (I sometimes use salted if that’s all I’ve got, just skip the extra salt later)
- 2 1/4 cups all-purpose flour (My grandmother always insisted on King Arthur, but honestly any version works fine)
- 1 cup brown sugar, packed (or use a mix of light and dark for a richer vibe, your call)
- 1/2 cup granulated sugar (if you run out, I’ve subbed in coconut sugar in a pinch, it’s good!)
- 2 large eggs
- 2 teaspoons vanilla extract (maybe a splash more, who’s counting?)
- 2 tablespoons white miso paste (don’t use red miso—way too strong, trust me, I tried)
- 1 teaspoon baking soda
- 3/4 teaspoon kosher salt (unless you used salted butter, then back off a bit)
- 1 1/2 to 2 cups chopped chocolate or chocolate chips (I like to go half dark, half milk, because indecisive is my middle name)
How I Actually Make Them (Spoiler: With a Mess)
- Brown the butter: Melt the butter in a medium-ish pan over medium heat. Stir a bunch until it foams, then goes golden and smells nutty (don’t walk away! I did once and started a tiny kitchen panic). Pour it into a bowl to cool, but don’t stress about all the browned bits—they’re the good stuff.
- Mix those wet things: When the butter’s not piping hot—think warm bath, not a hot tub—add both kinds of sugar, miso, and vanilla. Stir until it looks kind of like toffee. Taste? Yeah, I do.
- Add the eggs: Crack in the eggs one at a time; I like to beat them in with a fork (I say it combines better… mostly I just hate cleaning the mixer at this point). It might look separated, but it will come together. Don’t panic.
- Dry ingredients time: In another bowl (or not, I’ve dumped it straight in and survived), mix flour, baking soda, and salt. Add to the wet mix in two goes. I switch to a wooden spoon here—my arm regrets it if I don’t.
- Chocolatify: Dump in the chocolate (saving a handful for topping later if you wanna be a show-off). Fold gently, dreaming of gooey pools.
- Chill: Chill the dough for at least 45 mins. I know, waiting—the worst part. But if you can, leave it overnight. It actually tastes better the next day, who knew?
- Bake: Preheat oven to 350°F (175°C). Scoop out dough—golf ball size, ish—onto lined trays. Press a few more chocolate bits on top for Instagram-worthyness (I try, but rarely post). Bake 10-12 mins. The edges should look set, middles puffy-ish. Don’t overbake! Or do if you like them crunchier, it’s your circus.
- Let cool on the tray for a bit—no heroic moves, they’re soft! Then move to a rack (or straight into your mouth).
Stuff I Wish I’d Known (aka Notes)
- Sometimes the dough is super soft post-mixing. That’s normal. Longer chill helps; don’t skip if you actually want them to look like cookies and not pancakes.
- I used to over-brown the butter so it got bitter, so now I take it off the heat just before I think it’s perfect. It finishes up even after you move it (how neat is that?).
- If your miso is clumpy, whisk it with the sugars first. Saves on random salty blobs.
Variations I’ve Attempted (Some Hits, One Miss)
- Swap half the chocolate for toffee bits—wildly good, but sticky.
- Used almond extract instead of vanilla once. Um, not for me, very fake-marzipan. Maybe skip that.
- Pretzel pieces on top—next level crunch. But honestly, plain is classic for a reason.
Do You Need Fancy Equipment? Not Really
A stand mixer is nice, but I usually just grab a wooden spoon and a big bowl. If you don’t have a whisk, a fork works (I’ve done it in my mate’s college rental with nothing but determination and a spatula—don’t recommend, but it works). For portioning, an ice cream scoop makes you feel a bit pro, but two spoons and a bit of patience do the job.
What About Leftovers? (Ha!)
So technically, you can store these in an airtight container, and they’ll last up to 3 days. But let’s be real: in my house, they disappear almost instantly. If you’re superhuman and don’t eat them all, they freeze beautifully too—just pop a few in a freezer bag and sneak one out when the craving hits. Wouldn’t recommend the microwave to reheat, though; oven’s way better. Or just eat cold, cookie monster style.
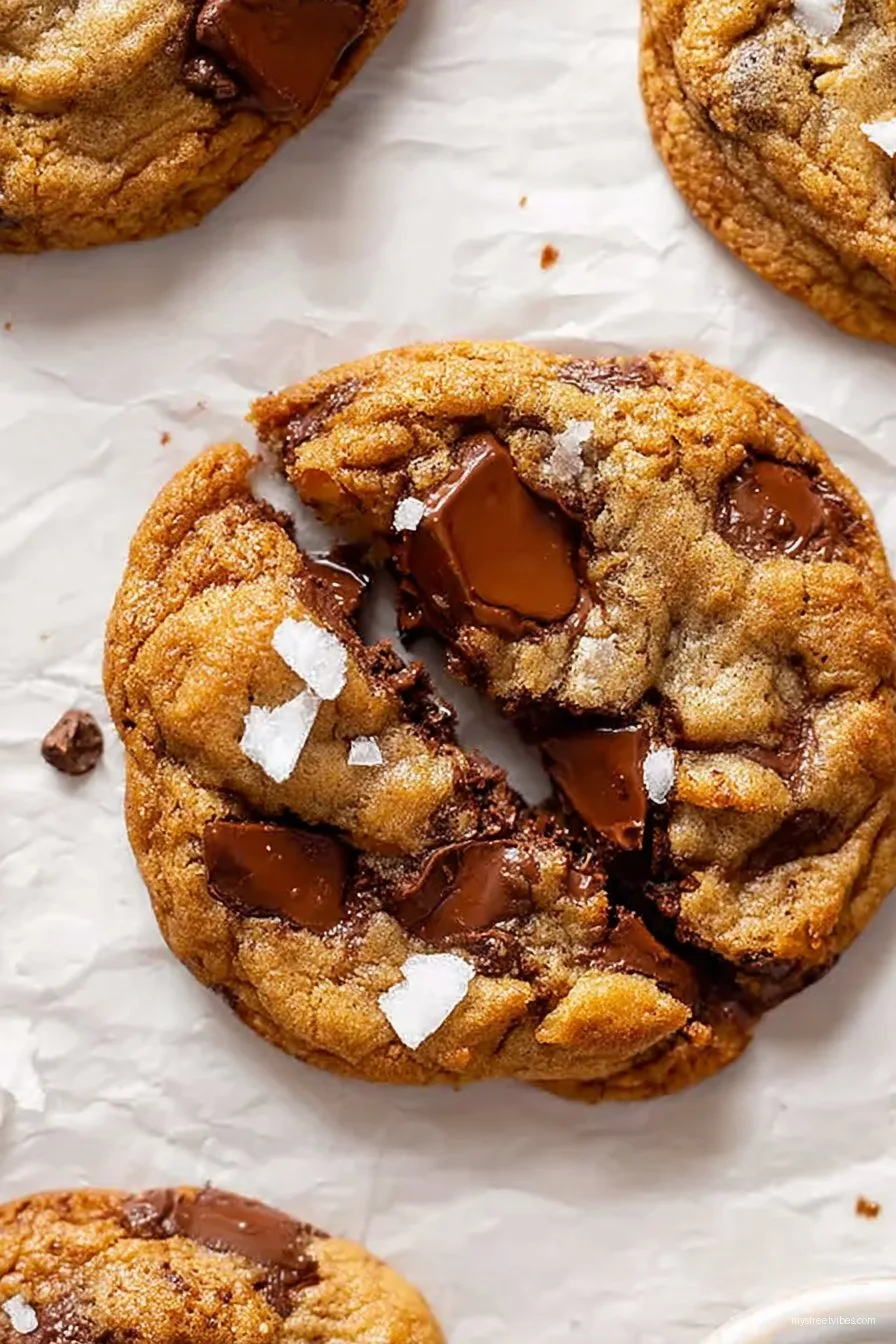
Serving ‘Em Up (Big Glass of Milk, Please)
I think these are perfect still a bit warm, all gooey. Occasionally, I’ll fancy ‘em up with a scoop of no-churn vanilla ice cream (shout out to that recipe!). My cousin dunks hers in cold brew coffee—absolute genius. Oh, and during Christmas, I drizzle a bit of melted chocolate zig-zag style with a sprinkle of flaky salt. Fancy, but not fussy, you know?
Things I Screwed Up (and Learned From)
- I once rushed the chilling step (impatient much?) and they went flat as pancakes. Actually, the crispy edges were ok-ish, but not what I wanted. Chilling is key!
- Browned butter makes a mess if you use a tiny saucepan; use something with higher sides unless you fancy scrubbing stovetops. Ask me how I know.
- Trying to mix cold miso straight from the fridge? Not the best idea. Let it come to room temp first—it blends way easier.
You Asked, I Answered (Cookie FAQ)
Can I use red miso instead of white?
Nope! Well, I mean you can, but it’s super strong—think “Whoa, did I just eat actual soup in a cookie?” Stick to white miso, or maybe yellow if you’re adventurous.
What’s the point of browning the butter?
It just makes it taste nutty and kind of toasty—trust me, you notice it (plus your kitchen will smell like heaven for hours). There’s science to it, too; read more about the magic at Bon Appétit’s browning butter guide.
Do I have to chill the dough?
I mean, you don’t have to, but honestly it’s worth the wait. Even 45 mins makes a difference. If you’re in a rush, bake a couple right away (chef’s treat), then chill the rest for later. It helps them hold together and ups the flavor, scout’s honor.
Can I swap the flour for gluten-free?
I haven’t tried it myself, but my friend Rachael used Bob’s Red Mill 1:1 and said it worked a treat. If you give it a go, let me know! (Or just shoot me a message, always love an experiment gone right–or even wrong.)
How do I know when they’re done?
The edges go golden and set, centers are puffy but still look soft—it’s not a math equation, more of a vibe. Actually, underbaked is way better than overbaked for these. But if you forget them for an extra minute or two, just call it a crispy cookie day.
Phew, that was a lot! Anyway, happy baking—would honestly love to hear how your batch turns out (or if your family ends up fighting over the last one like mine does). Grab your apron, or don’t, and get mixing!

Ingredients
- 1 cup (226g) unsalted butter
- 2/3 cup (130g) granulated sugar
- 1 cup (215g) packed brown sugar
- 2 large eggs
- 2 tablespoons white miso paste
- 2 teaspoons vanilla extract
- 2 1/2 cups (315g) all-purpose flour
- 1 teaspoon baking soda
- 1/2 teaspoon salt
- 2 cups (340g) semisweet chocolate chips
Instructions
-
1In a saucepan over medium heat, melt butter and cook, stirring, until it foams and turns golden brown with a nutty aroma. Remove from heat and let cool for 10 minutes.
-
2In a large bowl, whisk cooled browned butter, granulated sugar, and brown sugar until smooth. Beat in eggs, miso paste, and vanilla extract until well combined.
-
3In a separate bowl, whisk together all-purpose flour, baking soda, and salt. Gradually add dry ingredients to wet ingredients, mixing just until combined.
-
4Fold in chocolate chips. Cover dough and chill for at least 30 minutes for best results (optional).
-
5Preheat oven to 350°F (175°C). Scoop rounded tablespoons of dough onto lined baking sheets, spacing 2 inches apart.
-
6Bake for 10-12 minutes until edges are golden and centers are set. Cool on baking sheet for 5 minutes before transferring to a wire rack.
CLICK FOR NUTRITION INFO
↑
Approximate Information for One Serving
Serving Size:
1 serving
Calories:
180cal
Protein:
2 gg
Fat:
9 gg
Saturated Fat:
0g
Trans Fat:
0g
Cholesterol:
0mg
Sodium:
0mg
Potassium:
0mg
Total Carbs:
24 gg
Fiber:
0g
Sugar:
0g
Net Carbs:
0g
Vitamin A:
0
Vitamin C:
0mg
Calcium:
0mg
Iron:
0mg
Nutrition Disclaimers
Number of total servings shown is approximate. Actual number of servings will depend on your preferred portion sizes.
Nutritional values shown are general guidelines and reflect information for 1 serving using the ingredients listed, not including any optional ingredients. Actual macros may vary slightly depending on specific brands and types of ingredients used.
To determine the weight of one serving, prepare the recipe as instructed. Weigh the finished recipe, then divide the weight of the finished recipe (not including the weight of the container the food is in) by the desired number of servings. Result will be the weight of one serving.
Did you make this recipe?
Please consider Pinning it!!