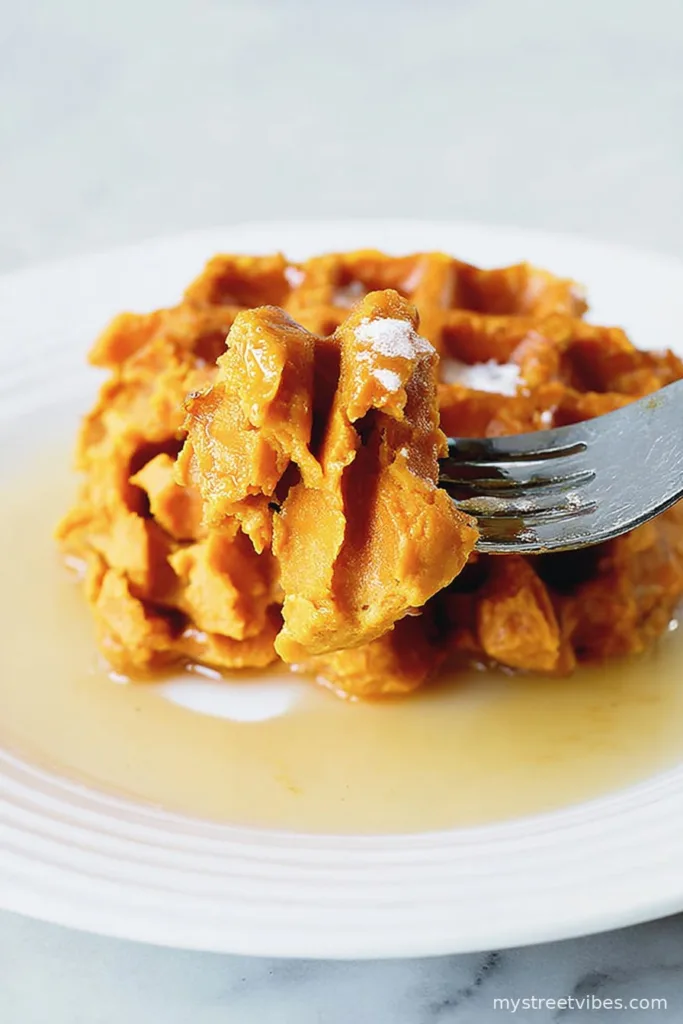
OK, Let Me Tell You How I Fell in Love With These Waffles
I have to start with a confession: I never intended to become the kind of person who talks about waffles, of all things, but here we are. One rainy Tuesday, when I’d run out of bread (and patience), I fished a sad cooked sweet potato from my fridge, found some eggs, and mashed them up with more hope than sense—five minutes later, I was eating warm, crispy-edged sweet potato waffles with my coffee. Who knew desperate breakfasts could feel so intentional?

Honestly, I’ve made fancier things and totally botched them—but these? These always work. And sometimes that’s enough.
Why You’ll Actually Love This (I Promise)
I make these sweet potato waffles when I want something hot and filling, and really can’t be fussed. My family goes a bit wild for them, especially since they’re weirdly sweet even though there’s no sugar, and you can eat them with your hands (that’s a small victory). Oh, and if you’ve ever tried to make a “simple” breakfast only to realize your sink is somehow now full of every pan you own—I feel your pain. This recipe’s barely a two-dish operation. I sometimes grumble about peeling sweet potatoes but it’s so simple, I’d be lying if I said I didn’t secretly love it.
What’s Going In (With My Two Cents)
- 1 medium cooked sweet potato (about 1 cup mashed) — I usually roast mine but microwaving is fine when I’m short on time. My friend Deena says canned sweet potato works in a pinch, but it gets a bit mushy.
- 2 large eggs — Any eggs do. Once I tried duck eggs because, well, I had one. Tasted richer! Also, grandma swore by free-range, but honestly, whatever’s in the fridge is perfect.
That’s the base! If you’re feeling jazzy: a pinch of cinnamon or a tiny shake of salt are nice, but not required.
Here’s How I Make 2 Ingredient Sweet Potato Waffles
- Peel your cooked sweet potato if you haven’t already. Plop it in a bowl and mash it until it’s pretty smooth—some little lumps are just character, right?
- Crack the eggs right in. Give it a good whisking till the mixture looks cheerful and mostly blended. (Confession: I often use a fork. Less washing up.)
- Heat the waffle iron up. You want it hot—I usually flick a drop of water on; if it sizzles, you’re set.
- Spoon the mixture right onto the greased waffle iron. Don’t worry if it spreads strangely, it sorts itself out. Close it up and cook for 3–5 minutes. I keep peeking, but try not to open early or the waffles might tear (voice of experience here).
- Carefully lift them out. (I often use two forks and a word of encouragement.) Eat hot!

A Few Notes Form My Notebooks
- You can absolutely double or triple this—but then my old waffle iron starts to make unhappy noises. Just saying, don’t overload it.
- If you forget to grease the iron, the waffles will stick like nobody’s business. Learned that the hard way.
- Actually, I find these taste even better the next day, reheated in the toaster. Weird, I know.
Some Variations I’ve Tried (And One Fail)
- Added a sprinkle of cheddar once—delicious if you’re leaning savory.
- Swapped sweet potato for canned pumpkin—came out a little softer but totally works.
- Tried adding a splash of oat milk, but then got soggy waffles. Would not recommend, unless you like spongey breakfasts!

About the Equipment (And If You Don’t Have a Waffle Iron…)
I know I said a waffle iron’s essential, but actually, in a pinch, you can use a grill pan or even fry them up like pancake-ish things. The edges won’t be as crispy, but no one at my table complained when I tried!
Storing Leftovers (If You Have Any)
They keep in an airtight container in the fridge for two days, or you can freeze ’em for later. Though honestly, in my house it never lasts more than a day because someone (okay, usually me) nibbles them as a midnight snack.
How I Like to Serve Them
My personal favorite: topped with Greek yogurt and a little maple syrup (don’t @ me, it’s brilliant). Sometimes, when I’m feeling nostalgic, I go for a thin pat of salted butter, because that’s how my mum did it. My kids dip them into applesauce like it’s a party.
Things I Learned the Hard Way (Pro Tips, Sort Of)
- Don’t rush the waffle iron—one time I impatiently tried to pry one out early, and it looked like a sad orange jigsaw puzzle. Let them crisp.
- Beat the eggs and sweet potato together really well, or the texture’s odd. Trust me, this is one step not to fudge.
- Grease the waffle iron each time, even if it claims to be “nonstick.” Liar.
Real People’s Questions (And My Rambling Answers)
- Can I make these vegan? You’d think so, but I haven’t cracked that nut yet. I tried with a flax “egg” once—sad little pancakes resulted. If you figure out a magic trick here, please tell me!
- Do I have to use orange sweet potatoes? Nope! Japanese sweet potatoes (the white kind) taste brilliant, just a bit less sweet. Once, I even used mashed carrots when I was short on groceries, but that’s another saga.
- Are these crispy or soft? They’re crisp at first, then go softer if left out (but I rarely have leftovers to check!)
- Can I add spices? Absolutely, cinnamon, nutmeg, or even curry powder for a savory twist—go wild.
Oh, last thing—if you wind up making these at 7am in pajamas, with coffee in hand and not a care for perfect circles: you’re doing it just right.
Ingredients
- 1 medium cooked sweet potato (about 1 cup mashed) — I usually roast mine but microwaving is fine when I’m short on time. My friend Deena says canned sweet potato works in a pinch, but it gets a bit mushy.
- 2 large eggs — Any eggs do. Once I tried duck eggs because, well, I had one. Tasted richer! Also, grandma swore by free-range, but honestly, whatever’s in the fridge is perfect.
Instructions
-
1Peel your cooked sweet potato if you haven’t already. Plop it in a bowl and mash it until it’s pretty smooth—some little lumps are just character, right?
-
2Crack the eggs right in. Give it a good whisking till the mixture looks cheerful and mostly blended. (Confession: I often use a fork. Less washing up.)
-
3Heat the waffle iron up. You want it hot—I usually flick a drop of water on; if it sizzles, you’re set.
-
4Spoon the mixture right onto the greased waffle iron. Don’t worry if it spreads strangely, it sorts itself out. Close it up and cook for 3–5 minutes. I keep peeking, but try not to open early or the waffles might tear (voice of experience here).
-
5Carefully lift them out. (I often use two forks and a word of encouragement.) Eat hot!
CLICK FOR NUTRITION INFO
↑
Approximate Information for One Serving
Serving Size:
1 serving
Calories:
170 caloriescal
Protein:
8gg
Fat:
5gg
Saturated Fat:
0g
Trans Fat:
0g
Cholesterol:
0mg
Sodium:
0mg
Potassium:
0mg
Total Carbs:
25gg
Fiber:
0g
Sugar:
0g
Net Carbs:
0g
Vitamin A:
0
Vitamin C:
0mg
Calcium:
0mg
Iron:
0mg
Nutrition Disclaimers
Number of total servings shown is approximate. Actual number of servings will depend on your preferred portion sizes.
Nutritional values shown are general guidelines and reflect information for 1 serving using the ingredients listed, not including any optional ingredients. Actual macros may vary slightly depending on specific brands and types of ingredients used.
To determine the weight of one serving, prepare the recipe as instructed. Weigh the finished recipe, then divide the weight of the finished recipe (not including the weight of the container the food is in) by the desired number of servings. Result will be the weight of one serving.
Did you make this recipe?
Please consider Pinning it!