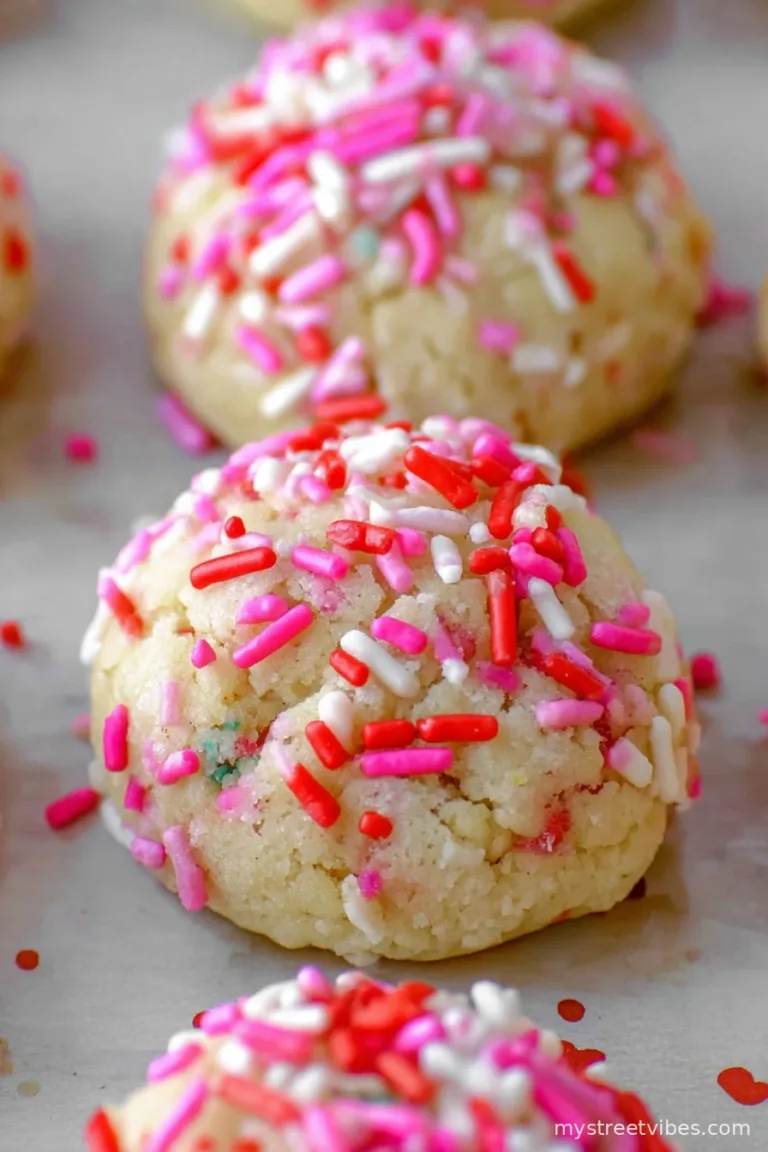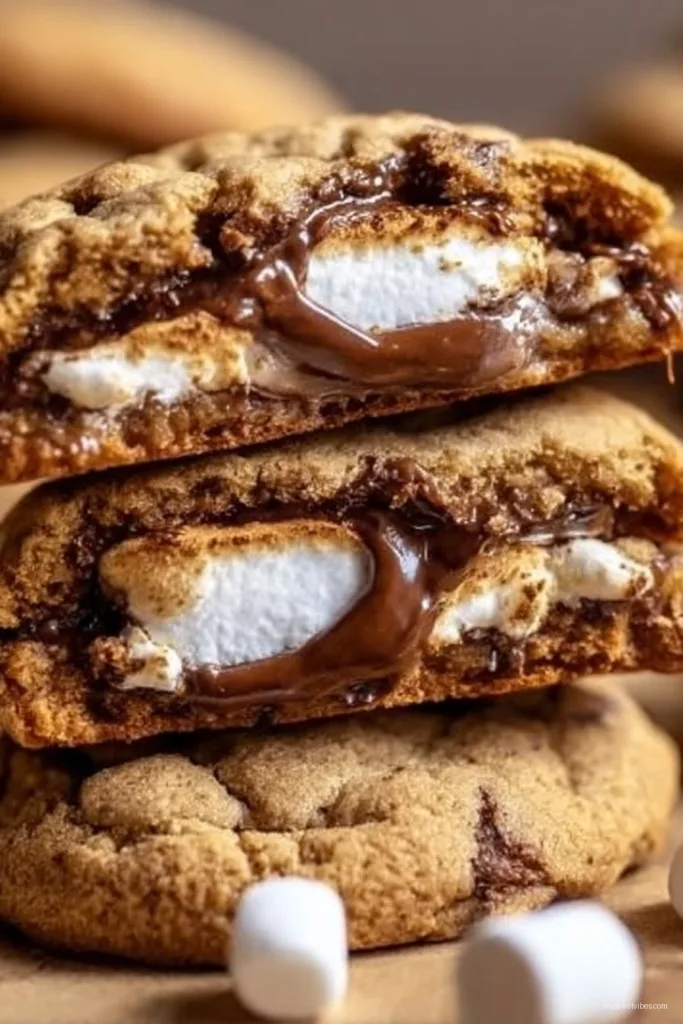
Okay, You Gotta Try These S’mores Cookies
Alright, confession time: the first time I tried to bake s’mores cookies, I accidentally left the marshmallows in a little too long and had to (very heroically, I might add) scrape charred goop off my mum’s ancient baking sheet. But I learned my lesson…sort of. Nowadays, these cookies are my go-to when I want to taste a bit of summer campfire nostalgia without, y’know, hunting for dry firewood and bringing half the backyard into my kitchen. Plus, my kids practically form a conga line when they see these come out of the oven. Anyway, enough rambling—let’s get our hands messy (in a good way)!
Why Make These? Let Me Tell You
I make s’mores cookies when I just want to feel a bit like I’m twelve again, sitting by the bonfire, probably telling ghost stories that never scared anyone. My family goes absolutely bonkers for them—especially my youngest, who manages to get more marshmallow in her hair than in her mouth. I also kind of love that these are a lot less fussy than actual s’mores (no sticky fingers stuck together, except maybe if you’re a bit heavy-handed with the marshmallows like me). Oh, and if you’re anything like me, you probably appreciate a cookie that can be made on a rainy day when you can’t light a fire in the backyard (safety first!)
What You’ll Need (Or Just Mostly Need)
- 1 cup (225g) unsalted butter, room temp-ish (sometimes I zap it in the microwave, but not to liquid—just softened, or honestly whatever you’ve got)
- 3/4 cup brown sugar (light or dark, I use whatever bag I find first)
- 1/2 cup granulated sugar
- 2 large eggs—though once I only had one and a splash of milk stepped in
- 2 tsp vanilla extract (okay, sometimes I use a bit more, who’s counting?)
- 2 1/2 cups all-purpose flour (If you’re GF, this recipe worked okay for me with Bob’s Red Mill 1:1 blend)
- 1 tsp baking soda
- 1 tsp salt—my grandmother always insisted on sea salt, but regular table salt does the trick
- 1 1/2 cups chocolate chips (milk, dark, semisweet—go wild. I even used chopped up Easter eggs once)
- 1 cup mini marshmallows (or cut up big ones if you’re in a pinch, but it’s messier—fun for kids though!)
- 3/4 cup graham cracker pieces (I sometimes use digestive biscuits if I’ve run out)
Making S’mores Cookies (Much Easier Than it Sounds)
- Cream the butter and sugars: Beat the living daylights out of the butter, brown sugar, and white sugar till it’s pale and fluffy. I usually let the mixer run while I search for that elusive vanilla bottle.
- Add eggs and vanilla: Toss in the eggs (one at a time if you’re feeling patient, all at once if you’re not—it works both ways, honestly). Stir in the vanilla. Give it a sniff. Smells good, right?
- Mix dry stuff: Whisk your flour, baking soda, and salt together in a separate bowl. Or just sprinkle them over the wet stuff and mix carefully if you hate dishes. It’s not rocket science.
- Combine: Slowly add dry to wet. Don’t panic if it looks like lumpy mashed potatoes for a second. It comes together. This is where I usually sneak a taste.
- Add the fun bits: Fold in the chocolate chips, marshmallows, and graham pieces. Sometimes I have to stop myself from eating too much dough; it’s a hazard of the job.
- Scoop: Plop heaping tablespoons (or a cookie scoop if you’re fancy) onto lined baking trays. Try not to crowd them, marshmallows like to spread and go rogue.
- Bake: 350°F (180°C) for about 10-12 minutes; check at 9, though. They’re done when the edges are golden but the middle still looks a bit soft. Don’t overbake (I have, and they’re still edible, just crunchier).
- Let cool…a bit: If you can, let them sit on the tray for 5 minutes; they firm up as they cool. But honestly, I usually sneak one almost straight away and burn my tongue every single time.
Notes—Stuff I Learned the Hard Way
- Marshmallows like to run. If they ooze out and get super crispy, just break off the burnt bits—no one will know.
- If the dough seems too sticky, chill it for half an hour. Actually, I find it works better if you do, but sometimes I’m too impatient.
- I tried using only white chocolate once. Pretty, but honestly way too sweet for me.
Stuff I’ve Tried (Mishaps Included)
I swapped in peanut butter chips instead of chocolate once; surprisingly good. But the time I tried stuffing a giant marshmallow in the center? Don’t do it, it basically evacuated all over my oven. Oh, and one of my friends likes adding toasted coconut, which is, well, fine if you like that—me, not so much. You do you!
What If I Don’t Have… (You Know the Drill)
- Cookie scoop: I just use a tablespoon (sometimes my hands, which is messy but oddly satisfying).
- Stand mixer: It’s nice, but a good old wooden spoon and a strong arm works fine. I mean, free workout, right?
- Parchment paper: Grease your tray well or use a silicone mat if you have one floating around.
Storing Your S’mores Cookies (If There Are Any Left)
They keep in a tin or airtight container for about 3 days. I think they taste even better the next day—if you can restrain yourself. Though, honestly, in my house they never last more than a day!
When to Serve? Here’s How We Like It
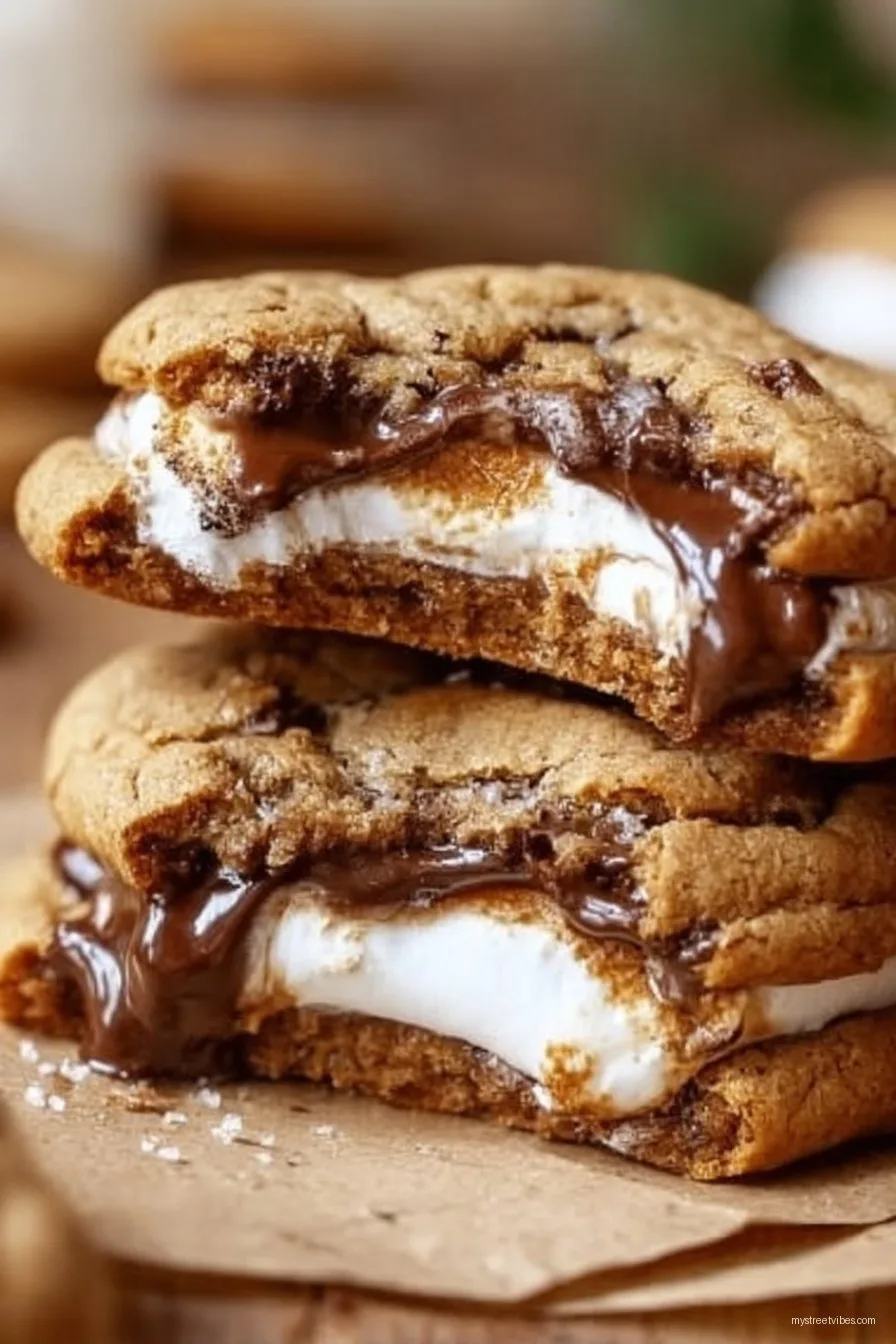
We usually pile them up on a plate and munch while watching movies, or sometimes (and this is a bit extra) sandwich a toasted marshmallow or more chocolate between two cookies for a real treat. Yeah, I know—naughty, but totally worth it.
Pro Tips—Mostly Based on My Goofs
- Don’t rush creaming the butter and sugars. I tried once and the cookies were flat as pancakes (and not in a good way).
- Don’t overbake. The cookies should look underdone in the center. They’ll firm up as they cool! Seriously, trust me on this one.
FAQ: Stuff People Have Actually Asked Me
- Can I freeze the dough? Yep! Just scoop, freeze on a tray, then chuck ’em in a bag. Bake straight from frozen, maybe a minute longer.
- What if I don’t have graham crackers? Any snappy biscuit kind of works. Once used HobNobs—turned out fine, a bit nuttier though.
- Why are my cookies spreading too much? Usually too-warm dough or too much butter. Chill it a bit or add a spoonful more flour.
- Can I double this? Oh, for sure. But be warned; that’s a boatload of cookies. Not that anyone complained here!
Tiny tangent—I got the original marshmallows for this recipe from here, and if you ever want to geek out on sheet pans, Serious Eats has a solid rundown. Not affiliated, just a fan.
So I guess that’s it. Go on, give them a whirl, and don’t blame me if you end up with sticky fingers and a serious need for a glass of milk. Enjoy, mate!

Ingredients
- 1 cup unsalted butter, softened
- 3/4 cup granulated sugar
- 1 cup packed brown sugar
- 2 large eggs
- 2 teaspoons vanilla extract
- 2 1/2 cups all-purpose flour
- 1 teaspoon baking soda
- 1/2 teaspoon salt
- 1 cup chocolate chunks or chips
- 1 cup mini marshmallows
- 3/4 cup graham cracker crumbs
Instructions
-
1Preheat the oven to 350°F (175°C). Line two baking sheets with parchment paper.
-
2In a large bowl, cream together the softened butter, granulated sugar, and brown sugar until light and fluffy.
-
3Beat in eggs one at a time, then add the vanilla extract and mix until combined.
-
4In a separate bowl, whisk together flour, baking soda, salt, and graham cracker crumbs. Gradually add this to the wet ingredients and mix until incorporated.
-
5Fold in the chocolate chunks and mini marshmallows gently.
-
6Scoop tablespoon-sized balls of dough onto the prepared baking sheets, spacing them about 2 inches apart. Bake for 10–12 minutes, or until the edges are golden. Cool before serving.
CLICK FOR NUTRITION INFO
↑
Approximate Information for One Serving
Serving Size:
1 serving
Calories:
160 caloriescal
Protein:
2gg
Fat:
7gg
Saturated Fat:
0g
Trans Fat:
0g
Cholesterol:
0mg
Sodium:
0mg
Potassium:
0mg
Total Carbs:
23gg
Fiber:
0g
Sugar:
0g
Net Carbs:
0g
Vitamin A:
0
Vitamin C:
0mg
Calcium:
0mg
Iron:
0mg
Nutrition Disclaimers
Number of total servings shown is approximate. Actual number of servings will depend on your preferred portion sizes.
Nutritional values shown are general guidelines and reflect information for 1 serving using the ingredients listed, not including any optional ingredients. Actual macros may vary slightly depending on specific brands and types of ingredients used.
To determine the weight of one serving, prepare the recipe as instructed. Weigh the finished recipe, then divide the weight of the finished recipe (not including the weight of the container the food is in) by the desired number of servings. Result will be the weight of one serving.
Did you make this recipe?
Please consider Pinning it!!