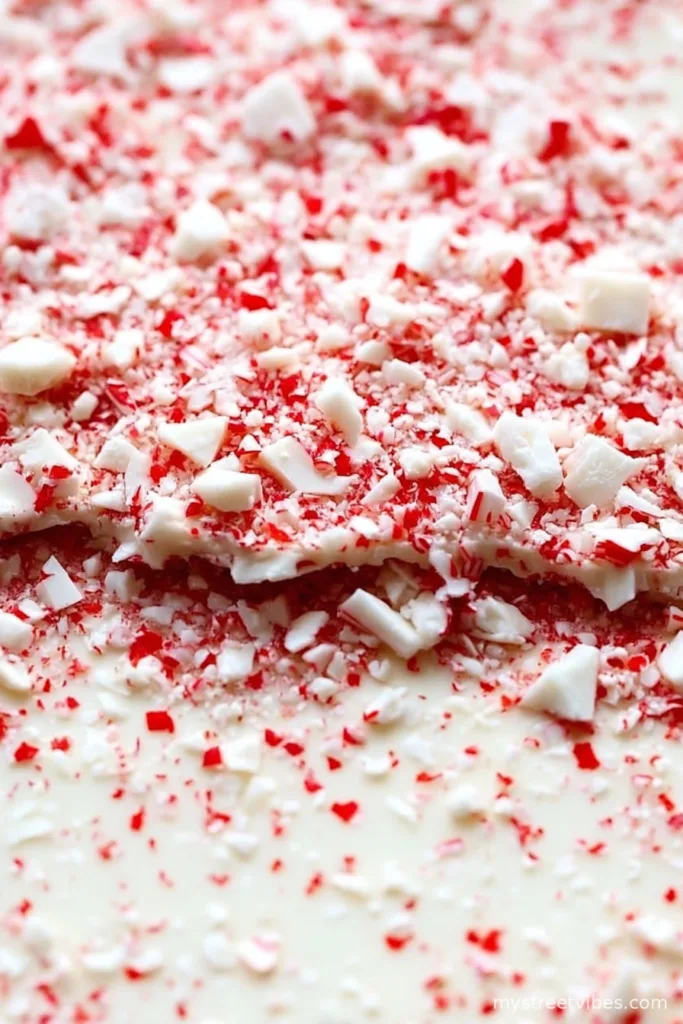
So, here’s the story behind my peppermint bark obsession…
It honestly started one chilly December when I tried to recreate that famous store-bought bark everyone raves about. Spoiler: my first batch looked like modern art gone wrong—but it tasted pretty darn good! Ever since, I’ve made this Salted Peppermint Bark every holiday season, sometimes spontaneously in July (yep, peppermint doesn’t really care what month it is). My nieces beg for it, my neighbor once traded me a whole tray for her homemade preserves, and let’s just say the dog eyed the kitchen bin with suspicion for weeks after one… ahem… spillage incident. So, if you’re game to try out this slightly messy but always tasty tradition, let’s dig in.
Why I keep making this Salted Peppermint Bark (and why you might, too)
I make this whenever I need something that screams “festive!” but doesn’t require three sets of hands or a culinary degree. My family goes absolutely mad for this (and yes, I hide a batch for myself—no shame). Honestly, it’s a lifesaver when you remember at midnight that you promised to bring dessert to the office. Plus, the salty kick with the sweet chocolate? Better than anything from the shops; well, except maybe that one year when I burnt the first attempt and the kitchen smelled like a mysterious chocolate campfire for days. If you’ve ever tinkered with too many cookies and not enough time, this is the answer.
The Ingredients (a bit of wiggle room encouraged)
- 400g dark chocolate (or about two big bars—sometimes I use milk chocolate if that’s all I have, turns out a treat)
- 250g white chocolate (Honestly, any own-brand works; my gran used to swear by Green & Black’s, but I say whatever block you can grab quickest.)
- 8 peppermint candy canes, crushed (In a pinch, I’ve smashed up round peppermint sweets—tastes the same, promise)
- 2 pinches flaky sea salt (Maldon if you’re fancy, pretzel salt in a crisis)
- 1 tablespoon coconut oil (optional, but makes the chocolate melt smoother—it’s not the end of the world if you skip it)
Basically, here’s what you do…
- Melt the dark chocolate. I use a microwave and just go 30 seconds at a time, stirring each round; once I did it on the hob but scorched it, so… up to you! Stir in half the coconut oil if you’re using it and pour onto a parchment-lined baking tray. Spread with a spatula (or, full confession, the back of a big spoon).
- Slam it in the fridge for about 20 minutes. That’s my chocolate “nap time.” Don’t try and rush this, trust me, I’ve ended up with a Jackson Pollock bark mess.
- Meanwhile, crush the peppermint canes. Double-bagging them in a ziplock and walloping them with a rolling pin does the trick—and if you’re feeling particularly stressed, it’s surprisingly therapeutic.
- Melt the white chocolate (same way as before), add remaining coconut oil if you want. Drizzle over the chilled dark layer. It can look a bit messy; that’s perfectly fine. Zig-zags, blobs, swirls, all good.
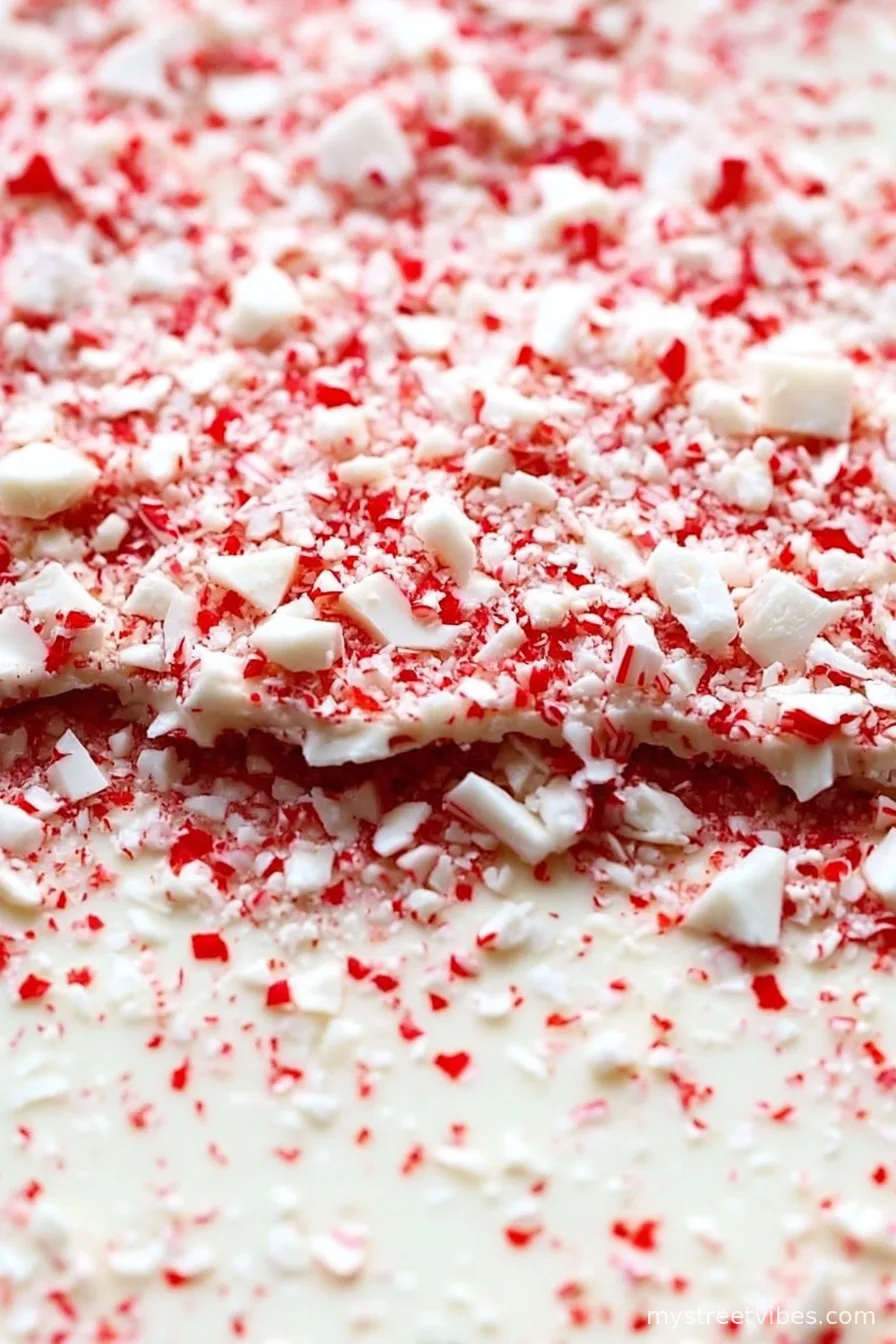
- Quickly sprinkle over the crushed candy and flaky salt. This is when I usually sneak a little taste (strictly for quality control, obviously).
- Chill again until fully set—sometimes takes 40 minutes, sometimes an hour; the fridge has a mind of its own.
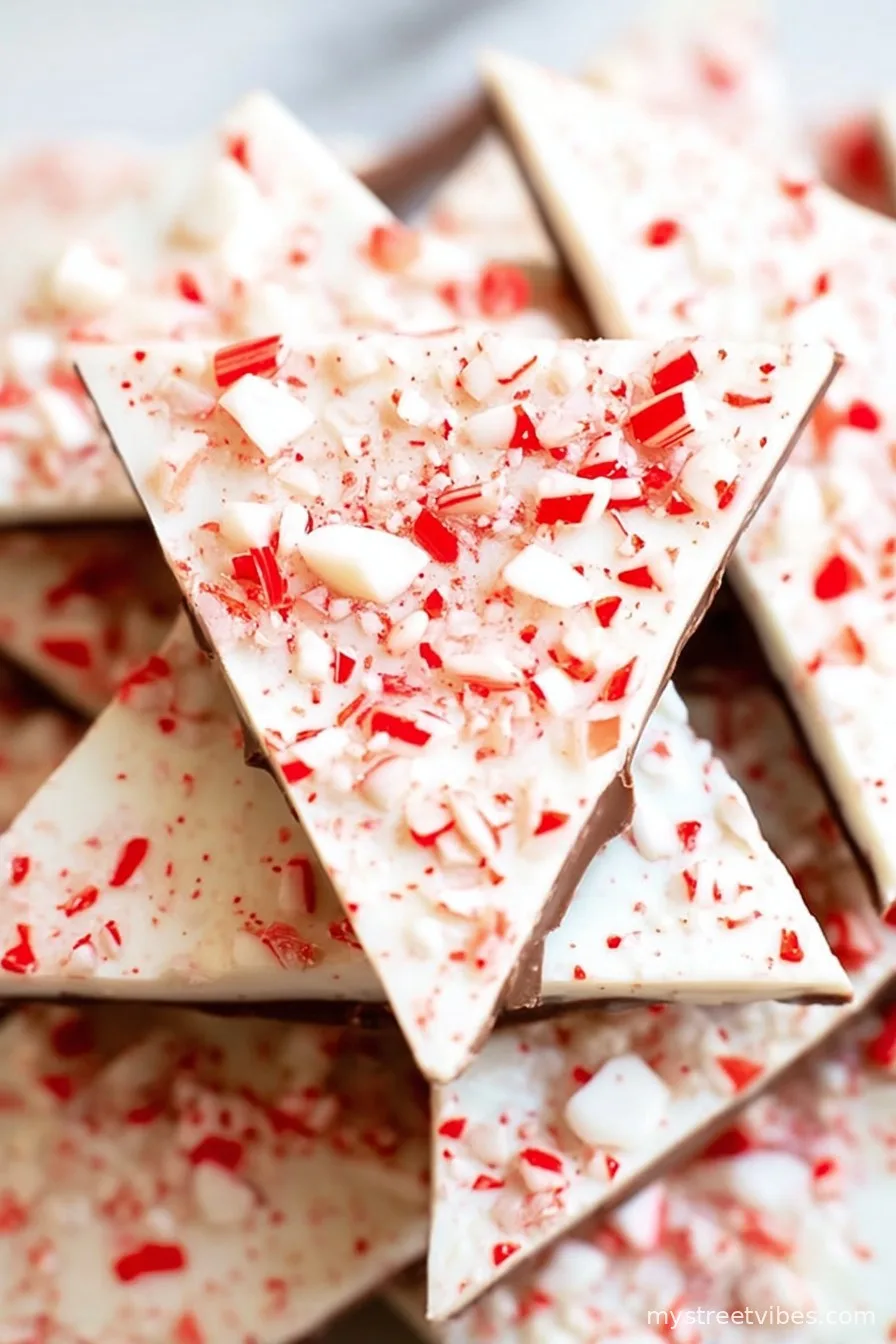
- Break into shards (you can use a big ol’ knife but honestly, just snap it with your hands if you don’t care about perfect edges).
Notes from a slightly chaotic kitchen
If you pour the white chocolate layer too soon, the two layers will mix into each other. Actually, that can make a fun marbled effect—I just pretend it’s deliberate. And don’t stress about breaking perfect pieces; everyone likes the random shapes (they are great for nibbling during a Netflix marathon).
Lucky (and unlucky) experiments you might want to try
- I once added orange zest—it was…let’s say, interesting. Not my cup of tea, but maybe you’ll love it?
- A peanut butter swirl was a surprise hit, but next time I’d use less.
- If you’re a mint fan, a drop or two of peppermint extract in either layer takes it up a notch (but not too much or it goes toothpaste-y; yikes).
Equipment (and a quick diversion about that one time my spatula disappeared)
- Baking tray (I’ve used old pizza pans in a pinch—works, but not as neat)
- Parchment or baking paper (greaseproof is fine, aluminum foil if that’s all you’ve got—just peel gently)
- Mixing bowls (I’ve managed with a saucepan and a cereal bowl during the great bowl shortage of 2021)
- A rolling pin (Alternatively, a heavy jar or even a mug will crush those candies like nobody’s business)
How long does it store? (Reality check below)
Technically, sealed in a tin or airtight box, it’ll keep for a solid 2 weeks. But honestly, in my house it never lasts more than a day! If you want to freeze some for later, stack between parchment—just expect the peppermint to get a bit less snappy over time.
How to serve it? I mean, you can just eat it straight
I love crumbling a bit over vanilla ice cream. Or sneak a few shards into a homemade hot chocolate. Every Christmas morning, my family insists on breaking a fresh batch before presents—it’s practically tradition at this point (and sometimes breakfast, honestly).
Things I wish I’d learned sooner (aka pro tips I’ve earned the hard way)
- Don’t try cooling the chocolate layers outside when it’s below freezing. It just gets weirdly shiny and a bit chewy (lesson learned).
- If you forget to line your tray, it still comes off eventually but you’ll spend ages scraping.
- I once thought using extra peppermint was smart. Turns out, tastebuds have limits. Less is more.
Answering real questions (and some I asked myself more than once)
- Can I use peppermint extract instead of candy canes?
- Yep, totally! I’d only use a drop or two though, or you’ll wind up with bark that tastes like toothpaste. Oh, and still add a little crunch on top if you can—it’s all about the texture.
- How do I keep the chocolate from blooming (you know, going white and cloudy)?
- Good question. Unless you have the patience of a saint, don’t worry too much about tempering. But, if you wanna get all fancy, I found this guide on tempering chocolate really helpful. Or just eat it before blooming ever becomes an issue—that’s my tactic.
- Which chocolate brands do you recommend?
- Truthfully, whatever is on sale. Though Lindt melts beautifully, and Aldi’s dark chocolate is a gem if you’re in the UK. I read a good comparison here—worth a peek if you’re keen.
- Can you double this recipe?
- Absolutely, but do it in two trays or the layers get too thick and won’t set right. Learned that the sticky way.
So there you go. It’s messy, it’s delicious, and it usually disappears before the wrapping paper does. Give it a whirl—even if you only end up with a pile of chocolatey shards and salty bits (best bits, if you ask me).
Ingredients
- 8 oz dark chocolate, chopped
- 8 oz white chocolate, chopped
- 1/2 teaspoon peppermint extract
- 1/3 cup crushed peppermint candies
- 1/4 teaspoon flaky sea salt
- 1 tablespoon coconut oil (divided)
- 1/2 teaspoon unsalted butter
Instructions
-
1Line a baking sheet with parchment paper.
-
2Melt dark chocolate with 1/2 tablespoon coconut oil and butter in a heatproof bowl over simmering water, stirring until smooth.
-
3Stir in peppermint extract, then pour the melted dark chocolate onto the lined sheet and spread to about 1/4 inch thickness. Refrigerate for 10 minutes to set.
-
4Melt white chocolate with 1/2 tablespoon coconut oil in a heatproof bowl over simmering water, stirring until smooth.
-
5Spread melted white chocolate evenly over the set dark chocolate. Immediately sprinkle with crushed peppermint candies and flaky sea salt.
-
6Chill until completely set, about 15 minutes. Break into pieces and enjoy.
CLICK FOR NUTRITION INFO
↑
Approximate Information for One Serving
Serving Size:
1 serving
Calories:
180 caloriescal
Protein:
2 gg
Fat:
11 gg
Saturated Fat:
0g
Trans Fat:
0g
Cholesterol:
0mg
Sodium:
0mg
Potassium:
0mg
Total Carbs:
20 gg
Fiber:
0g
Sugar:
0g
Net Carbs:
0g
Vitamin A:
0
Vitamin C:
0mg
Calcium:
0mg
Iron:
0mg
Nutrition Disclaimers
Number of total servings shown is approximate. Actual number of servings will depend on your preferred portion sizes.
Nutritional values shown are general guidelines and reflect information for 1 serving using the ingredients listed, not including any optional ingredients. Actual macros may vary slightly depending on specific brands and types of ingredients used.
To determine the weight of one serving, prepare the recipe as instructed. Weigh the finished recipe, then divide the weight of the finished recipe (not including the weight of the container the food is in) by the desired number of servings. Result will be the weight of one serving.
Did you make this recipe?
Please consider Pinning it!!