So here’s the thing with Mom’s Easy Fudge Recipe – I can’t even look at a pan of fudge cooling on the counter without remembering the first time I tried (and, honestly, mostly failed) to make it with my brother one December. Flour everywhere, chocolate on walls. Good times. That fudge was almost too sweet but not in a regretful way. More like, “okay, one more just for research purposes.” If I sound nostalgic, blame the sugar rush. Oh, and—funny thing—half my family’s fudge memories involve someone scraping the saucepan clean with a spatula and calling dibs on the bowl.
Before I forget where I’m going with this (I do that more than I’d like to admit), let’s get into the fudge, shall we?
Why I Always Come Back to This Fudge
I make this whenever I realize guests are coming and my cookie tin is emptier than my bank account after Christmas (relatable?). My family goes a bit loopy for it, probably because it’s a step above store-bought but doesn’t demand much of me in the way of skill or patience. Actually—confession—I used to dread candy thermometers, but you don’t need one here. If your fudge gets a little crumbly or soft, nobody seems to mind. (My uncle swears the slightly-off batches are the best; maybe he’s just being nice?)
Here’s What You’ll Need (But Feel Free to Tweak)
- 2 cups granulated sugar (I’ve swapped in part brown sugar once when I ran out; it was different, but not bad!)
- 1/2 cup unsalted butter (margarine works, but the taste is, well… compromised; Grandma insists on Land O’Lakes, but honestly, any works)
- 1/2 cup milk (whole is best, but I once used 2 percent and it didn’t ruin my day)
- 1 cup semi-sweet chocolate chips – or chop up a bar if you’re feeling fancy
- 2 tsp vanilla extract (sometimes I pour straight from the bottle and probably add a smidge too much)
- Pinch salt (I never measure this; just a smidge between finger and thumb)
- Optional: 1/2 cup nuts, like walnuts or pecans (my sister picks them out, so sometimes I leave them out entirely)
How You Actually Make It (More or Less)
- Butter an 8 inch square pan (or, if yours went missing like mine did during that one move, a 9 inch is fine, fudge will just be thinner).
- In a medium saucepan, combine sugar, butter, and milk. Turn heat to medium, and stir until it’s melted—this bit is gentle, you don’t have to work up a sweat.
- Let it come to a boil. Stir constantly (not obsessively, but, you know, don’t walk away to answer a text). Let it bubble for about 5 minutes—if you’re nervous, set a timer, but honestly, I go by smell and whether it pulls away from the side a bit. If it starts smelling like caramel, you’re on the right track.
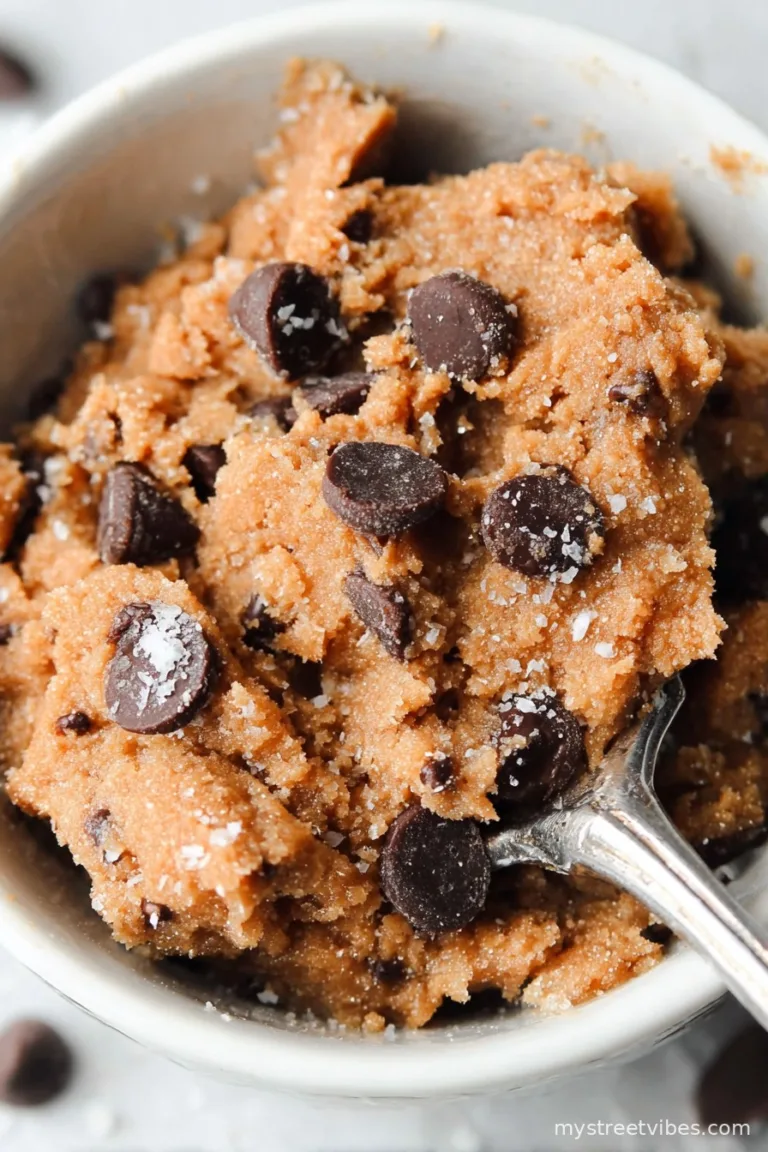
- Remove from heat. Quickly stir in the chocolate chips (this is where I usually sneak, okay, maybe two, just to “test” for quality), vanilla, salt, and any nuts.
- Stir until smooth. Don’t panic if it looks slightly grainy at first. Keep stirring, it’ll get there. Pour into your buttered pan—this is sticky business. Spread it out; don’t worry about perfection. My edges always look a bit wonky.
- Let cool at room temperature (if you can resist) or in the fridge if you’re in a hurry. Don’t judge if you cut a sliver to “check if it’s set.”
Notes That Changed My Fudge Game
- One time I tried using vegan butter—honestly, it tasted okay, but texture was a little off. Still, points for effort?
- The fudge actually tastes better the next day, if you manage to hide some. No joke.
- My pan always comes out of the dishwasher slightly streaky. Doesn’t matter for fudge, just makes for wonky photos.
Ways I’ve Tweaked This (and a Miss!)
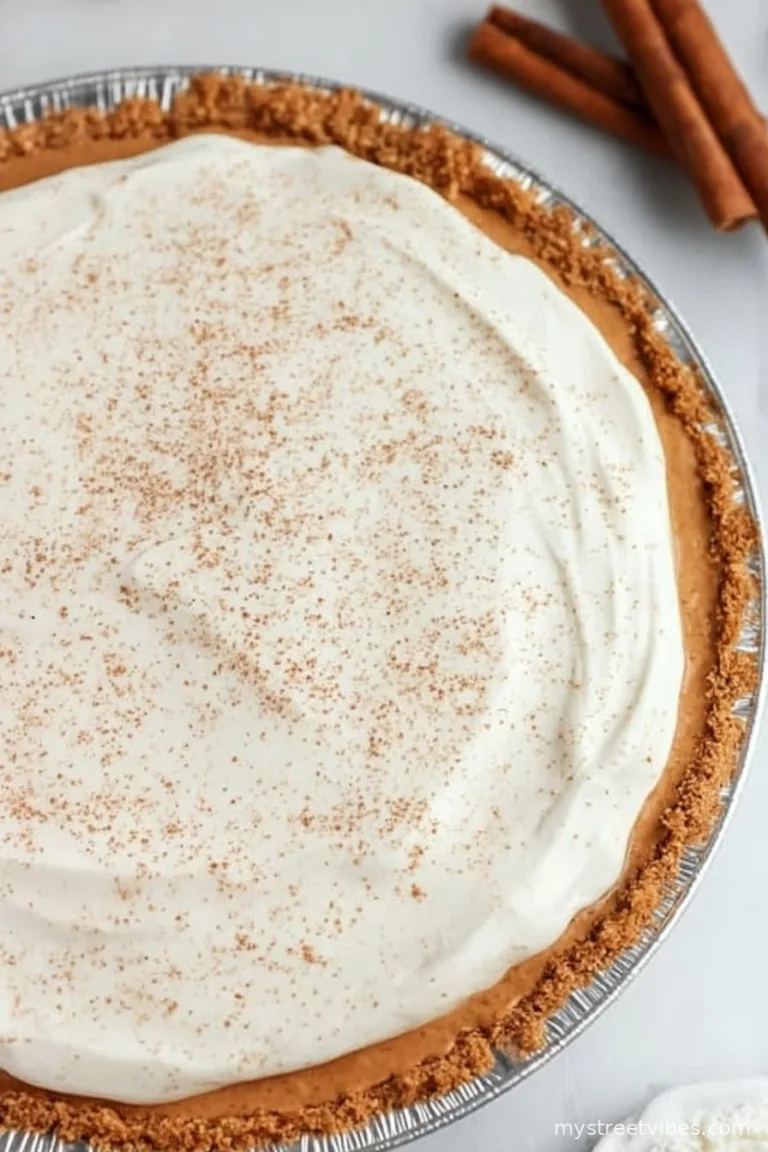
- Added a pinch of cinnamon—nice for fall, but my kids weren’t fans. (Maybe that’s just because they’re stuck in their ways? )
- Stirred in a swirl of peanut butter—okay, now we’re talking.
- I once used white chocolate; don’t. It looked sort of sad and the texture wasn’t my cup of tea.
What You’ll Need (But Don’t Stress If You Don’t Have It All)
- A saucepan (medium is best, but large works; just more room to stir)
- Wooden spoon or silicone spatula—honestly, I’ve done this with a regular metal spoon when desperate
- Butter or parchment for pan (if you run out, a light spray of oil helps, but trust me, butter’s better)

Keeping Fudge Around (Good Luck!)
Supposedly, this lasts 5-7 days in an airtight container at room temp. Or you can freeze it (separate with parchment so it doesn’t stick), but honestly, in my house it never lasts more than a day. Maybe two, if I hide it behind the vegetables. For some solid tips on storing fudge, Taste of Home’s guide helped clear up my confusion more than once.
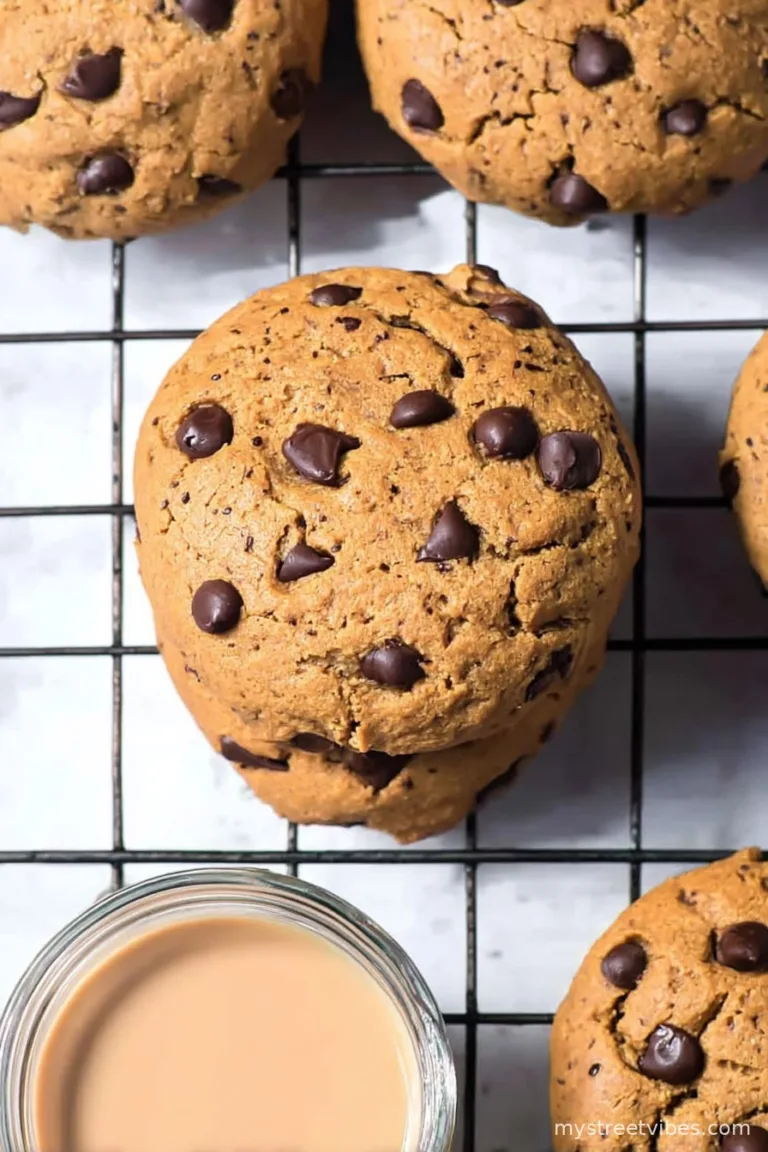
How I Serve It (Besides Straight from the Pan)
I actually like to cut mine into small, almost fiddly squares, and stick toothpicks in for easy grabbing at parties. Oh, and at Christmas, we pair it with hot cocoa – can’t say it’s healthy, but it feels like a hug for your tastebuds. If you’re looking for other fun fudge presentation ideas, this Sally’s Baking Addiction fudge piece has some good ones.
Lessons Learned (Pro Tips from Oops Moments)
- I once tried doubling the recipe without a bigger pot—let’s just say it became a fudge volcano. Oops.
- Rushing the boiling step makes for grainy fudge. I’ve done it, regretted it, do as I say, not as I did.
- I sometimes skip the nuts, but when I do add them, I chop them a bit smaller so they don’t break the “bite.”
Burning Questions (Yes, You’ve Asked!)
- Can I use evaporated milk instead of regular milk? I’ve tried it once out of pure laziness – it works, but the end result is a little richer. Not a bad twist!
- My fudge didn’t set! Can I fix it? Yep, sort of. Pop it in the fridge, and if it still doesn’t firm up, ice cream topping, baby. Or, on second thought, just call it spoon fudge and embrace the chaos.
- Is a candy thermometer needed? Nope. Not for this one. I’ve never used one for this fudge, and no complaints yet.
- Why is my fudge grainy? You probably rushed the boiling or didn’t stir enough, but honestly, still edible. I once had a batch so grainy I pretended it was “textured” and folks didn’t mind a bit.
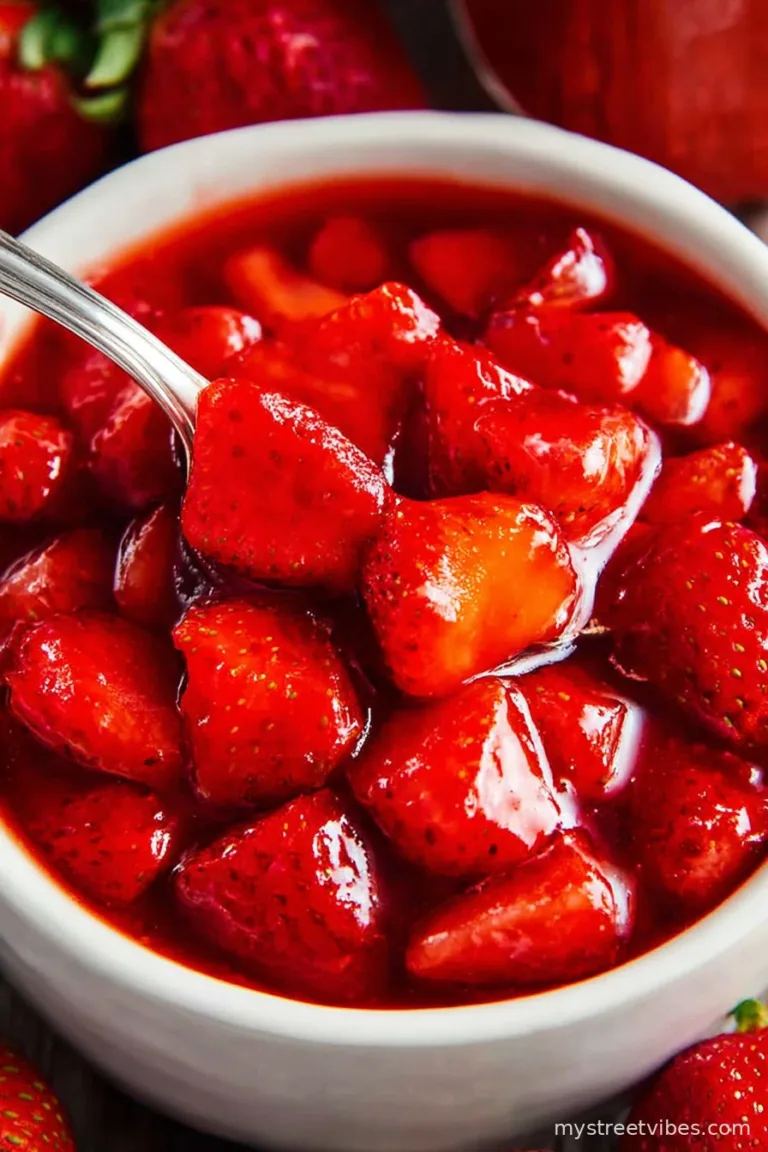
- Can I add dried fruit or coconut? Go for it! Raisins, cranberries (though my kids pick them out…), shredded coconut. I did dried cherries once – looked fancy, tasted decent.
And if you find yourself licking the pan, don’t worry, you’re in good company. I’d say fudge is more about memories than perfection. If you want to nerd out on chocolate, Serious Eats explains the science in a way that’s actually readable (even when my mind wanders mid-article).
Ingredients
- 3 cups semisweet chocolate chips
- 1 can (14 ounces) sweetened condensed milk
- 1/4 cup unsalted butter
- 1 teaspoon vanilla extract
- 1/4 teaspoon salt
- 1 cup chopped walnuts or pecans (optional)
- 1/2 cup mini marshmallows (optional)
Instructions
-
1Line an 8×8-inch square baking pan with parchment paper, leaving an overhang for easy removal.
-
2In a medium saucepan over low heat, combine chocolate chips, sweetened condensed milk, and unsalted butter.
-
3Stir constantly until the chocolate chips and butter are completely melted and the mixture is smooth.
-
4Remove from heat. Stir in vanilla extract, salt, and chopped nuts or mini marshmallows if using.
-
5Pour the fudge mixture into the prepared pan and smooth the top with a spatula.
-
6Refrigerate for at least 2 hours or until firm. Lift out of the pan, cut into squares, and enjoy.
CLICK FOR NUTRITION INFO
↑
Approximate Information for One Serving
Serving Size:
1 serving
Calories:
120 caloriescal
Protein:
2gg
Fat:
7gg
Saturated Fat:
0g
Trans Fat:
0g
Cholesterol:
0mg
Sodium:
0mg
Potassium:
0mg
Total Carbs:
15gg
Fiber:
0g
Sugar:
0g
Net Carbs:
0g
Vitamin A:
0
Vitamin C:
0mg
Calcium:
0mg
Iron:
0mg
Nutrition Disclaimers
Number of total servings shown is approximate. Actual number of servings will depend on your preferred portion sizes.
Nutritional values shown are general guidelines and reflect information for 1 serving using the ingredients listed, not including any optional ingredients. Actual macros may vary slightly depending on specific brands and types of ingredients used.
To determine the weight of one serving, prepare the recipe as instructed. Weigh the finished recipe, then divide the weight of the finished recipe (not including the weight of the container the food is in) by the desired number of servings. Result will be the weight of one serving.
Did you make this recipe?
Please consider Pinning it!!