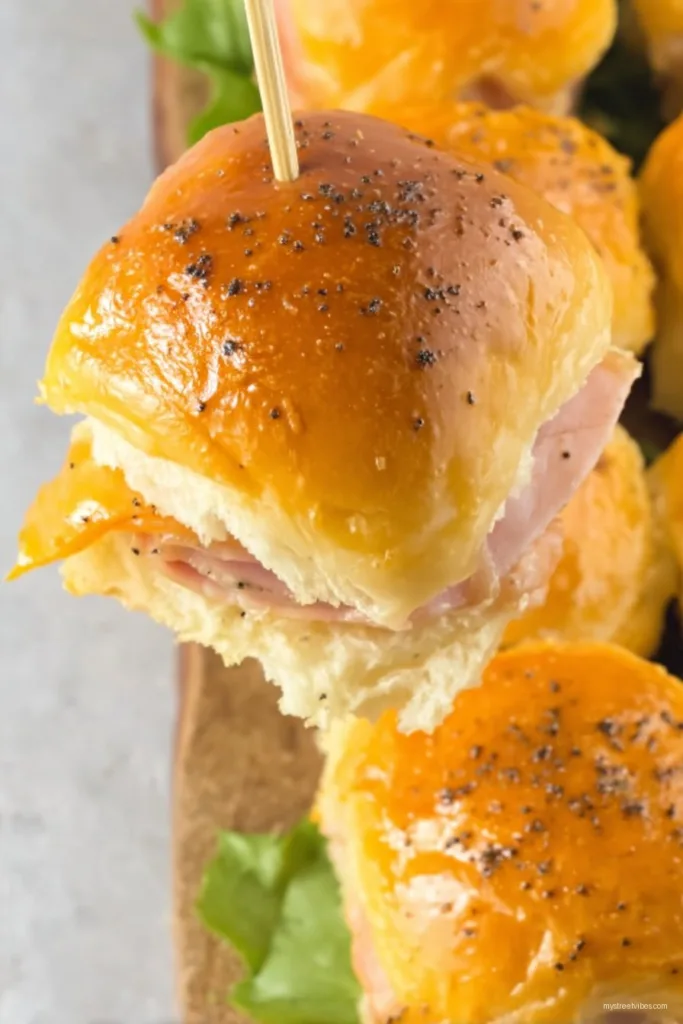
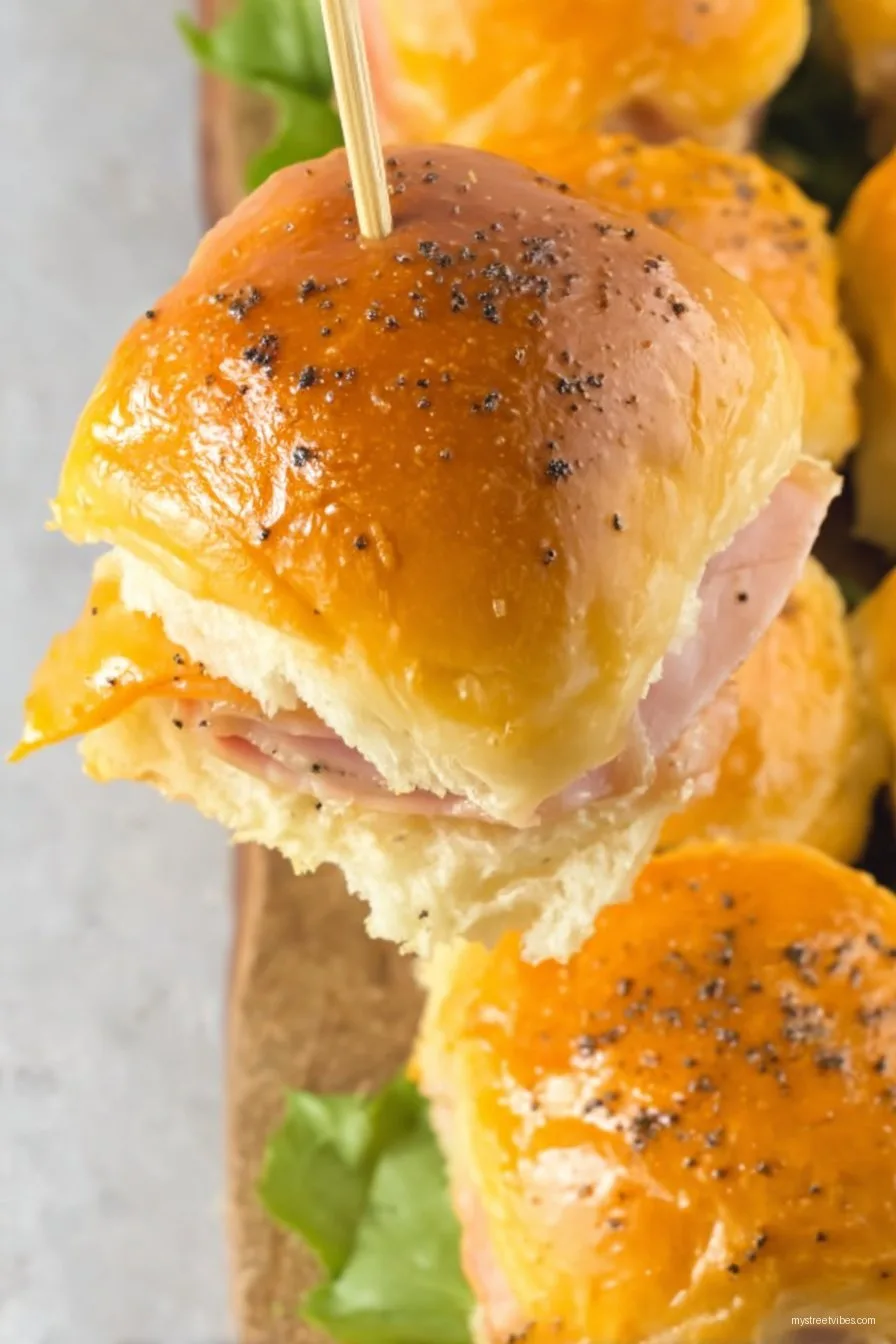
Let’s Talk About My Love Affair With Hawaiian Ham and Cheese Sliders
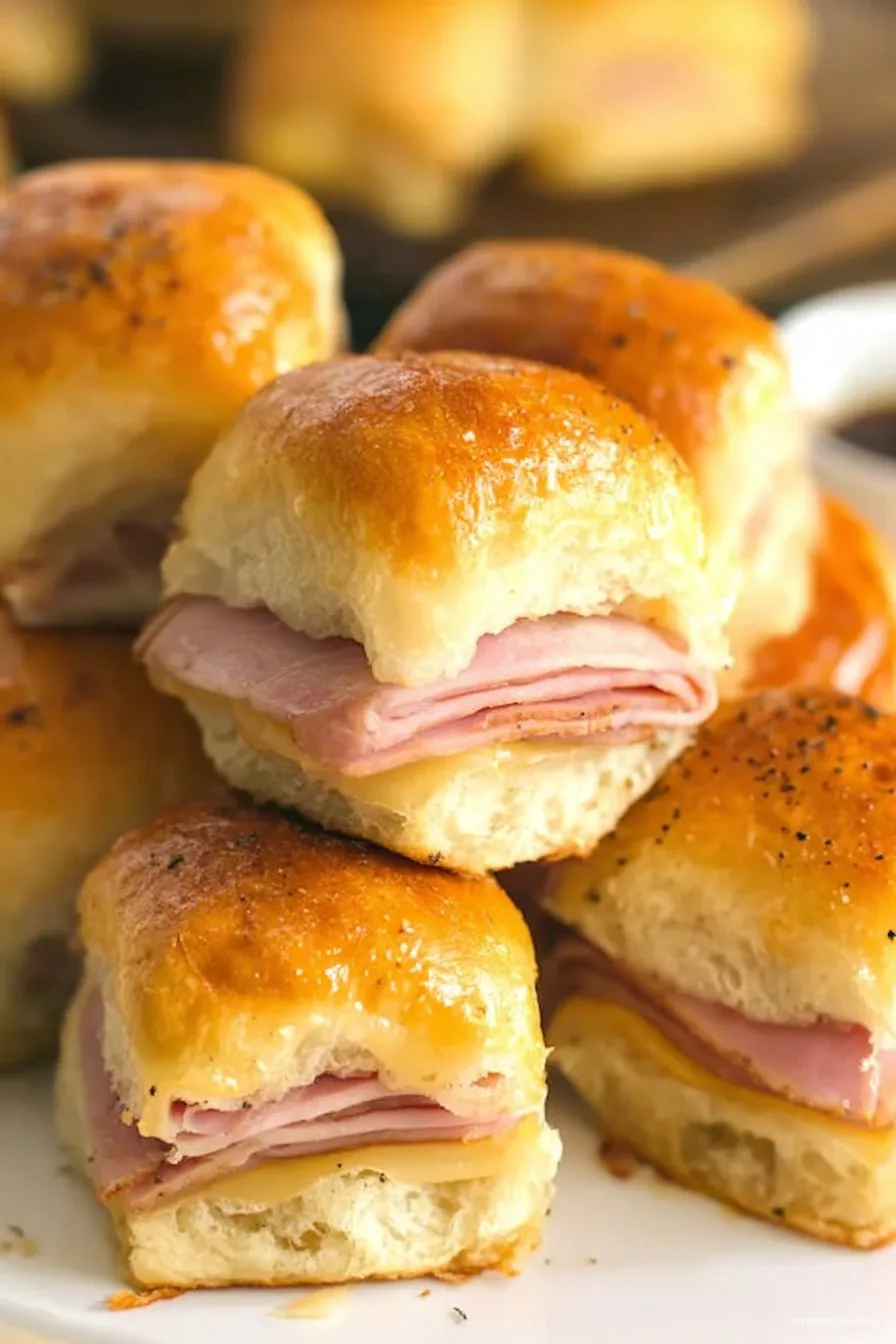
So, imagine this: it’s a Sunday afternoon, my family is hanging like laundry all over the living room, and I’m peeking at the clock because, ya know, when is dinner? These sliders have become my secret weapon on evenings when I want to seem like I tried a bit harder than I actually did. First time I made them was during a potluck—my neighbor Linda still hints for the recipe every time I run into her (awkwardly, outside the grocery store when I’m still in slippers). Anyway, there’s just something about warm, gooey cheese on soft sweet rolls that makes even my pickiest eater melt. Hope you love these (and, on second thought, maybe hide a few for yourself before setting them out—I learned the hard way!).
If You’re Wondering Why These Sliders Are a Go-To
I haul out this recipe when I want to feed a small crowd fast, or—honestly—when the fridge is looking a bit sad. My crew goes nuts for them because they’re basically mini sandwiches packed with flavor, that don’t look or taste like ‘leftovers’ (even if you’re using up all the sad sandwich meat and cheese odds and ends). And yes, I’ve tried skipping the butter topping in a rush, and nope; not the same magic. Bonus: I swear they’re even tastier the next day when I’m sneaking one cold for breakfast. Not everyone in my house agrees, but hey, if you know, you know.
What You’ll Need (Here’s Where I Usually Improvise)
- 1 package Hawaiian sweet rolls (I like the original King’s Hawaiian, but I’ve used generic when I’m not feeling fancy, and it’s fine!)
- 300g deli sliced ham (literally whatever ham’s on sale—sometimes honey ham, sometimes straight-up smoked)
- 200g Swiss cheese, sliced (my grandmother swore by aged Swiss, but provolone or cheddar cheats work too; pepper jack is wild if you like heat)
- 4 tbsp unsalted butter (honestly, salted works; I won’t tell!)
- 1 tbsp Dijon mustard (or just yellow if it’s what you’ve got; I’ve even used spicy brown in a pinch)
- 1 1/2 tsp poppy seeds (optional, but fun—they always got stuck in my teeth as a kid, still worth it)
- 1 1/2 tsp Worcestershire sauce
- 1/2 tsp onion powder
- 1/2 tsp garlic powder (sometimes I double this… I like garlic, sue me)
How To Make These (Honestly, Just Follow Your Gut)
- First, preheat your oven to 180°C (that’s 350°F). If you forget, that’s okay—just pop ‘em in when you remember and add a couple mins cooking time like I always end up doing.
- With a serrated knife, slice the whole slab of Hawaiian rolls in half horizontally; don’t pull them apart yet. Trust me, it’s easier this way. Place the bottom half in a greased baking dish (or, let’s be real, whatever pan you have that kinda fits).
- Layer all the ham across, edge to edge. Cover with a glorious layer of cheese. I sometimes sneak a piece at this point. (If you don’t, are you even cooking?)
- Replace the top half of the rolls—gently. Don’t worry if cheese is escaping out the side. That’s part of the charm.
- Melt butter in a small bowl (microwave or stovetop, I don’t judge), then whisk in mustard, Worcestershire, poppy seeds, onion powder, and garlic powder. Pour or brush this all over the tops, making sure you hit every roll. If it looks swimming in butter, you did it right. If it looks dry, go melt a bit more!
- Wrap the dish loosely with foil (unless you’ve run out, and in that case, just keep an eye on it so the tops don’t get too brown!). Bake about 15-18 minutes, then uncover and bake another 4-5 minutes, till golden and melty and the temptation to pick at them is almost unbearable.
- Cool for a few minutes. Or don’t. The cheese will be napalm-level hot, but sometimes you can’t wait.
Notes: Tiny Discoveries From Lots of Messes
- If your butter accidentally browns a bit, it actually tastes better—who knew?
- Don’t stress if the cheese layer isn’t perfect; it all melts together, trust me.
- I’ve found that if you use foil the whole time, the tops are softer, and if you leave it off, you get more crunch. Both are good depending on your mood.
- Also, on a totally unrelated note—I dropped a whole pan of these on the floor once, and, well, the 5 second rule is a myth. Just remaking is quicker than crying.
Swaps and Experiments… Yeah, Some Worked
- Tried turkey and cheddar—pretty good, just not quite as classic, but I’d serve them again in a pinch.
- Roast beef with horseradish sauce—bit too feisty for my crew but could be your jam.
- Pulled BBQ chicken—didn’t love it. Got all mushy. Maybe if I had toasted the rolls more?
- Mozzarella and pesto with thin ham—actually bomb. Not traditional, but hey, it disappeared even faster!
Equipment I Drag Out (But You Can Totally Improvise)
- Baking dish 9×13″ (sometimes I use my old lasagna pan—anything big enough for the rolls to sit flat works)
- Serrated knife (doesn’t have to be fancy; I used a bread knife once and it worked ok, just kinda messy)
- Small bowl to mix the topping (or a coffee mug, honestly, who hasn’t mixed stuff in a mug?)
- Pastry brush for the butter (if you have one—you can just spoon it over, fingers crossed for even coverage)
Storing Leftovers (If, By Some Miracle, You Have Any)
Technically, you should cover them and pop in the fridge. They’ll keep 2–3 days. But… in truth, my house doesn’t let them survive overnight. If you want to reheat, 10 mins in a warm oven does the trick. Microwaving’s fine too (they end up a little softer but still tasty tossed in a lunchbox). Wouldn’t try freezing these though—I did once and it was pretty underwhelming. Soggy town.
How I Usually Serve These for Maximum Enjoyment
I put the whole tray right on the table, hand out napkins, and let people pull apart their own. Sometimes I add a side of sweet pickles (my secret indulgence) and a big bowl of pineapple chunks for that real Hawaiian punch. Oh, and occasionally I’ll do a lazy coleslaw or these crispy oven fries—depends on the mood.
Pro Tips (AKA What Not to Do, Learned the Hard Way)
- Don’t skip the butter topping. I did it once, thinking I’d ‘save calories’—regretted it instantly, the rolls tasted like sadness.
- If you cut the rolls unevenly, you’ll get lopsided sliders and that’s just annoying when stacking fillings.
- I once rushed the cooling step and, yikes, burned the roof of my mouth so badly I couldn’t taste dessert. Just wait 5 minutes, trust me.
FAQ—Real Questions From Real (Hungry) Friends
- Can I prep these ahead?
Totally! Assemble and refrigerate before topping with butter. Bring to room temp, then pour on butter and bake. Though, honestly, sometimes I skip the ‘room temp’ and chuck ‘em in cold; just add a couple minutes to baking time, no biggie. - Can I leave out poppy seeds?
Yep. It won’t break the recipe—or your teeth! They’re just there for a little texture (and tradition, I guess; not essential though). - What if I don’t have Dijon mustard?
Been there. Regular yellow works, spicy brown is good, honey mustard makes it sweeter—actually, it’s all a matter of taste. Check out Deb’s honey-mustard chicken for inspiration if you like that style. - Why are my sliders soggy?
Cheese overload or covering too long with foil. Not the end of the world, just try less liquid/butter or bake uncovered a bit longer next time. - Can I double this?
Only if you have enough oven space. Otherwise you end up rotating pans, and, trust me, no one wants cold sliders unless it’s breakfast. - Best cheese alternative?
Provolone is a safe bet, but I’ve had good luck with Monterey Jack if you’re feeling feisty. - Can kids help?
Absolutely—it’s mostly stacking stuff. I’d hold off on letting them slice the rolls unless you like excitement, though!
Phew! Didn’t mean to write a novel, but, Hawaiian Ham and Cheese Sliders are just one of those comforting, shareable things I always come back to—part nostalgia, part sheer tastiness. Let me know if you try wild combos! And if you ever want more comfort food inspiration, I love browsing the Bon Appétit family meal section for totally different vibes.
Ingredients
- 12 Hawaiian sweet rolls
- 12 slices deli ham
- 12 slices Swiss cheese
- 1/4 cup unsalted butter, melted
- 1 tablespoon Dijon mustard
- 1 tablespoon poppy seeds
- 1 tablespoon minced onion
- 1 teaspoon Worcestershire sauce
Instructions
-
1Preheat your oven to 350°F (175°C). Lightly grease a 9×13-inch baking dish.
-
2Without separating the rolls, slice the Hawaiian buns in half horizontally. Place the bottom halves in the prepared dish.
-
3Layer ham slices evenly on the roll bottoms, then add Swiss cheese slices over the ham. Cover with the roll tops.
-
4In a small bowl, whisk together melted butter, Dijon mustard, poppy seeds, minced onion, and Worcestershire sauce.
-
5Brush the butter mixture generously over the tops of the sliders.
-
6Cover the dish with foil and bake for 15 minutes. Remove foil and bake an additional 5 minutes until tops are golden and cheese is melted. Serve warm.
Approximate Information for One Serving
Nutrition Disclaimers
Number of total servings shown is approximate. Actual number of servings will depend on your preferred portion sizes.
Nutritional values shown are general guidelines and reflect information for 1 serving using the ingredients listed, not including any optional ingredients. Actual macros may vary slightly depending on specific brands and types of ingredients used.
To determine the weight of one serving, prepare the recipe as instructed. Weigh the finished recipe, then divide the weight of the finished recipe (not including the weight of the container the food is in) by the desired number of servings. Result will be the weight of one serving.
Did you make this recipe?
Please consider Pinning it!!
