Let Me Tell You About the First Time I Tried These
Alright, you know that feeling when 5pm hits and you realize—again—that you forgot to defrost anything for dinner? Yep, that’s where these air fryer chicken tenders entered my life. I swear my kids would eat them nightly if I let them. The first time I made them was purely desperation, but honestly, they turned out way better than I expected (which, let’s be real, rarely happens on a Monday). The kitchen smelled amazing and nobody asked where the “real dinner” was—small miracle! I even taught my neighbor how to make these after she smelled them through the wall; now her toddler is obsessed, so… sorry and you’re welcome, Jane!
Why I Think You’ll Keep Coming Back to This
I make these chicken tenders when I want something that looks fancy but takes zero brainpower (those days where you can’t be bothered to use more than two bowls). My crew goes absolutely wild for these because they come out crunchy without all the grease. Plus, they reheat kind of ok the next day if you don’t eat them all at once (no shame if you do). Oh! And if you’re the sort who gets frustrated by soggy breading—yup, that was me—air fryers seem to have some sort of crispy-making magic powers. Except that one time I got distracted scrolling chicken inspiration recipes and nearly smoked myself out; so maybe keep half an eye on it.
Here’s What You Need (Swaps & All)
- 500g chicken breast tenders (or just slice up whatever chicken bits you’ve got—I’ve used thighs in a pinch, honestly!)
- 1 cup plain breadcrumbs (Panko is my fav for crunch, but my gran would say anything from the bottom of the bread bag works. I’ve even used crackers, oops!)
- 1/2 cup all-purpose flour (sometimes I just eyeball it, truth be told)
- 2 eggs, beaten (or splash of milk if you’re out—works almost the same, just a bit less sticky)
- 1 tsp paprika (smoked if you want to show off, regular is fine too)
- 1 tsp garlic powder (or double if you’re feeling wild)
- 1 tsp salt & 1/2 tsp pepper (measure with your soul or your palm)
- Cooking spray or just a bit of oil for misting
How To Make Air Fryer Chicken Tenders: My Chaotic Technique
- Start by preheating your air fryer to about 200°C (or just under 400°F); although, sometimes I skip this if I’m in a rush.
- Set up three shallow bowls—flour, eggs, and breadcrumbs. Toss in paprika, garlic powder, salt, and pepper into the flour and breadcrumbs and give ’em a stir. (Some folks put spices only in the breadcrumbs, but actually I find it works better if you split it up. Your call!)
- Pat the chicken dry if you remember—it helps the coating stick a bit better.
- Coat the chicken pieces: first in flour, shake off the extra (this is always the messiest part for me), then dip in the beaten eggs, then roll in the breadcrumb mix. I always end up breading my own fingers too.
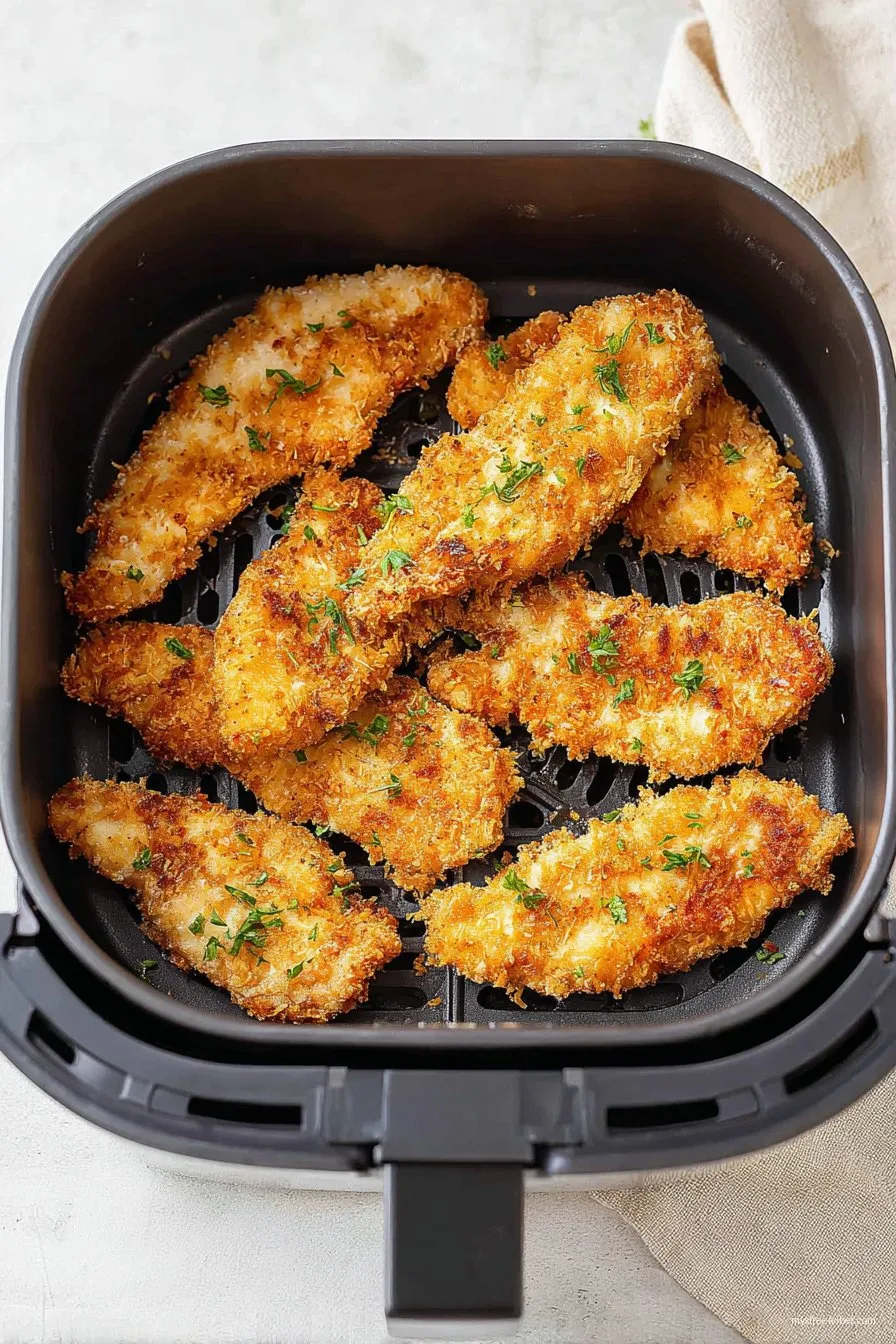
- Line up the tenders in the air fryer basket. Don’t worry if they’re a bit close, but leave some gaps so the air can swoosh around.
- Spray the tops with a bit of oil (not too much). Actually, I find olive oil spray works better for crunch than regular vegetable, but go with what you have.
- Cook for about 8–10 mins, flip, then another 5–7 minutes until golden and crispy. My tip: This is where I usually sneak a taste—try not to burn your tongue. They should be 75°C inside (I sometimes just cut one to peek instead of using a thermometer—don’t judge!).
Stuff I’ve Learned the Hard Way
- If your breadcrumbs look pale, just let them go a minute or two longer; don’t panic, they will brown up. Sometimes they won’t, and they still taste good, swear.
- Don’t overload the basket! I tried cramming a few too many and ended up with soggy bits. Quality over quantity, as my mate Dave would say.
- I used to think you needed fancy panko, but truly, any breadcrumb does the job pretty well (and I’ve tried more than I care to admit).
Tweaks I’ve Tested (Including a Flop)
- Spicy fans: Add cayenne to the breadcrumbs, but maybe don’t overdo—my lips tingled for an hour last time.
- Parmesan in the crumb mix is a game changer. Sometimes I skip the paprika and use Italian herbs instead. Delish.
- I once tried with pickle juice-marinated chicken—thought it’d be like that famous fast food—nah, didn’t really wow me. Not terrible, just… odd.
Don’t Have an Air Fryer? I’ve Got You
No air fryer? No biggie. You can use your oven on a wire rack at 220°C (425°F) for about 20 mins. It’s not exactly the same, but pretty darn close. Kinda like the difference between real football and video games. And hey, if you don’t have three bowls for breading, just use plates or whatever you’ve got—you’ll only have more things to wash later.
How I (Try to) Store Leftovers
Honestly, these almost never make it to the fridge in my house. If you do have leftovers, just chuck them in a container for up to 2 days—reheat in the air fryer for 2–3 minutes. They can get a little drier, but dunking in sauce fixes everything. I’ve tried freezing them… but they’re so easy to make fresh, I rarely bother.
My Favorite Ways to Serve These
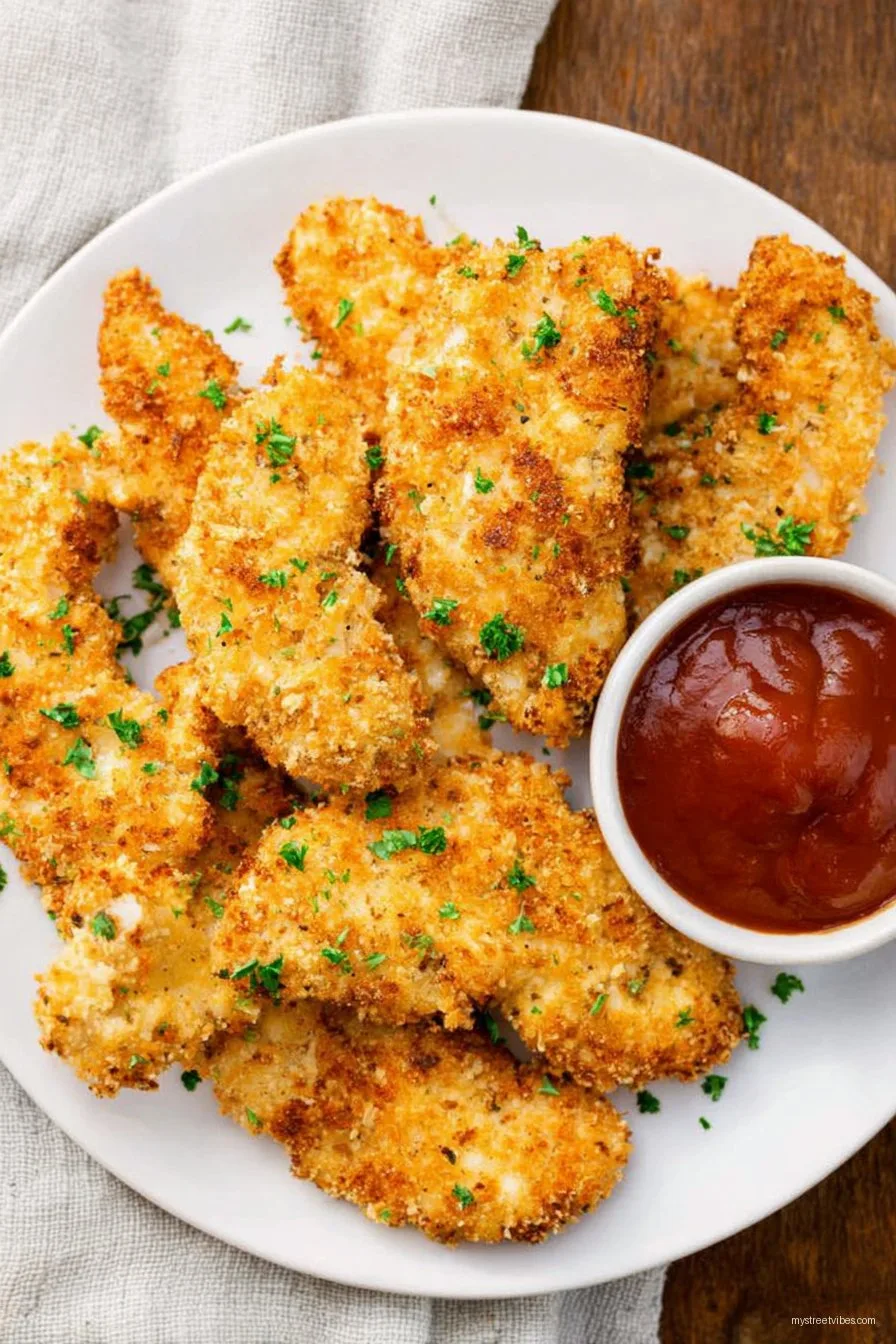
We love them with homemade coleslaw, but my partner is addicted to dipping them in honey mustard. The kids? Ketchup (of course). For movie nights, I sometimes slice them up on a salad—makes me feel fancy. Oh, and creamy mashed potatoes; trust me on this one.
Lessons From My Own Kitchen Fails
- I once tried skipping the egg step to save time. Don’t. The crumbs fly everywhere!
- Rushing the preheat makes them stick more often—so just give it a second (patience, grasshopper… or so I now tell myself).
- Oh, and if you forget the salt, they taste kind of flat. Not inedible, just… meh.
Questions Folks Actually Ask Me
- Can I use frozen chicken? Sure! Just thaw it first, otherwise the breading slides off and you’ll end up with a mess that looks like a bad science experiment (don’t ask).
- Can I add cheese to the breadcrumbs? Oh, absolutely. I like to grate in a handful of parmesan. Melts and goes all toasty.
- Do you flip them midway? Yep! They brown much better this way—I’ve forgotten once or twice and only one side gets golden (the other looks like a ghost, haha).
- Can I double the recipe? I do that for parties. But cook in batches; otherwise, the soggy bits return with a vengeance.
- Is air frying healthier than deep frying? I mean, probably? There’s way less oil, so my jeans say yes.
- Any sauce recommendations? Honey mustard, ranch, sriracha mayo… once, we even dipped in BBQ sauce mixed with butter, which was weirdly good. Don’t knock it ‘til you try.
Anyway—give these a shot. Even if your first batch isn’t perfect (who cares!), you’ll figure out your groove. If you want a few more chicken-y ideas (or just want to see that I’m not the only one who cooks in chaos), check out Recipes for Real People. Let me know how it goes, or if you invent a sauce that actually makes my picky eaters pause. Good luck!
Ingredients
- 1 pound chicken tenders
- 1 cup panko breadcrumbs
- 1/2 cup all-purpose flour
- 2 large eggs
- 1 teaspoon garlic powder
- 1 teaspoon paprika
- 1/2 teaspoon salt
- 1/2 teaspoon black pepper
- Olive oil spray
Instructions
-
1Preheat the air fryer to 400°F (200°C) for 5 minutes.
-
2Set up three bowls: one with flour, one with beaten eggs, and one with panko breadcrumbs mixed with garlic powder, paprika, salt, and pepper.
-
3Dredge each chicken tender in flour, dip into the eggs, then coat evenly with the seasoned panko breadcrumbs.
-
4Lightly spray both sides of the breaded chicken tenders with olive oil spray.
-
5Arrange the tenders in a single layer in the air fryer basket. Cook for 6 minutes, turn over, and continue cooking for another 5–6 minutes until golden brown and cooked through.
-
6Serve immediately with your favorite dipping sauce.
CLICK FOR NUTRITION INFO
↑
Approximate Information for One Serving
Serving Size:
1 serving
Calories:
280 caloriescal
Protein:
29gg
Fat:
7gg
Saturated Fat:
0g
Trans Fat:
0g
Cholesterol:
0mg
Sodium:
0mg
Potassium:
0mg
Total Carbs:
25gg
Fiber:
0g
Sugar:
0g
Net Carbs:
0g
Vitamin A:
0
Vitamin C:
0mg
Calcium:
0mg
Iron:
0mg
Nutrition Disclaimers
Number of total servings shown is approximate. Actual number of servings will depend on your preferred portion sizes.
Nutritional values shown are general guidelines and reflect information for 1 serving using the ingredients listed, not including any optional ingredients. Actual macros may vary slightly depending on specific brands and types of ingredients used.
To determine the weight of one serving, prepare the recipe as instructed. Weigh the finished recipe, then divide the weight of the finished recipe (not including the weight of the container the food is in) by the desired number of servings. Result will be the weight of one serving.
Did you make this recipe?
Please consider Pinning it!!