Let Me Tell You About This Chicken (No Really, Just Humor Me)
If we’re being honest, I never thought I’d get obsessed with an appliance that sounds like something from a sci-fi movie. But my air fryer? Oh, it’s now my ride-or-die for weeknight suppers—see, I once tried to pan-fry a chicken breast during a Zoom call… let’s just say, never again. This air fryer chicken breast has bailed me out more than a few times, especially when my brain’s running on coffee fumes and my kids (and the dog, weirdly) start staring at me like I’m the last chicken tender on earth. Actually, the first time I made this, I was sure it would turn out dry as a flip-flop – and what do you know, it was juicier than when I bake it the old-fashioned way. I swear someone even fist-pumped.
Why It’s Worth Firing Up the Air Fryer (Even on a Thursday)
I make this when there’s nothing in the fridge except a couple sad chicken breasts and there are too many hungry faces staring me down. My family goes crazy for this because it’s quick, there’s hardly any mess (plus, it doesn’t heat up the whole house in summer – bonus!), and I don’t have to wrestle with the oven. But really, it’s less about gourmet—more about me getting a win after a long day, you know?
And if I’m honest, sometimes I get lazy and don’t even marinate—just rub some spices on and hope for the best. Still turns out pretty good, which is, frankly, a miracle.
Here’s What You’ll Need (But Don’t Sweat It If You’re Short a Spice)
- 2 boneless, skinless chicken breasts (I’ve used thighs in a pinch – taste’s richer, just cook a bit longer)
- 1-2 tablespoons olive oil (Sometimes I use avocado oil because I’m feeling fancy, but I honestly can’t tell the difference)
- 1 teaspoon garlic powder (Or swap in onion powder, or both, or whatever dried herb you dig up from the back of the cupboard)
- 1 teaspoon smoked paprika (My grandmother always said to never skip this, but sweet paprika’s fine too. She wouldn’t approve but hey.)
- 1/2 teaspoon salt (Though my partner insists on “just a pinch more” – to each their own!)
- 1/2 teaspoon black pepper
- Optional extras: Italian seasoning, chili powder, lemon zest, or that random rotisserie chicken spice blend from Aldi – not sponsored, just obsessed
Okay, Here’s How I (Mostly) Do It
- Pat the chicken breasts dry. Trust me, don’t skip this or things get weird and slippery and the oil slides right off (been there, done that).
- Pound them out a bit so they’re even-ish thickness. Sometimes I just smack ‘em with the bottom of a mug. If you skip this, one end might be overcooked or undercooked – your call.
- Rub a little oil all over—just enough so the seasoning sticks. I usually just eyeball it, call it a tablespoon.
- Mix up your spices. Sprinkle all that flavor right on both sides. Don’t worry if most falls onto the plate, just scoop it back up and pat it in. This is where I usually sneak a tiny taste of the raw seasoning mix (don’t be weirded out, I said tiny!)
- Preheat the air fryer to 375°F (190°C). Or don’t. My old model didn’t even have this feature, and honestly, it worked fine. Now that I have a fancy one, I preheat if I remember.
- Pop the chicken in a single layer in the basket. No overlap, unless you like a little roulette with doneness.
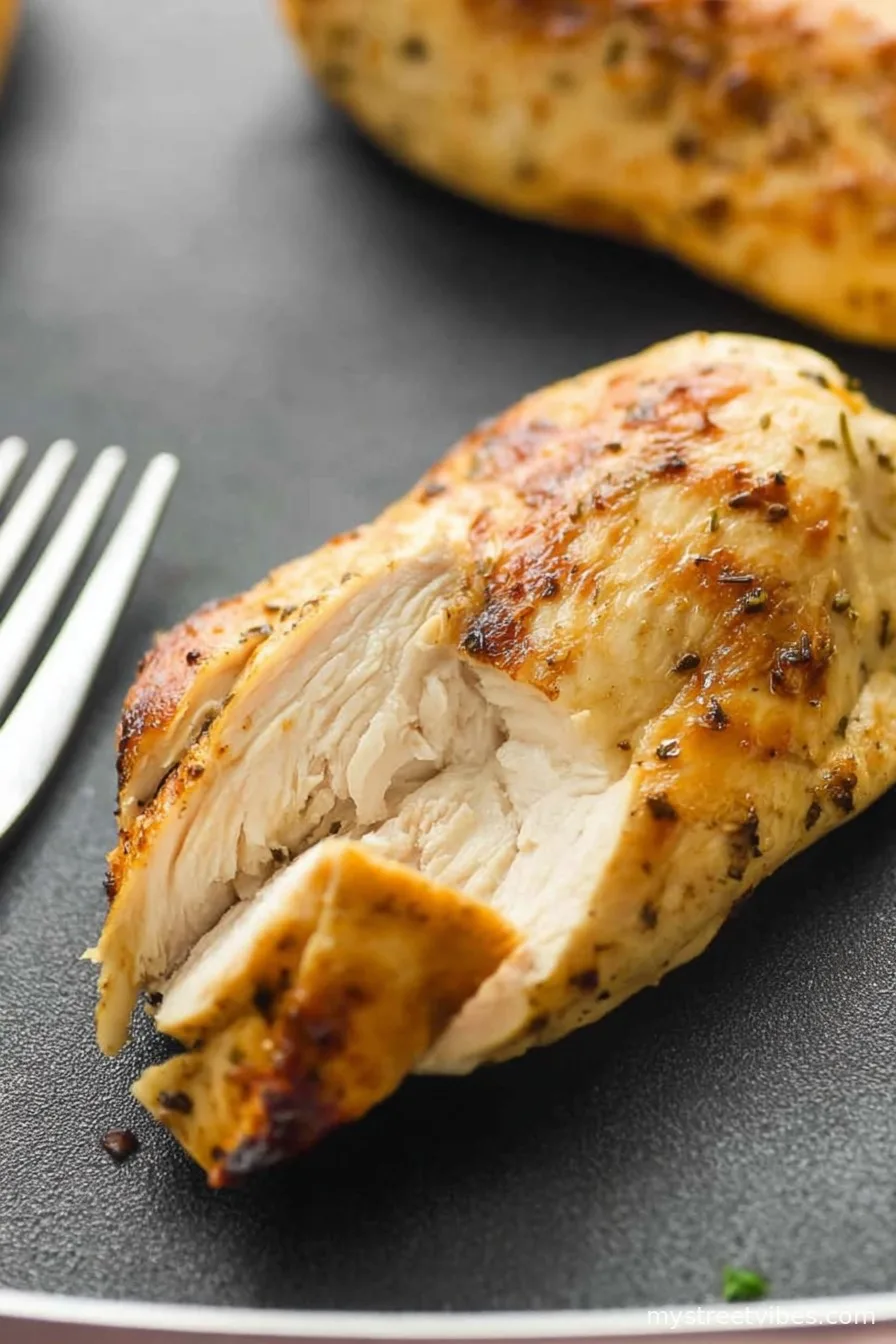
- Cook for 9 to 11 minutes, then flip and cook another 8 to 10 minutes. (If you’re like me and lose track, that’s okay; it’s pretty forgiving.) The real key: check that the thickest part hits 165°F (74°C). If you don’t have a meat thermometer, just cut in and look (and yes, I’ve totally just eaten the edge to “test”)
- Let them rest a few minutes. Yes, I know, but it keeps the juice in and makes it less like chewing on a gym mat.
Stuff I’ve Figured Out (After Lots of Chicken Mishaps)
- If you cram the basket too full, the sides get soggy (yet I still do it when I’m impatient…)
- Season generously; air fryer somehow seems to mute flavors a bit
- Don’t skip the resting time! Unless you love dry chicken – then by all means, dive in
- Actually, I think it tastes better the next day (but no one here ever gives me the chance to prove it more than once)
If You Like to Mess Around (Variations That Kinda Work… and One That Didn’t)
- Sticky Honey Garlic: Brush with a mix of honey, garlic, and soy sauce for the last five minutes (makes a very sticky, sweet glaze—I legit licked my fingers)
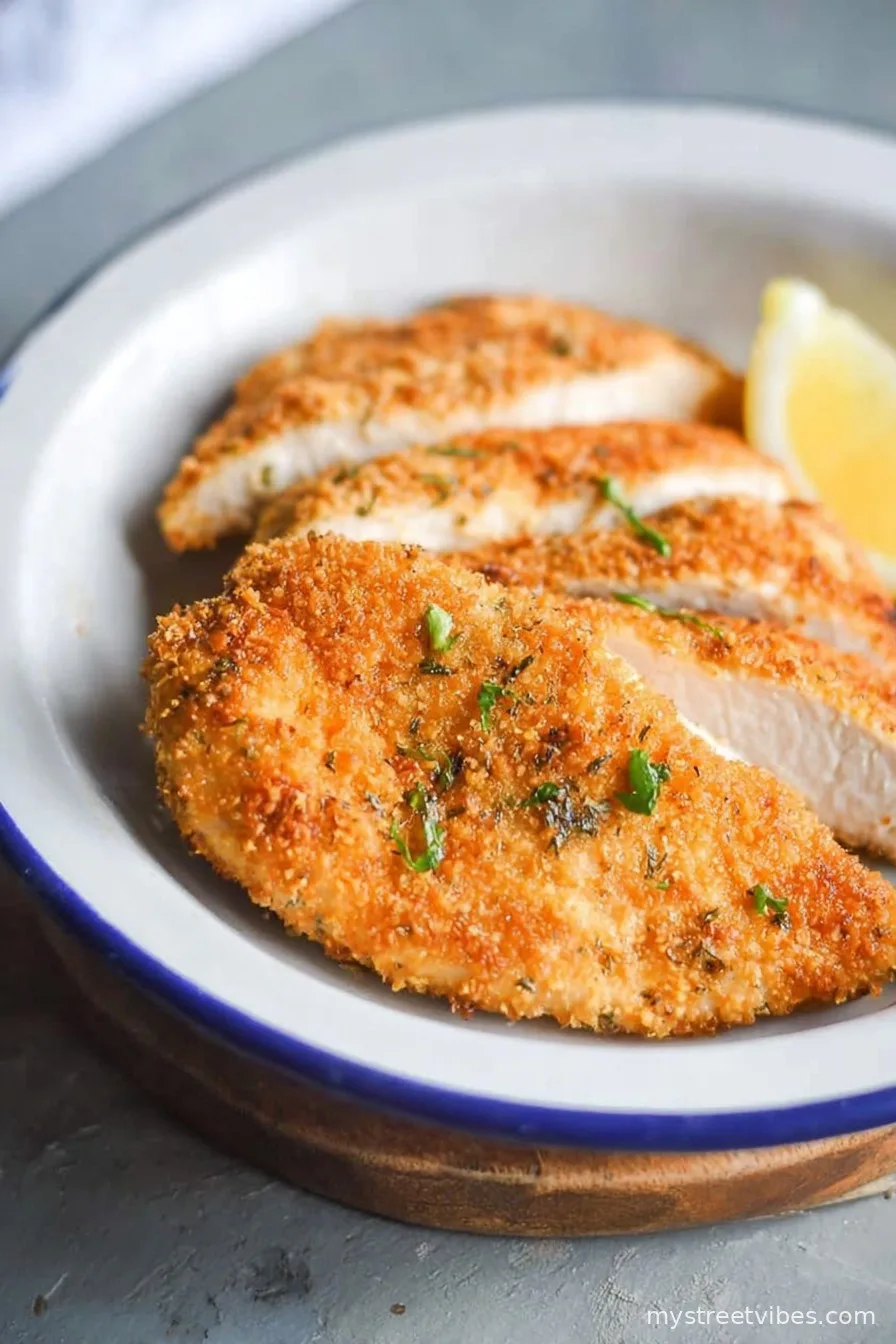
- Crispy Coating: Dip in beaten egg and panko. It’s messier, but the crunch? Serious.
- Lemon-Herb: Zest a lemon over the top with some thyme and oregano. Kinda tastes like a summer BBQ without the smoke.
- Don’t recommend: I tried dunking it in BBQ sauce before cooking—total disaster, the sugar burned fast. Save that step for at the end.
What If I Don’t Have All the Gear? (Been There, Too)
If you don’t have an air fryer—well, this is an air fryer chicken breast recipe, but oven works too, just bump the temp to 425°F and add maybe 5-7 minutes to each side. If you don’t have a meat pounder, honestly, a rolling pin or even the flat side of a water bottle works (just wipe it off after, obviously).
Will It Keep? (Ha, Good Luck)
Store leftovers in an airtight container in the fridge for up to 3 days… though honestly, in my house it never lasts more than a day! You can reheat it in the air fryer for 2-3 minutes to get that crispy edge back, or zap it in the microwave if you’re brave (not as good, but hey, we all get desperate).
What Do I Serve With This? (Sometimes I Just Eat It Out of the Basket)
I love it with a quick green salad or stuffed in a pita with tzatziki. My kids are partial to dunking slices in honey mustard, and honestly, I don’t blame them. Once, in a strange burst of ambition, I even served it with creamy mashed potatoes—fancy night!
Stuff I Had to Learn the Hard Way
- If you rush the preheat step, the coating doesn’t stick as well – I once ended up with something resembling chicken jerky, not ideal
- If the chicken is frozen, you probably want to defrost it first. I tried skipping this and just ended up with rubbery edges
- Always rest the meat before slicing—see above. I know, it feels like torture, but worth it
Your Random Questions I’ve Actually Gotten
- Can I use frozen chicken?
Sorta. You’ll need to tack on extra cook time, but I always find the edges get tough. I prefer to thaw if I can—at least a bit. - What if I don’t have smoked paprika?
Regular works fine, or skip it. One time I used taco seasoning instead, and it was pretty darn tasty, actually. - Do I really need a meat thermometer?
I mean—I recommend it, but I didn’t own one for ages. Just cut open the thickest bit and have a look (don’t burn yourself doing a taste test like me). - Can I marinate it?
Absolutely, though I never remember to. Even 15 minutes in something acidic—lemon, yogurt, a splash of pickle juice?—makes a difference. - What’s the best air fryer?
Oh, I get this all the time. Look, I use a 6-quart basket style from Ninja, but honestly, I’ve used a $40 off-brand one from Walmart and survived. America’s Test Kitchen has a good breakdown here: Best Air Fryers Review.
And that’s the gist! On second thought, this probably looks more complicated written out than it actually is. Just give it a whirl—ten minutes in, you’ll be hooked (and probably texting a pic to your mate).
By the way, I once tried air frying a ham sandwich. Do not recommend. But that’s a story for another day.
Ingredients
- 4 boneless skinless chicken breasts
- 2 tablespoons olive oil
- 1 teaspoon garlic powder
- 1 teaspoon smoked paprika
- 1/2 teaspoon dried oregano
- 1/2 teaspoon salt
- 1/2 teaspoon black pepper
- 1/2 teaspoon onion powder
Instructions
-
1Preheat the air fryer to 380°F (193°C) for 3 minutes.
-
2Pat the chicken breasts dry with paper towels and place them in a large bowl.
-
3Drizzle olive oil over the chicken breasts and rub to coat evenly.
-
4In a small bowl, mix together garlic powder, smoked paprika, dried oregano, salt, black pepper, and onion powder. Sprinkle the seasoning blend over both sides of the chicken breasts.
-
5Arrange the seasoned chicken breasts in the air fryer basket in a single layer. Cook for 9 minutes, then flip and cook for an additional 7–9 minutes, or until the internal temperature reaches 165°F (74°C).
-
6Let the chicken rest for 5 minutes before slicing and serving.
CLICK FOR NUTRITION INFO
↑
Approximate Information for One Serving
Serving Size:
1 serving
Calories:
240 caloriescal
Protein:
40 gg
Fat:
7 gg
Saturated Fat:
0g
Trans Fat:
0g
Cholesterol:
0mg
Sodium:
0mg
Potassium:
0mg
Total Carbs:
2 gg
Fiber:
0g
Sugar:
0g
Net Carbs:
0g
Vitamin A:
0
Vitamin C:
0mg
Calcium:
0mg
Iron:
0mg
Nutrition Disclaimers
Number of total servings shown is approximate. Actual number of servings will depend on your preferred portion sizes.
Nutritional values shown are general guidelines and reflect information for 1 serving using the ingredients listed, not including any optional ingredients. Actual macros may vary slightly depending on specific brands and types of ingredients used.
To determine the weight of one serving, prepare the recipe as instructed. Weigh the finished recipe, then divide the weight of the finished recipe (not including the weight of the container the food is in) by the desired number of servings. Result will be the weight of one serving.
Did you make this recipe?
Please consider Pinning it!!