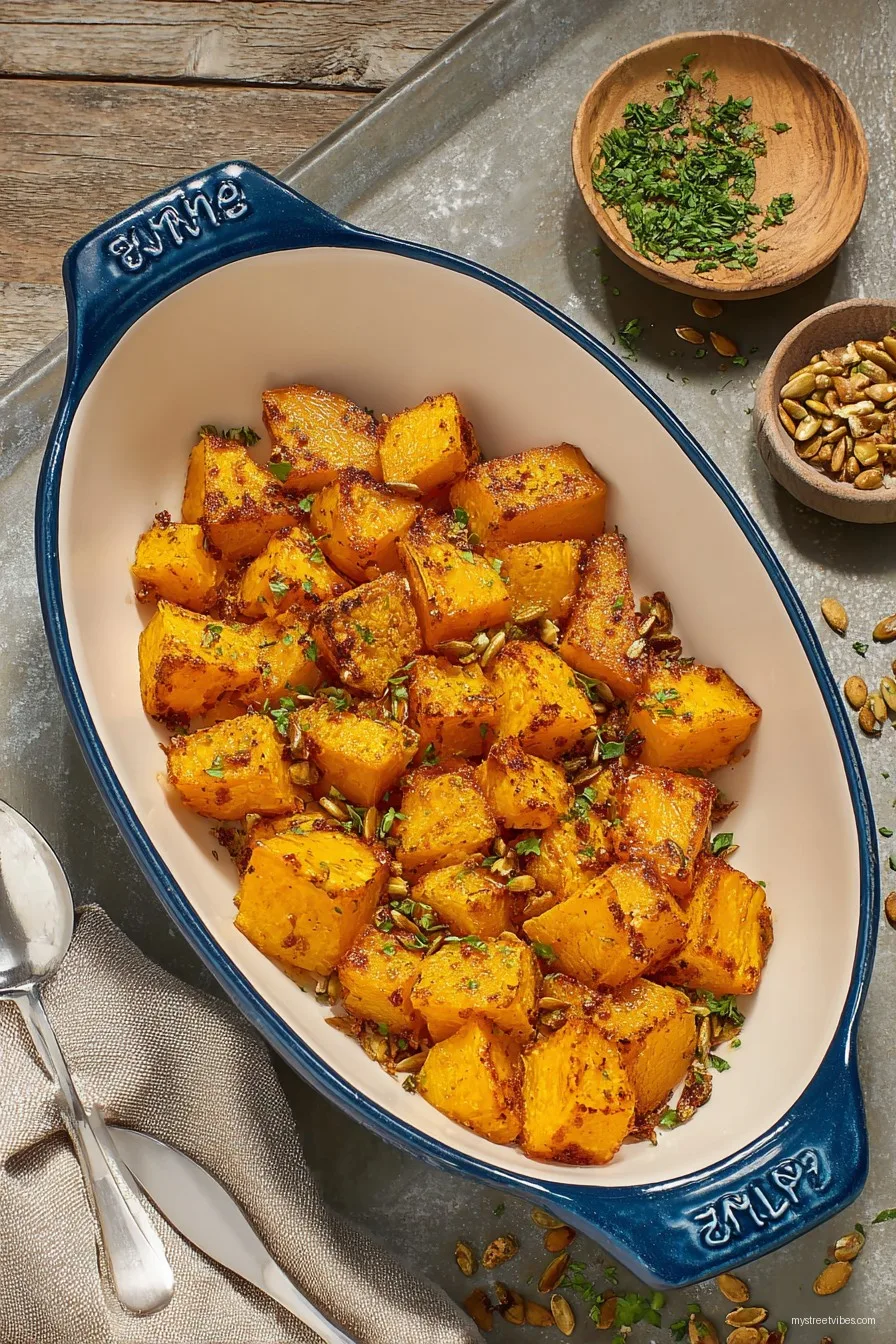
Alright, Let’s Talk About Air Fryer Butternut Squash
Okay, confession time: I didn’t even own an air fryer until last year (yes, I’m that person who waits until a trend is teetering out). But once I finally tried air fryer butternut squash, all bets were off. Now, whenever someone says “What should we do with this squash?” I’m already wrist-deep in cubes, and the air fryer is warming up like it’s race day. I once made it so often the kids thought I was sneakily replacing their Halloween candy with butternut squash. They weren’t exactly wrong.
Why You’ll Love This (Even If You Don’t Think You Will!)
I make this when I’m feeling lazy—because it’s fast and I don’t have to hover. My family weirdly goes crazy for it too (even the one who says veggies are for rabbits). And let’s be real, I’ve burned it in the oven plenty of times before finding the air fryer method. Less charred, more golden.
The nice part? It’s a forgiving recipe. Sometimes I grab squash that’s less-than-perfect and no one can really tell in the end—well, except my grandma who is suspiciously observant.
The Ingredients List (a.k.a. What’s Actually in My Pantry)
- 1 medium butternut squash (if you spot a pre-cubed one at the store when you’re short on time—no judgment, I do it)
- 2 Tbsp olive oil (honestly, I’ll swap in avocado oil when I’m feeling like a health nut)
- 3/4 tsp sea salt (my gran always said “Maldon or bust,” but regular old salt works fine)
- 1/2 tsp black pepper
- 1/4 tsp garlic powder (sometimes I toss in smoked paprika for a twist—makes it a tiny bit fancier, somehow)
- Optional: A handful of chopped fresh parsley, or shredded parmesan if you want to go wild
Let’s Get Cooking! (Directions That Even I Can Follow)
- Peel and chop the butternut squash. Get rid of those seeds (kids love scooping them out—mine do, sometimes with wild abandon). Cut into cubes about an inch big. Don’t sweat if they’re wonky.
- In a big bowl, toss the squash with olive oil, salt, pepper, and garlic powder. Here’s where I usually sneak a little taste, even though it’s raw. Just me?
- Preheat your air fryer to 200°C (that’s 400°F if you’re stateside). Sometimes I forget and just shove the squash in—it still works. The air fryer is more forgiving than my first boss.
- Spread the squash in the basket in a single layer. Don’t cram it, or you’ll get steamy squash instead of crispy (learned that the hard way…more than once).
- Cook for 18–20 minutes, shaking/tossing halfway through. If some look a bit toasty or darker, I just sample those first.
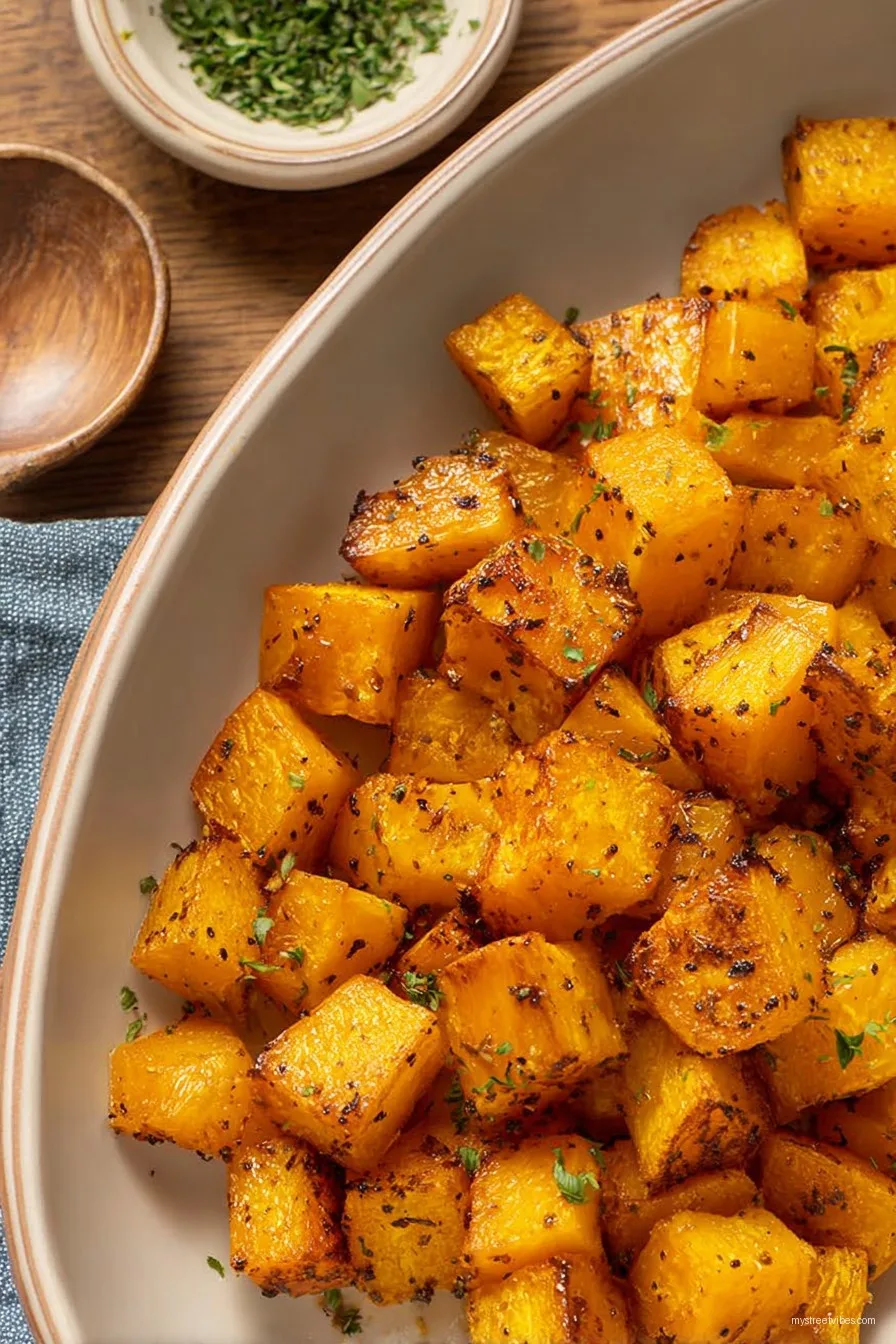
- Check for doneness—a fork should slide in easily, and the edges should be a little golden. If it’s not quite there, stick it back in for a few more minutes, but keep an eye out. This is where I stop trusting the timer and start eye-balling.
Little Notes, Discovered the Hard Way
- Soggy squash? Usually too much oil or overfilling the basket. I’ve done both, plenty. Just… try not to.
- If you use pre-cut squash, cut any huge chunks smaller so they all cook the same.
- I used to salt after air frying, but actually I find it works better if you do it before—it gets that crispy edge.
Variations I’ve Actually Tried (and Some That Were…Less Great)
- Sweet twist: sprinkle a little maple syrup and cinnamon before air frying—makes it almost dessert-like, but not quite pie.
- Cajun: Some Cajun seasoning and smoked paprika. Surprisingly good—especially if you’re eating with fried chicken (my cousin swears by this combo).
- Lemon zest at the end. Not my favorite; a bit weird, but maybe you’ll love it?
- Leftover chili powder once, thinking it would be spicy good…let’s just say that’s not happening again (but try at your own risk!).
If You Don’t Have All the Fancy Kit (Equipment Swap-Outs)
- Air fryer: Kind of the star. But if you don’t have one, just roast in the oven at 220°C for about 25–30 minutes. Not quite as crispy, but it gets the job done.
- Peeler: If you’ve lost yours (been there), you can use a knife—just be careful, that squash skin gets slippery like nobody’s business.
- Good bowl: Mixing in a giant soup pot is fine, too. I’ve done this just to save on washing up.
How to Store It (Though It’s Usually Gone Fast)
Toss leftovers in a container in the fridge—should keep for 2 to 3 days. I think it tastes even better the next day cold with a little feta and some extra olive oil (though honestly, in my house it rarely lasts more than a day!).
How I Like to Serve It (But You Do You!)
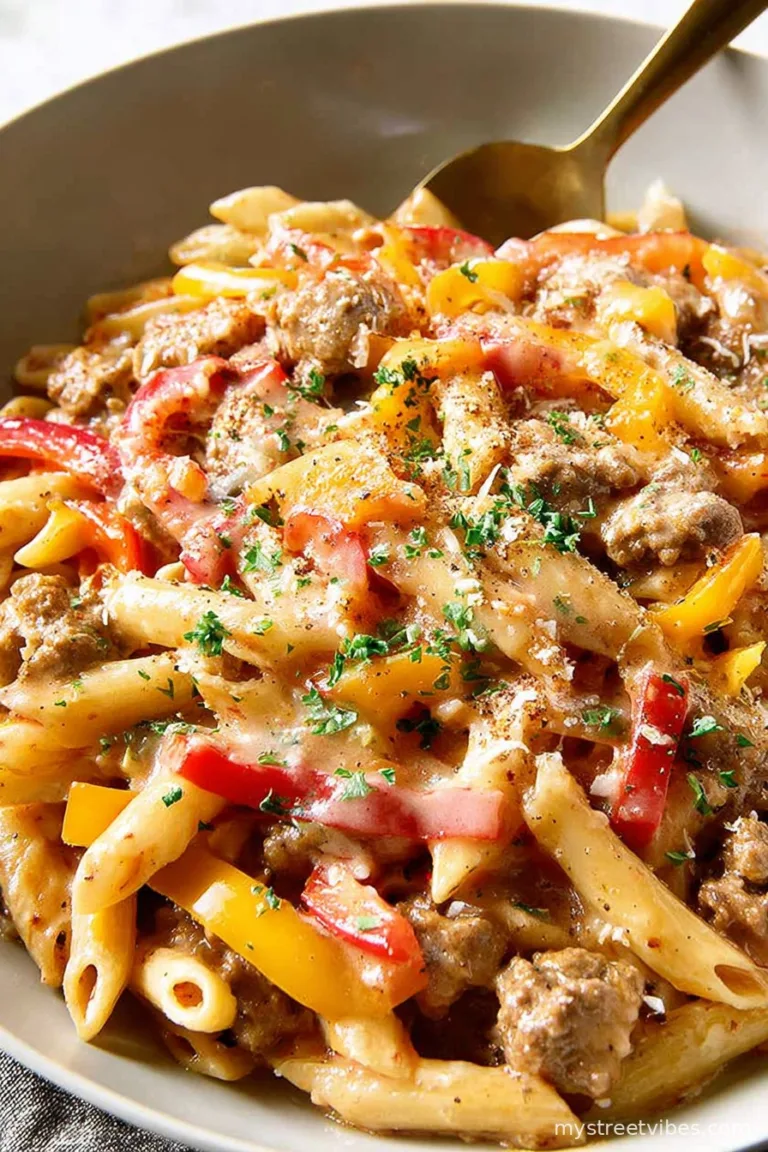
We eat this with roast chicken, tossed in quinoa bowls, or with a dollop of herby Greek yogurt (especially if I want to make it feel a bit fancy). Oddly enough, my youngest likes it as a taco filling—so don’t knock it till you try it. For real.
For extra inspiration on what to pair it with, I sometimes check this Bon Appetit guide on side dishes.
Pro Tips—Mostly Learned the Hard Way
- I once tried rushing the peeling (don’t; makes it slippery, and I almost lost a finger)
- The air fryer basket should be washed right after, or it gets sticky. Ask me how I know. (Actually, please don’t.)
- Don’t overload the basket—even if it seems like you can squeeze in one more handful. Promise.
FAQs—Real Questions, Real Answers
- Can I use frozen butternut squash? Yep! No need to thaw, but you might need a minute or two extra in the air fryer. Honestly, it’s a great time-saver for weeknights when you’re wiped out.
- Is peeling squash really necessary? I say yes, but some folks roast it skin-on. It’s edible, not my favorite. (Your mileage may vary!)
- What if my squash isn’t getting crispy? Probably overcrowded or too much oil. Spread them out a bit more next time. Or check your air fryer manual—sometimes they run cooler than you think.
- Can I make a big batch? Sure, but do it in batches. I tried to double it once and ended up with steamed mush. Lesson learned.
- Do I have to use oil? You can skip it, but I find it crisps up way better with at least a drizzle. Or try a spray. (Serious Eats has a good air fryer tips piece here)
And Just Because… A Little (Slightly Off-Topic) Digression
You know, for years I thought butternut squash was only for those cheffy risottos or fancy fall soups. But once you find a trick that works, you start seeing the ol’ squash in a whole new light. And sometimes, just sometimes, you’ll find a vegetable side you’d actually choose over fries. Okay, maybe not every time. But close.
Ingredients
- 1 medium butternut squash (about 2 pounds), peeled and cubed
- 2 tablespoons olive oil
- 1 teaspoon kosher salt
- 1/2 teaspoon black pepper
- 1/2 teaspoon garlic powder
- 1/2 teaspoon smoked paprika
- 1/4 teaspoon ground cinnamon
- 1 tablespoon chopped fresh parsley (optional, for garnish)
Instructions
-
1Peel the butternut squash, remove the seeds, and cut it into 1-inch cubes.
-
2In a large bowl, toss the squash cubes with olive oil, salt, black pepper, garlic powder, smoked paprika, and cinnamon until evenly coated.
-
3Preheat the air fryer to 400°F (200°C) for 3 minutes.
-
4Arrange the seasoned squash cubes in a single layer in the air fryer basket. Cook in batches if necessary.
-
5Air fry for 16-18 minutes, shaking the basket halfway through, until the squash is golden brown and tender.
-
6Transfer to a serving plate and garnish with chopped parsley if desired. Serve warm.
CLICK FOR NUTRITION INFO
↑
Approximate Information for One Serving
Serving Size:
1 serving
Calories:
120cal
Protein:
2 gg
Fat:
6 gg
Saturated Fat:
0g
Trans Fat:
0g
Cholesterol:
0mg
Sodium:
0mg
Potassium:
0mg
Total Carbs:
17 gg
Fiber:
0g
Sugar:
0g
Net Carbs:
0g
Vitamin A:
0
Vitamin C:
0mg
Calcium:
0mg
Iron:
0mg
Nutrition Disclaimers
Number of total servings shown is approximate. Actual number of servings will depend on your preferred portion sizes.
Nutritional values shown are general guidelines and reflect information for 1 serving using the ingredients listed, not including any optional ingredients. Actual macros may vary slightly depending on specific brands and types of ingredients used.
To determine the weight of one serving, prepare the recipe as instructed. Weigh the finished recipe, then divide the weight of the finished recipe (not including the weight of the container the food is in) by the desired number of servings. Result will be the weight of one serving.
Did you make this recipe?
Please consider Pinning it!!