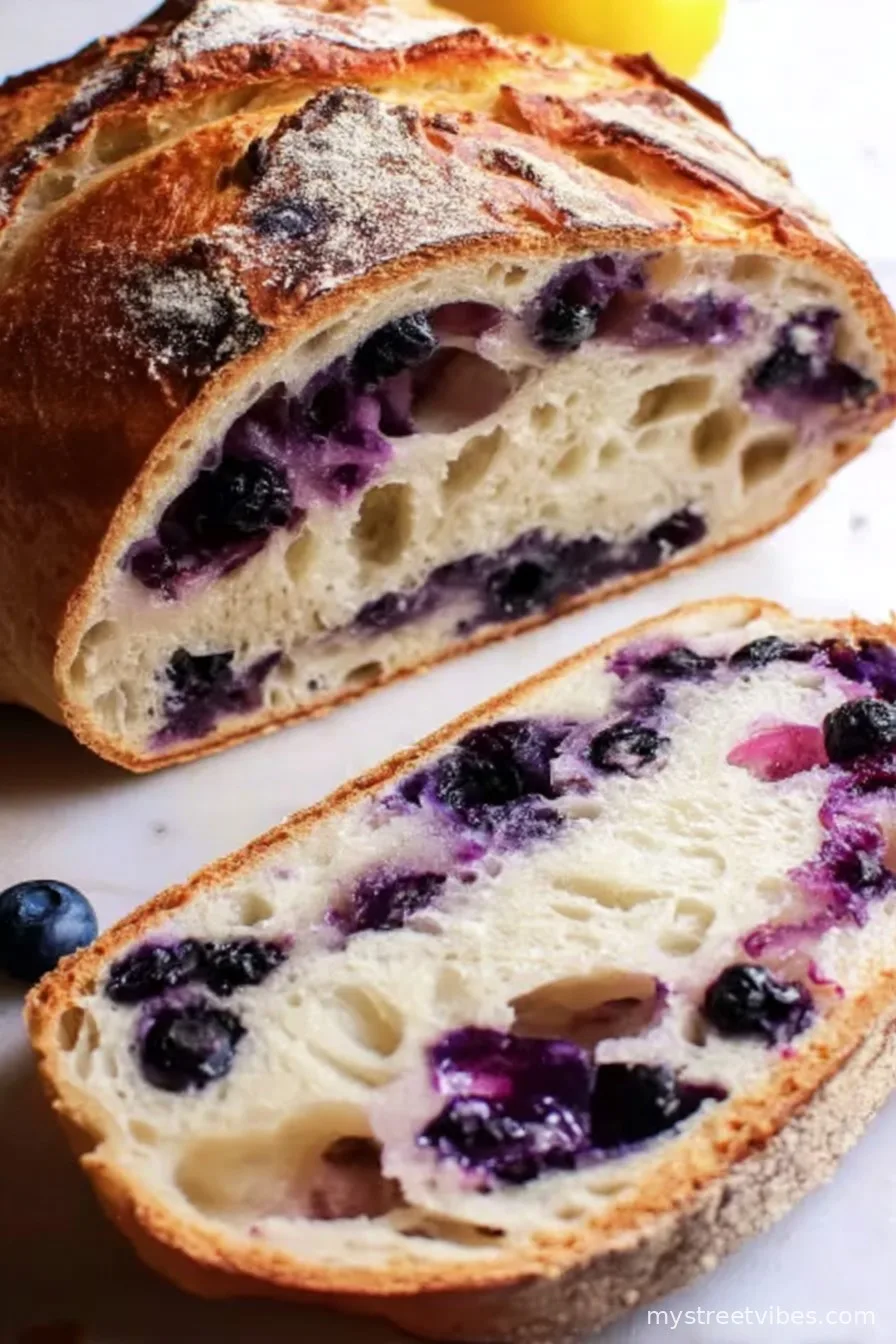
Lemon Blueberry Sourdough Bread—A Lazy Day Favorite
Okay, you ever get a craving for something that’s both tart and sweet, and just a wee bit tangy? That’s what got me making this lemon Blueberry sourdough bread one rainy Sunday when the power was flickering and I was out of my usual baking yeast. I remember my daughter sliding into the kitchen, smugly reminding me I’d never yet made anything with those “fancy” wild blueberries crammed in my freezer, so here we are. Might’ve gotten flour on the dog too, but that’s another story (if you ever meet Max, check behind his ears!).
Why You’ll Love This One
I usually whip this up when folks are visiting, because it makes the house smell like a lemon grove with a bakery crammed inside it. My family goes bananas for this bread when it’s still warm and the blueberries are all bursting and juicy (except my brother, but he claims he’s “just not a bread person”—he eats three slices anyway). I genuinely believe it tastes better the next day, though it rarely lasts that long. Oh, and if you’ve ever cursed over dense, weirdly rubbery bakes—yup, me too. But this recipe forgives a few mistakes—mostly.
What You’ll Need (Plus a Few Optional Swaps)
- 3 cups bread flour (I sometimes use King Arthur, but honestly any strong white flour does the trick—Granny swears by Gold Medal, fwiw)
- 1 cup active sourdough starter (fed and bubbly-ish; but I’ve used the sleepy stuff in a pinch—just add an extra hour of fermenting if you do)
- 1 cup blueberries (frozen or fresh. Wild ones, if you can! If not, I’ve tossed in raspberries and, uh, it’s odd but edible)
- 1 lemon—zest + juice (I skimped once and used bottled juice, don’t recommend it but you won’t ruin the bread)
- 3/4 cup lukewarm water (sometimes more if it’s a dry day)
- 1 tablespoon sugar or honey (my cousin uses maple syrup and claims it’s deluxe)
- 1 teaspoon sea salt (regular fine salt won’t spoil things)
How I Make It (and Yes, It Gets Messy)
- First, mix the starter, water, sugar, and lemon zest in a big bowl—I always use my wobbly yellow one, no idea why. Stir well-ish, just until the starter dissolves.
- Add flour and salt. Now comes the sticky part. Use a fork to blend it all, then get in there with your hands. If it’s a shaggy mess, that’s right. If it looks beautiful already, you missed the mess—start again (kidding).
- Wait 30 minutes (autolysis is the fancy word—learned that form a chef friend). Dough will relax, not unlike me after coffee.
- Add your blueberries and lemon juice. Press them in gently; squishing is inevitable, and honestly, the purple streaks look cool.
- Do a series of stretch and folds: grab an edge of the dough, pull it up, fold it over. Turn the bowl, repeat. I try for three times, every 30 minutes during the next 2 hours. (I usually sneak a taste of a fallen blueberry at this point. Call it “quality control.”)
- Cover, then let rise at room temp until doubled—anywhere between 4-8 hours depending on the weather and how antsy you are. If you’re pressed for time, fridge overnight, and bake next morning—truly, no one notices.
- Tip the dough onto a floured surface (it’s gonna be sticky, don’t panic). Shape into a rough round—don’t stress if it’s more of a wonky oval.
- Pop it seam side down into a floured proofing basket or a mixing bowl lined with a tea towel (definitely done this more than once when baskets were MIA). Let it rise one last time, about 1–2 hours.
- Preheat oven to 220°C/430°F with your dutch oven in there (if you have one). Or use a heavy baking tray with an upside-down roasting pan as a lid. Worked for me in a pinch.
- When it’s ready, score the top (don’t overthink it—I go for a big cross) and bake covered for 20 minutes, then another 20–25 minutes uncovered, till it’s golden, crackly, and smells so good your neighbors will probably knock on the door.
Extra Notes (Aka, My Learning Curve)
- The dough will look sticky. That’s totally fine—it sorts itself out in the oven.
- Once I dumped in too much lemon juice; bread was still edible but, wow, tart. Maybe stick with one lemon max!
- If you want serious blueberry pockets, roll the berries in a bit of flour before folding in; otherwise, they wander everywhere.
- On second thought, sometimes I skip the zest, and it’s still good, just less zingy.
When I Mix it Up (Variations I’ve Tried)
- Tried this with orange zest instead—nice change, but I kinda missed the lemon kick.
- Threw in white chocolate chips once (sounded better than it was—melted into sweet streaks, but the tangy bread works best solo or with fruit, I reckon)
- Subbed cranberries in a last-minute panic, and it was actually pretty tasty (though my kids gave me side-eye for days)

What You’ll Need (and Workarounds)
- A mixing bowl (literally any large one—not worth buying special, though those fancy ceramic ones are fun for Instagram pics if you’re into that)
- Proofing basket or a colander + clean tea towel
- Bench scraper—nice, but a big spatula or even your hands are fine
- Sharp knife or lame for scoring; full honesty, I once used kitchen scissors and it worked
- Baking Dutch oven or just a heavy baking tray and a metal mixing bowl as a lid—it’s about trapping steam, not buying new gear
How to Store This (If It Lasts!)
Let the bread cool completely. Store in a bread bag, beeswax wrap, or honestly just wrapped in a clean kitchen towel. Lasts about 2 days at room temp but—truth—my lot eat it before day one’s out. Actually, I think the flavors deepen if you manage to save a slice for breakfast the next day (good luck).
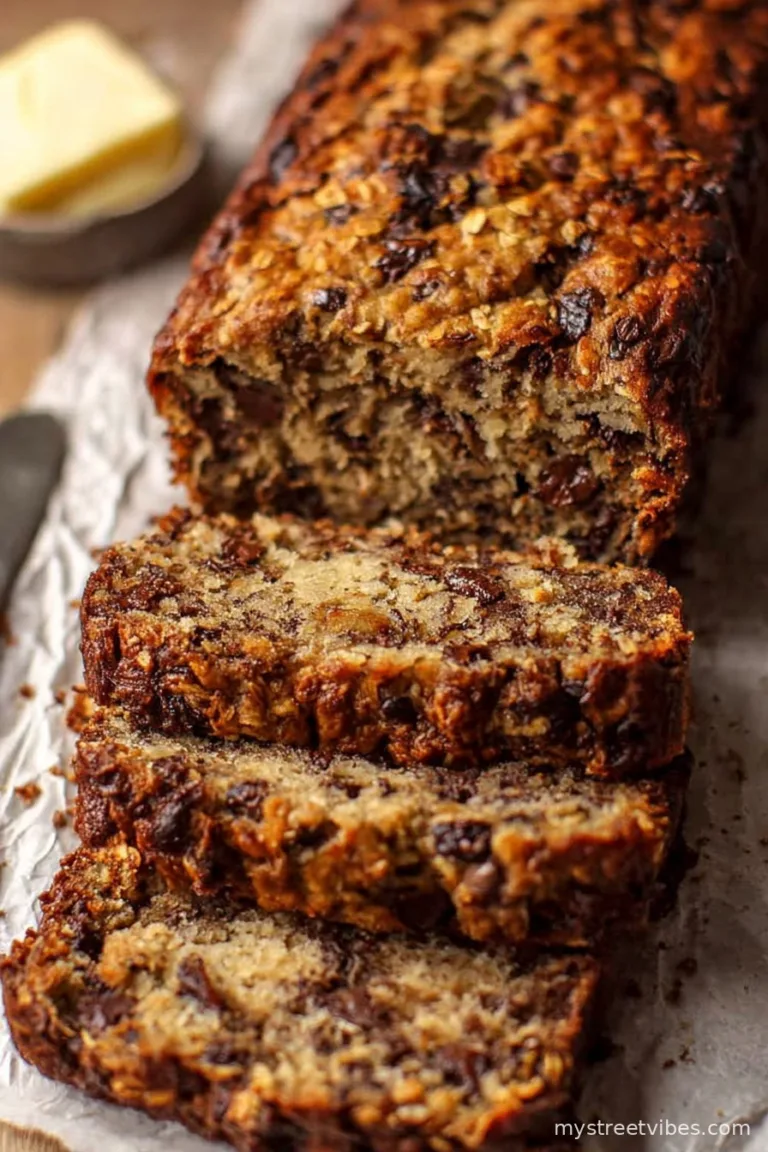
How We Serve It (Yes, Even for Dessert)
I always insist on that first thick, warm slice with a dab of salted butter while standing at the counter—family tradition now, apparently. Sometimes we toast leftovers for breakfast, spread on a layer of cream cheese and extra lemon zest. My friend Jody dunks hers in tea, but honestly, I just eat it straight from the cooling rack (the crust’s unbeatable that way).
Hard-Earned Pro Tips (aka, Oops Moments)
- I once tried rushing the final proof because I got impatient—ended up with dense, chewy bread. Don’t.
- Try not to overstuff with blueberries; more isn’t always better (learned that when the dough turned blue-ish gray, not cute).
- Bake on a preheated pan/dutch oven for that killer crust—if you forget, it’s still edible but not as dramatic.
People Actually Ask Me…
- Can I skip the sourdough starter and use instant yeast? Eh, if you must. But the whole point, for me, is that tang. It won’t be the same bread, just a nice loaf with blueberries.
- Do I have to use fresh blueberries? Nope, frozen work just fine (don’t even bother thawing, though you may need a smidge more flour if the dough gets runny).
- It didn’t rise much—did I mess up? Maybe, or maybe not. If your starter’s sleepy, give it more time. My kitchen’s cold in winter and I’ve left dough rising clear overnight. Sometimes I even put it in the turned-off oven to finish proofing—sort of a bread sauna!
- Can I make this gluten-free? I haven’t tried, to be honest (though I’m game if you share results). But you’d need a GF sourdough starter and probably different ratios. Give it a whirl if you’re feeling bold?
- What’s with the purple streaks? Sheer blueberry joy. Or, just squished berries. Nothing to worry about!
P.S. I once attempted to make this while binge-watching a detective show—missed two stretch-and-folds and the bread still turned out fine, so don’t let nerves keep you from starting. Go on, give it a go and let me know how it turns out (bonus if you end up flouring your pet).
Ingredients
- 3 cups bread flour
- 1 cup active sourdough starter
- 1 cup fresh blueberries
- 1 large lemon, zested
- 1/4 cup lemon juice
- 1/3 cup granulated sugar
- 1 teaspoon sea salt
- 1 cup lukewarm water
Instructions
-
1In a large bowl, combine bread flour, sourdough starter, lukewarm water, lemon juice, and sugar until a shaggy dough forms.
-
2Add lemon zest and sea salt to the dough. Mix until evenly incorporated. Allow the dough to rest for 30 minutes.
-
3Gently fold in the fresh blueberries, being careful not to burst them. Perform several stretch and folds over the course of 1 hour.
-
4Shape the dough into a loaf and transfer to a lightly greased or parchment-lined loaf pan. Let the dough rise at room temperature for 2-3 hours until puffy.
-
5Preheat the oven to 375°F (190°C). Bake the bread for 50-55 minutes until golden brown and cooked through.
-
6Cool the bread completely on a wire rack before slicing and serving.
CLICK FOR NUTRITION INFO
↑
Approximate Information for One Serving
Serving Size:
1 serving
Calories:
185 caloriescal
Protein:
5gg
Fat:
1gg
Saturated Fat:
0g
Trans Fat:
0g
Cholesterol:
0mg
Sodium:
0mg
Potassium:
0mg
Total Carbs:
39gg
Fiber:
0g
Sugar:
0g
Net Carbs:
0g
Vitamin A:
0
Vitamin C:
0mg
Calcium:
0mg
Iron:
0mg
Nutrition Disclaimers
Number of total servings shown is approximate. Actual number of servings will depend on your preferred portion sizes.
Nutritional values shown are general guidelines and reflect information for 1 serving using the ingredients listed, not including any optional ingredients. Actual macros may vary slightly depending on specific brands and types of ingredients used.
To determine the weight of one serving, prepare the recipe as instructed. Weigh the finished recipe, then divide the weight of the finished recipe (not including the weight of the container the food is in) by the desired number of servings. Result will be the weight of one serving.
Did you make this recipe?
Please consider Pinning it!!