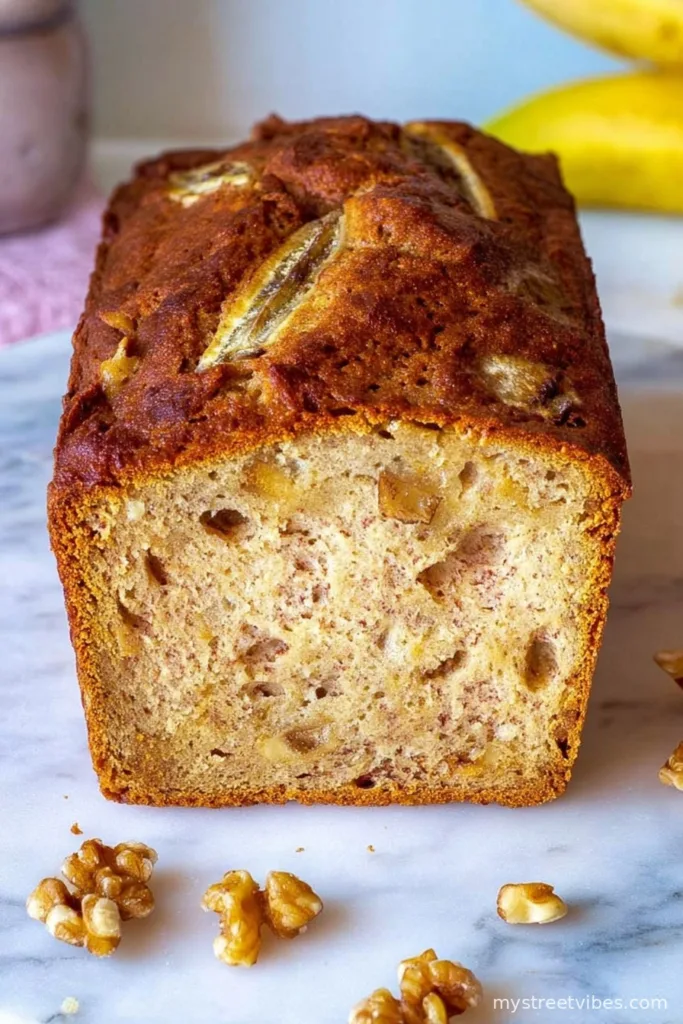
Let Me Tell You About The Time I Burnt Banana Bread…
I swear, every home cook’s got that story. Mine? I once left this protein banana bread in the oven so long, it was more banana brick than bread. Still, my dog sniffed at it anyway (I didn’t let him taste it, promise). It’s now one of my kitchen rituals: take a big whiff every time, check at 40 minutes, and—if the house starts to smell like caramelized bananas—time to do the toothpick test. And the best thing about this version? No oil, less guilt, way more flavor. Honestly, I make it when I need a pick-me-up snack that feels like a treat but keeps me from hitting that 3pm slump.

Why You’ll Want To Make This (Over and Over)
I make this honestly whenever I’m feeling like the bananas are speaking to me from the fruit bowl. My kids call it “banana bread that doesn’t feel healthy, but somehow is.” (Sneaky, right?) It’s totally my go-to after the gym because it packs some protein but tastes like actual cake—sometimes I have to fend off my teens with a wooden spoon just to let it cool. Tried it with friends once; they’re now convinced I’m hiding a bakery in my kitchen. It’s not too sweet, which I actually used to find annoying, but now—wow—I crave that subtle banana oomph. The ultimate bonus? No greasy pans or butter fingers, and I don’t miss the oil one bit. (Okay, I do if I forget the nonstick spray. Learn from me!)
The Stuff You’ll Need (Swaps Totally Welcome)
- 3 big, ripe bananas (the kind that look a day away from the compost—best for flavor!)
- 2 eggs (or flax eggs if you’re doing the vegan thing—I’ve tried both and, honestly, you’re good either way)
- 1/2 cup plain Greek yogurt (full fat or nonfat, doesn’t really matter; I’ve even subbed in sour cream when I was out. Granny would say it’s not traditional, but who cares?)
- 1/3 cup maple syrup (agave works too, or heck—just tip in a bit of brown sugar if that’s what you’ve got)
- 1 tsp vanilla extract (sometimes I eyeball it, oops)
- 1 1/4 cups flour (go half and half with whole wheat or spelt if you’re feeling virtuous)
- 1 scoop vanilla protein powder (or chocolate if you’re feeling bold; once I used strawberry and it was…interesting)
- 1 1/2 tsp baking powder
- 1/2 tsp baking soda
- 1/2 tsp cinnamon (or pumpkin spice—actually, come to think of it, chai spice was epic once)
- Pinch of salt
- Optional: a small handful of chopped walnuts or dark choc chips, if you’re feeling cheeky
So Here’s What You Do (Believe Me, It’s Easy)
- Preheat your oven to 350°F (or that’s 180°C if you’re on my side of the pond). Grease up a 9 x 5 inch loaf tin—sometimes I just use parchment if I can’t be bothered.
- Mash the bananas in a big bowl. Honestly, I just bash ‘em with a fork till they’re lumpy and soft. No need for a potato masher unless you wanna show off.
- Crack in the eggs, toss in the yogurt, add maple syrup and splash in that vanilla. Mix till it looks…well, gloopy. (This is where my youngest daughter likes to sneak a taste. I let her—no raw stuff worries with flax eggs!)
- In another bowl (or straight on top if I’m in a rush—shh), mix your flour, protein powder, baking powder, baking soda, cinnamon, and salt. Use a whisk or just wiggle a fork through it. If it’s lumpy, don’t panic.
- Stir the dry stuff into the wet stuff. Not too much! Stop as soon as you can barely see any flour patches (otherwise it’ll go tough—been there, it’s sad). Toss in nuts or chocolate chips if you want.
- Pour/scrape/slide the batter in the tin. Give the tin a wee tap on the counter to pop any big air bubbles. Into the oven it goes for about 45–50 minutes. Poke with a toothpick at 45—if it comes out clean or with just a few crumbs, yank it out. Or, if you, like me, wander off and forget, you might get banana bread that doubles as a doorstop. Still tasty (sort of).
- Let cool in the tin for 10–15 mins. Then tip it onto a rack—or a chopping board if you, like me, gave away your rack ages ago—and let it cool some more. If you can wait.
Kitchen Discoveries (or What Not To Do)
- If you add too much protein powder, it can get rubbery (ask me how I know…)
- Those bananas that are mostly black? Jackpot! The riper the better.
- Mixing too vigorously makes it dense. I used to think more stirring = better, but nope. Gentle is best here.
Swaps, Tweaks, and “Oops, That Didn’t Work”
- I’ve chucked in blueberries once—amazing, but bake an extra 5 minutes or so.
- Almond flour instead of regular flour tasted great but didn’t hold together. Bit crumbly.
- Chocolate protein powder: makes it more like dessert. Once tried peanut butter powder, not so great; tasted weirdly salty.

Stuff You Might Want (But Don’t Sweat It)
- A loaf pan (though once I used a muffin tin—just cut the bake time to 20 minutes-ish)
- Mixing bowls, any old spoon
- A cooling rack is nice, but honestly, I’ve cooled this balanced on the windowsill on a breezy day, and it worked fine
Where Do I Hide It? (Storage)
If you actually have leftovers, pop slices in an airtight tub or wrap in foil—it keeps for a couple of days at room temp, longer in the fridge. Though, in my house, it often vanishes before lunch the next day. And—I know I’m supposed to say it freezes, but I’ve never had enough to test that.
How To Eat (Other Than Standing at the Counter)
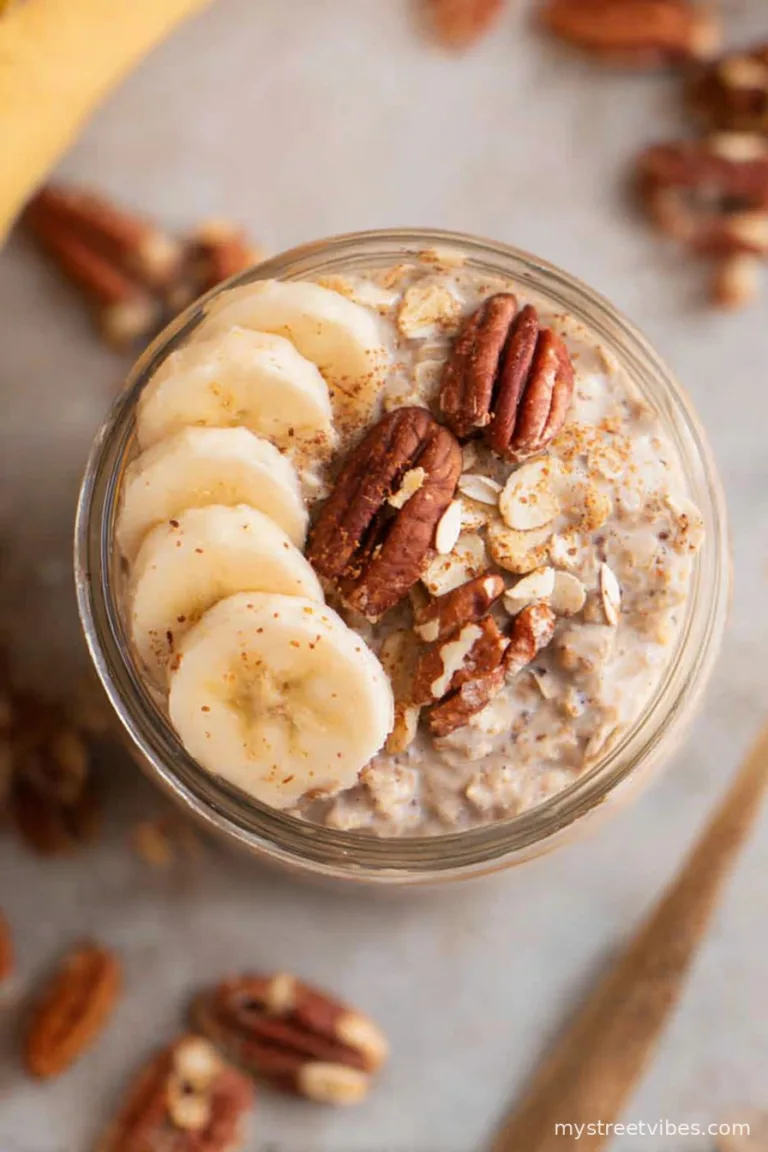
Great toasted with a bit of Greek yogurt on top and a drizzle of honey (that’s my partner’s actual obsession). Sometimes I eat it straight from the fridge, and my eldest dunks slices in coffee; proper lazy breakfast, but so good. One cousin insists on lashing it with homemade blueberry jam—wild, but I admit, not bad.
Kitchen Lessons Learned (The Hard Way)
- Don’t skip greasing the tin—even with nonstick, this bread likes to stick for dear life
- I tried to speed up the cooling once (freezer trick)—middle collapsed. Oops. Patience is a virtue here
- If it sinks in the middle, it probably needed another 5–10 mins. Nothing wrong with gooey bits, though.
FAQ — You Actually Asked!
- Can I use just egg whites? Sure, I’ve done it—bread’s a bit firmer, but works.
- Do I really need protein powder? Honestly, you could skip it, use a bit more flour, but it won’t taste quite the same; a bit less cakey, more bread.
- Can I freeze slices? In theory yes, in practice—no one lets me. If you do, wrap them well, toast from frozen.
- Does it taste better the next day? I tend to think so—flavors meld. That is, if you’ve got the willpower to wait!
- Can I make it vegan? Absolutely—swap eggs for flax eggs and use a non-dairy yogurt. (Done it twice when my vegan mate visited.)
- Why does it sometimes sink? Usually underbaked or too much wet stuff. Try less yogurt or a longer bake. Or, just pretend it’s intentional and slice off the top.
And, just because I know someone will ask: No, you probably shouldn’t try it with fresh pineapple chunks. Trust me. Not my best experiment, though the flavor was…unique.
Ingredients
- 3 medium ripe bananas, mashed
- 2 large eggs
- 1 cup vanilla protein powder
- 1 cup whole wheat flour
- 1/2 cup unsweetened applesauce
- 1/4 cup unsweetened almond milk
- 1/3 cup maple syrup
- 1 tsp baking soda
- 1/2 tsp baking powder
- 1/2 tsp ground cinnamon
- 1/4 tsp salt
Instructions
-
1Preheat your oven to 350°F (175°C). Lightly grease a 9×5-inch loaf pan or line it with parchment paper.
-
2In a large bowl, mash the bananas. Whisk in eggs, applesauce, almond milk, and maple syrup until smooth.
-
3In a separate bowl, mix together protein powder, whole wheat flour, baking soda, baking powder, cinnamon, and salt.
-
4Gently fold the dry ingredients into the wet ingredients until just combined. Do not overmix.
-
5Pour the batter into the prepared loaf pan. Bake for 40-45 minutes or until a toothpick inserted in the center comes out clean.
-
6Allow to cool in the pan for 10 minutes, then transfer to a wire rack to cool completely before slicing and serving.
CLICK FOR NUTRITION INFO
↑
Approximate Information for One Serving
Serving Size:
1 serving
Calories:
140 caloriescal
Protein:
8 gg
Fat:
1.5 gg
Saturated Fat:
0g
Trans Fat:
0g
Cholesterol:
0mg
Sodium:
0mg
Potassium:
0mg
Total Carbs:
23 gg
Fiber:
0g
Sugar:
0g
Net Carbs:
0g
Vitamin A:
0
Vitamin C:
0mg
Calcium:
0mg
Iron:
0mg
Nutrition Disclaimers
Number of total servings shown is approximate. Actual number of servings will depend on your preferred portion sizes.
Nutritional values shown are general guidelines and reflect information for 1 serving using the ingredients listed, not including any optional ingredients. Actual macros may vary slightly depending on specific brands and types of ingredients used.
To determine the weight of one serving, prepare the recipe as instructed. Weigh the finished recipe, then divide the weight of the finished recipe (not including the weight of the container the food is in) by the desired number of servings. Result will be the weight of one serving.
Did you make this recipe?
Please consider Pinning it!!