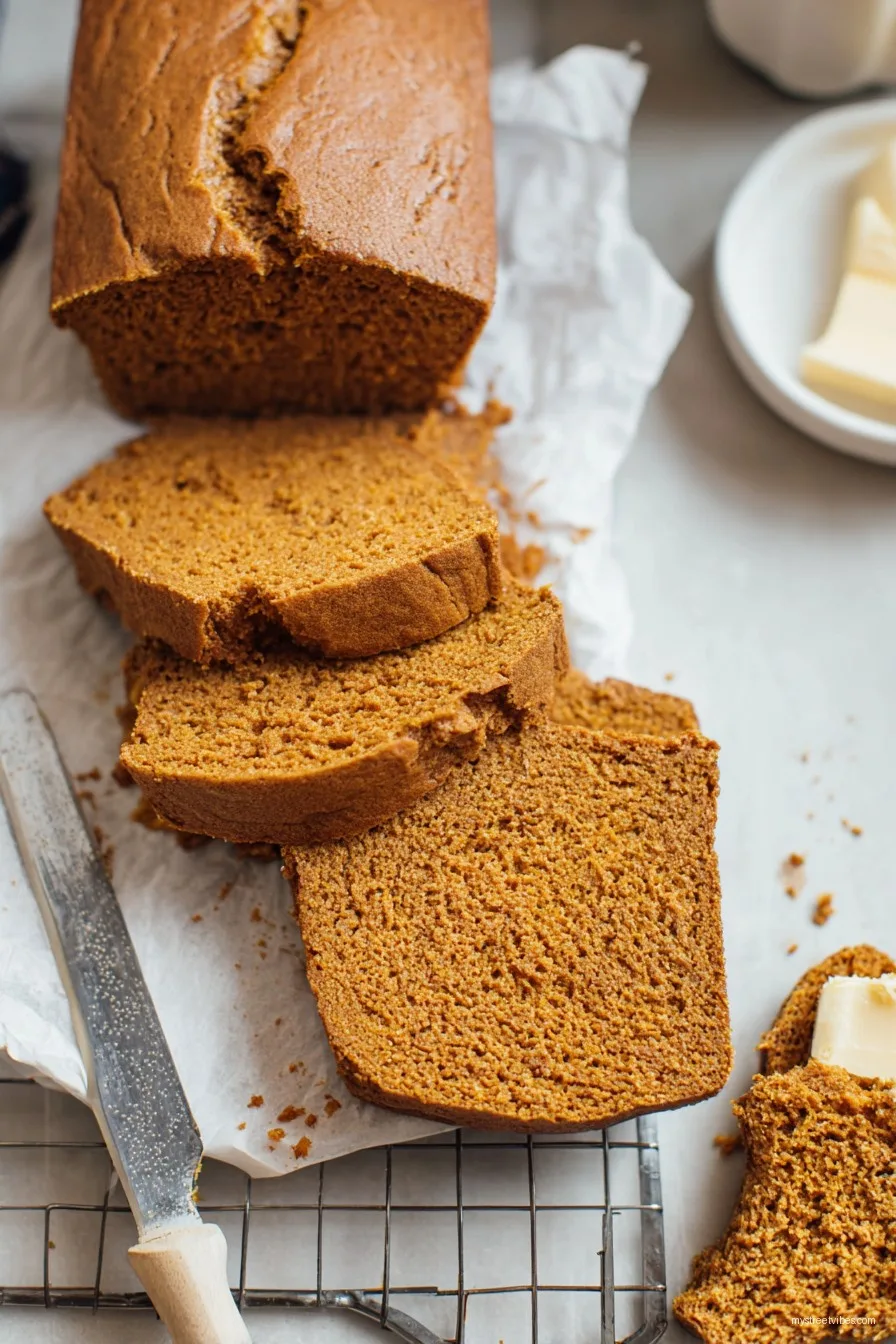
Let’s Chat Pumpkin Bread (and My Slight Obsession)
Alright, so pumpkin bread. Somehow, in my house, this is the bread that always gets devoured when nobody’s looking. I started making it back when I was a broke student and all I had was half a can of pumpkin puree. One chilly October day, I decided to just chuck it into some quick bread and wow! My housemate at the time tried to steal the loaf out form under my nose (he left crumbs as proof). To this day, the scent alone takes me back. Oh, and one time my dog tried to nab a slice—don’t recommend it for pets, obviously.
Why I Keep Coming Back to This
I honestly make this when the weather gets all moody or if someone’s coming over unexpectedly. My family basically hovers around the oven when this is on, though my sister always pretends she doesn’t care about baked goods (she’s not fooling anyone). It’s super forgiving—even the time I mixed up baking soda and baking powder it still sort of worked, though I wouldn’t recommend that route. And, it doubles as an excuse to use up that random can of pumpkin that’s been living in the back of your cupboard since—well, forever.
What You’ll Need (Don’t Panic If You’re Out of Something)
- 1.5 cups all-purpose flour (I’ve swapped in wholewheat for half, and it’s decent!)
- 1 cup pumpkin puree (Libby’s is classic, but the store brand is just fine; I’ve even used home-roasted once. So much faff, but worth it if you’re up for it.)
- 1 cup sugar (brown sugar is cozier, or do half brown half white for kicks)
- 2 eggs (I’ve done it with a flax egg in a pinch. Textures a tad more chewy but hey, vegan-ish!)
- 1/2 cup oil (vegetable or melted coconut work; butter is lovely but makes it a bit heavier)
- 1 tsp baking soda (don’t swap this for baking powder or, well, it goes weird)
- 1/2 tsp salt (I never measure, just pinch)
- 1 tsp cinnamon (or pumpkin pie spice—I sometimes shake in extra, because YUM)
- 1/2 tsp nutmeg (allspice or cloves work too—go wild, it’s your bread)
- 1 tsp vanilla extract (any will do, but the cheap fake stuff honestly tastes like childhood to me)
- Optional: a handful of walnuts or chocolate chips (I rarely plan ahead, so half the time these don’t make it in)
How I Actually Make It (with Odd Shortcuts Sometimes)
- Preheat your oven to 350°F (175°C), or thereabouts. My oven runs hot so I usually check it with my trusty serious-eats-approved thermometer, but you can just pray, too (it mostly works out).
- Bread tin—grease it. Butter, oil, whatever’s easiest, though I’ve used a bit of baking paper squashed in when I forgot to grease (still worked!).
- Get a big bowl. Dump in pumpkin, sugar, eggs, oil and vanilla. Whisk until it’s sort of homogenous—lumps are fine. This is usually when I sneak a spoonful (the raw eggs haven’t killed me yet, touch wood).
- In another bowl (or honestly, just sprinkle it over the top of the wet mix—don’t tell the baking police), mix your flour, spices, soda and salt. Fold gently until it comes together. Don’t go mad here, a streak of flour hiding in the corner is completely normal.
- Stir in walnuts or chocolate chips if you’re feeling fancy. I forget about these all the time and they just kind of work better scattered on top anyway.
- Pour it all into your tin. Smooth it out a bit; don’t fuss too much. Stick it in the oven, middle rack. It’ll need about 45-55 minutes—check sooner if your oven is wild. A toothpick (or knife, or whatever is clean) should come out mostly clean—crumbs are fine, gooey batter isn’t.
- Let it cool, at least for a bit. I once tried to slice it super hot and it basically collapsed into delicious, squishy chaos. Now I wait (sort of).
Straight-Talking Recipe Notes
- The color changes based on the brand of pumpkin (or if you roast it yourself, which I did once and then remembered the tin is just as good!).
- I’d say don’t skimp on the cinnamon, but once I went nuts and it was a little…medicinal. Find your happy place!
- It’s way better the second day, but…who actually waits?
Variations I’ve Actually Tried (and a Fail)
- Swapped half the oil for apple sauce—lighter texture and my neighbour called it “dangerously snackable.”
- Chucked in some raisins—divides the crowd but I quite like it (my friend Meg says it’s “fruitbread, not pumpkin bread” so there’s that).
- I once tried to make it gluten-free with just almond flour. Honestly, don’t. It was basically a pumpkin brick.
Equipment Notes (Don’t Stress About the Tools)
If you have a loaf pan, great. Mine is a battered old thing that I found at a thrift shop. No loaf pan? A square cake tin works just fine, it’ll just be flatter and the edges crispy (bonus, actually). And if you’re desperate, even muffin tins will do the job—just check earlier, like around 20-25 minutes.
How to Store It (If It Lasts)
Technically, you can wrap this up and keep it on the counter for 2-3 days, or shove it in the fridge if you’re that way inclined. In reality, the loaf is usually gone by bedtime in my house (I blame my other half, but I’m not innocent either). Freezes well for ages, too—as long as you double wrap it, otherwise it gets frostbitten and a bit odd.
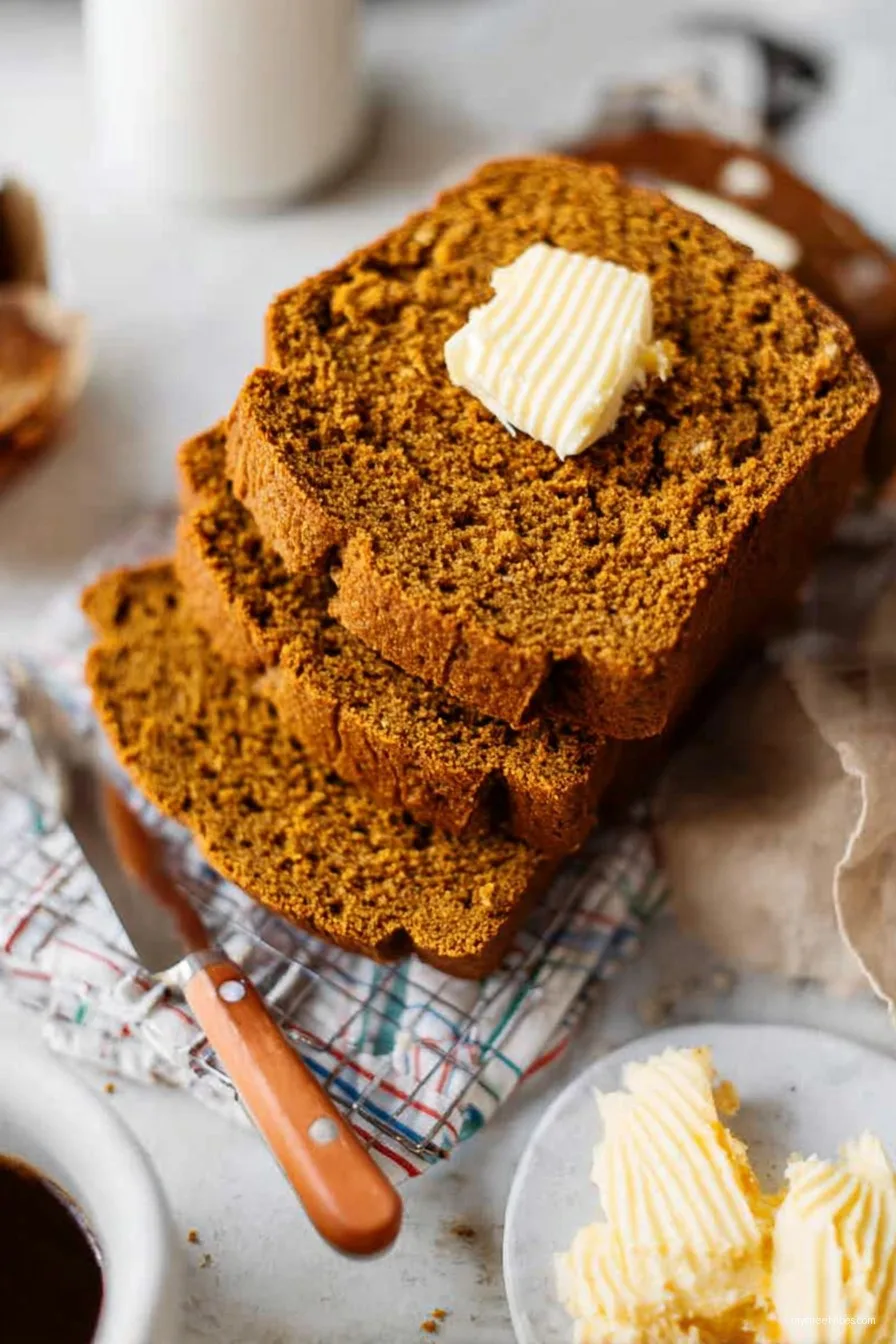
Serving: How We Actually Eat It
Weird admission: I love this best cold, with a slab of salted butter. My mom likes it warm with a scoop of vanilla ice cream (I’ll join her on special days). Occasionally, if there’s leftover cream cheese from bagels, that finds its way on top. And yes, a cuppa is basically mandatory. If you want something fun, check out Sally’s Baking Addiction for her trick with maple glaze (I’ve tried it, it’s lush).
Lessons Learned (Pro Tips, or How Not to Mess Up)
- Once, I tried to speed things up by baking at a higher temp—bad move. Raw middle, burnt edges. Be patient, or you’ll regret it!
- If you overmix, you’ll get a tough loaf (like, jaw workout level). Gentle folding—promise.
- Keep an eye on the timer if using muffin tins, the little ones go from perfect to crispy dead quick.
FAQ: The Stuff People Always Ask Me
- Can I swap brown sugar for white? Oh, totally—flavor changes a bit; brown is more cozy (if that makes sense?).
- My pumpkin bread sank! What did I do? Usually, it’s underbaking or, erm, overbeating. Or your oven temp is out of whack. Happens to the best of us.
- Can I use fresh pumpkin? Yes, but it’s honestly more work—I’ve tried and immediately went back to canned, but hey, up to you.
- Gluten-free options? I’d use a proper 1-to-1 gluten-free flour blend (like Bob’s Red Mill) instead of messing about with just almond flour. Learned that the hard way.
- What if I don’t have an electric mixer? You don’t need one! A big spoon or whisk is honestly just as good, plus you get a mini arm workout.
- Is the batter supposed to be this thick? Yep, it’s gloopy. If it looks weird, you’re on the right track.
Somehow I always end up with more questions about this bread than any other—probably because people see “pumpkin bread” and think it’s fancier than it is. Just dive in. It’s all about the process, really, and sometimes you’ve just got to embrace the mess.
Ingredients
- 1 3/4 cups all-purpose flour
- 1 cup canned pumpkin puree
- 1 cup granulated sugar
- 1/2 cup vegetable oil
- 2 large eggs
- 1 teaspoon baking soda
- 1/2 teaspoon salt
- 1 teaspoon ground cinnamon
- 1/2 teaspoon ground nutmeg
- 1/4 teaspoon ground cloves
Instructions
-
1Preheat the oven to 350°F (175°C). Grease a 9×5-inch loaf pan.
-
2In a large bowl, whisk together the flour, baking soda, salt, cinnamon, nutmeg, and cloves.
-
3In another bowl, mix together the pumpkin puree, sugar, oil, and eggs until well combined.
-
4Gradually add the dry ingredients to the wet ingredients, stirring until just combined. Do not overmix.
-
5Pour the batter into the prepared loaf pan. Bake for 55-60 minutes, or until a toothpick inserted into the center comes out clean.
-
6Let the bread cool in the pan for 10 minutes, then transfer to a wire rack to cool completely before slicing.
CLICK FOR NUTRITION INFO
↑
Approximate Information for One Serving
Serving Size:
1 serving
Calories:
240 caloriescal
Protein:
3gg
Fat:
9gg
Saturated Fat:
0g
Trans Fat:
0g
Cholesterol:
0mg
Sodium:
0mg
Potassium:
0mg
Total Carbs:
36gg
Fiber:
0g
Sugar:
0g
Net Carbs:
0g
Vitamin A:
0
Vitamin C:
0mg
Calcium:
0mg
Iron:
0mg
Nutrition Disclaimers
Number of total servings shown is approximate. Actual number of servings will depend on your preferred portion sizes.
Nutritional values shown are general guidelines and reflect information for 1 serving using the ingredients listed, not including any optional ingredients. Actual macros may vary slightly depending on specific brands and types of ingredients used.
To determine the weight of one serving, prepare the recipe as instructed. Weigh the finished recipe, then divide the weight of the finished recipe (not including the weight of the container the food is in) by the desired number of servings. Result will be the weight of one serving.
Did you make this recipe?
Please consider Pinning it!!