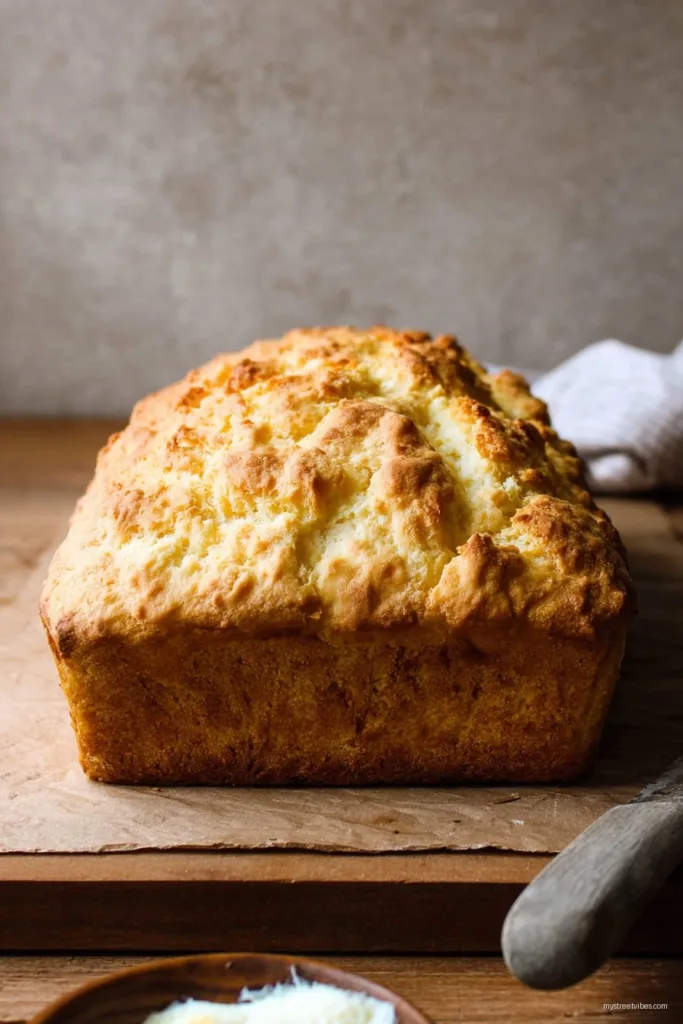
Alright, pull up a chair, because I’m about to let you in on maybe the best kitchen shortcut I know—my 3 Ingredient Bread. I first stumbled onto this recipe during a Sunday afternoon when the urge to bake collided with an empty pantry (classic). You know how it goes: you want fresh bread but also zero effort, right? That was me. This bread has honestly saved my bacon (er, not literally—I mean, that would be a weird bread). There’s something so satisfying about throwing a couple of ingredients into a bowl, making a quick mess, and ending up with a golden, crusty loaf. Plus, it makes my house smell like I actually have my life together, ha!
Why You’ll Love Making This
I make this loaf whenever I’m running short on time—or patience. My family goes absolutely bonkers for freshly baked bread; you’d think I’d baked a cake, honestly. The best part? No kneading. (Which means less counter cleanup and more time pretending I have chores to do.) And, let’s be honest, sometimes all you want is something easy that doesn’t require a whole shopping trip. My partner used to grumble about store-bought loaves, but once we found this, there was no turning back.
Though, word of warning—once I tried to double the recipe on a whim without adjusting for oven time. Big mistake. Charcoal loaf, anybody?
What You Need (Plus My “Take It or Leave It” Swaps)
- 3 cups self-raising flour (I’ll be honest, if you only have plain flour, just toss in 2 generous teaspoons of baking powder—don’t stress over brands; my grandmother swore by the one with the blue label, but I grab whatever’s cheapest)
- 1.5 cups Greek yoghurt (full-fat is my go-to, but I’ve made it work with natural yogurt, too. Even soured milk once when I was desperate—turned out surprisingly alright!)
- A hefty pinch of salt (sometimes I add a couple pinches or none at all if using salted butter later, totally up to you)
Optional: I have tossed in a handful of seeds or a tablespoon of honey for a bit of pizzazz. Once, I even tried a splash of beer instead of some yoghurt—it got a bit too zesty for my taste, but hey, you might like adventure (or regret, your call!).
How You Actually Make This (Warts and All)
- Set your oven to 180°C (that’s about 350°F). Don’t forget this, or you’ll be hungry for a while—I always preheat mine as soon as I think about bread.
- In a big bowl (I swear by my old mixing bowl from college, but any will do), dump in the flour and salt. Give it a quick mix with your hand (or a spoon—I’m just lazy and prefer hand-mixing most days).
- Pour in the yogurt. Start stirring. It’ll get claggy (is that the word? You know what I mean). Don’t panic! Keep going. When it’s too thick for the spoon, switch to your hands and form a dough. Yeah, it’s sticky. It’s meant to be!
- Lightly flour your countertop (or just a clean chopping board if that’s all you’ve got—no need to be fancy). Turn out the dough. Just pat it into a rough ball or squish it into a loaf shape. Looks a mess? Totally normal. Sometimes mine leans to one side—people call it artisanal now.
- Pop it on a lined baking tray or a loaf tin if you’ve got one. Again, both work. This is where I usually sneak a tiny taste—raw dough is pretty bland, I confess.
- Bake for 35–40 minutes until it’s golden and sounds hollow if you tap it (pro tip: if you burn your fingers doing this, welcome to the club).
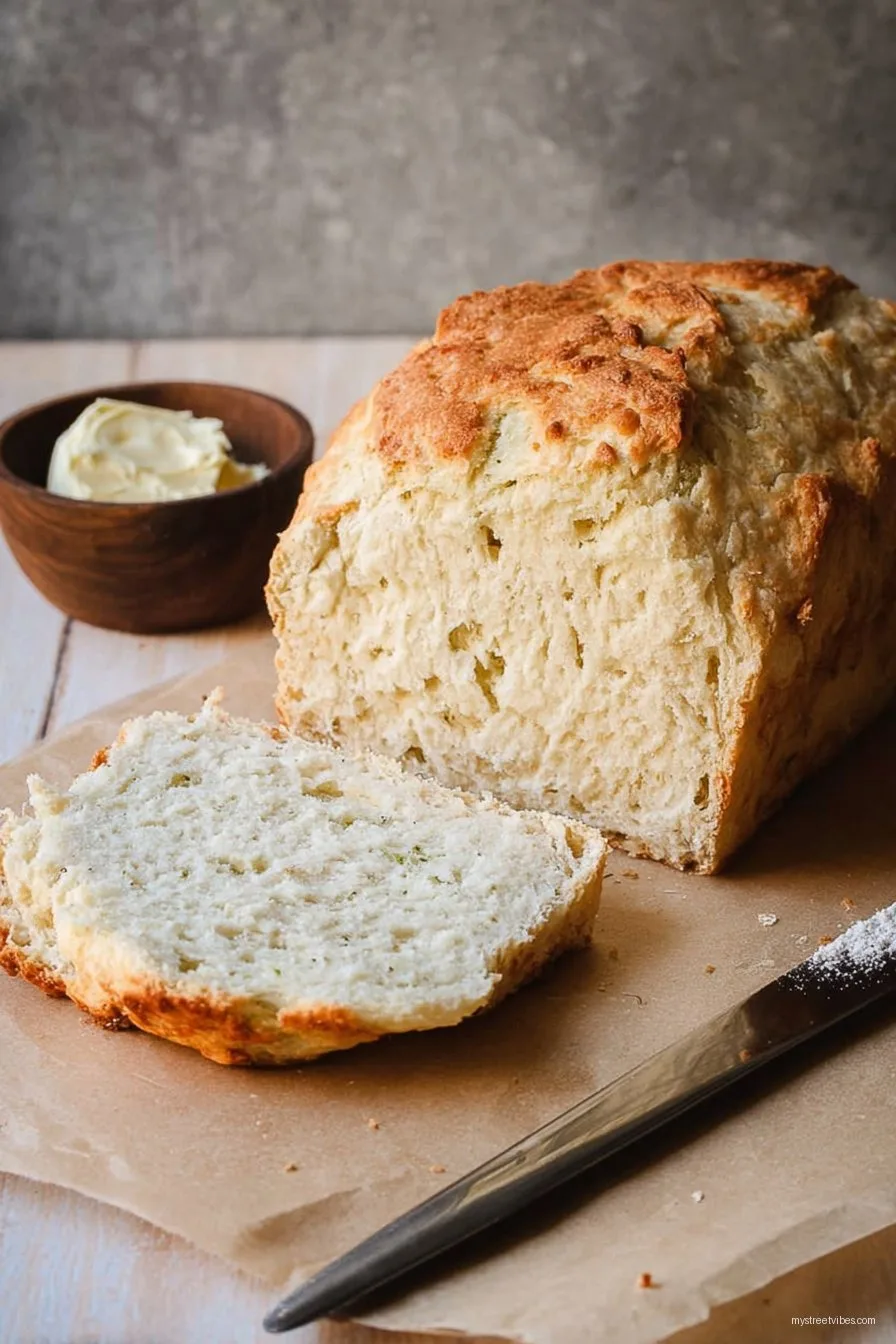
- Let it cool a bit. Or don’t. Slices are best when still warm with way too much butter. Frankly, restraint is overrated.
Notes I Learned the Hard Way
- If the dough feels impossibly sticky, dust your hands with more flour. But don’t overdo it—a little mess never hurt anyone.
- I once added too much yogurt thinking it would be even fluffier, but it turned out more like a doorstop. Just stick (roughly) to the amounts, trust me.
- This bread isn’t meant to rise like a bakery loaf; it’s a bit denser, so don’t be disappointed if it’s not super airy.
Variations I’ve Messed With
- Seeded: Throw in a handful of pumpkin or sunflower seeds before baking for crunch.
- Cheese: Grate in 1/2 cup of cheddar—smells brilliant, tastes even better.
- Whole wheat swap: I once used half whole wheat flour; it worked, but tasted, well, “healthy.” Not my favourite, but if you’re into that, go wild.
- Once I tried olive tapenade mixed in—came out a bit muddy. Wouldn’t do it again. But live and learn, I guess!
If You Don’t Have Every Kitchen Gadget…
I bake mine on a battered old tray, but you can use a bread tin, or even a pizza stone if you’ve got one, apparently (I haven’t, though my mate swears by hers). In a pinch, just line any old tray with parchment and you’re golden. No mixer needed; just elbow grease and a sturdy spoon.
How to Store It (But Honestly…)
If you’ve got leftovers (rarely the case here), keep it in a clean tea towel or paper bag. Plastic bag makes the crust soft, which isn’t my thing, but some folks like it. Stays fine on the counter for up to two days, though honestly it never lasts more than a day. I even once hid a few slices in the microwave just so I could have toast for breakfast. Worth it.
My Favourite Ways to Serve This Bread
Warm from the oven, loads of salted butter, maybe a bit of honey if you’re feeling sweet. My kids like it with a slab of cheddar or dunked in soup—perfect for those “can’t be bothered to cook” dinners. Oh, and sometimes (don’t tell anyone) I use it as a pizza base. Not traditional, but who cares?
Lessons I Learned the Hard Way (Pro Tips)
- Don’t try to rush baking time. Once I turned up the oven so it’d be ready faster—ended up raw in the middle and burnt outside. Bad idea.
- Don’t skip preheating the oven. No joke, I once forgot, and it never cooked through properly.
- Actually, I find it works better if you don’t open the oven constantly “just to check.” Guilty as charged.
Real FAQs from the Folks Who’ve Eaten My Bread
- Can I use plain flour instead of self-raising?
Yes! Just add 2 teaspoons baking powder per 3 cups of plain flour. (That’s what I do if I run out—happens more than I’d like to admit…) - Does non-dairy yoghurt work?
I’ve tried with coconut yoghurt once—turned out decent, but a bit sweet for my liking. Might depend on the brand, so maybe check Minimalist Baker for more non-dairy swaps. - Can I freeze this?
Absolutely. Freezes like a champ. Slice before freezing, then just toast from frozen. (Check out these bread freezing tips from Sally’s Baking Addiction—I’ve learned a lot there.) - Why is my loaf a bit pale?
Oven might be running cool—or maybe just needs a few more minutes. But honestly, color isn’t everything. - Can I double this recipe?
I tried once, but the middle stayed doughy unless I did two separate loaves. So, I’d probably just stick to single batches.
Quick Detour: What’s Up with “3 Ingredient” Recipes?
You ever notice how everything is “3 ingredient” these days? Feels a tiny bit like cheating, but honestly, sometimes that’s exactly what you need. I’d love to tell you I make sourdough from hand-milled grains, but life’s too short (and I have two kids and a cat who thinks he’s a bread inspector—don’t ask). There’s a time and place for shortcuts, and this is it, mate.
If you give it a go, let me know how yours turns out. Or, you know, just send me a pic so I can live vicariously through your loaf. Happy baking!

Ingredients
- 3 cups self-rising flour
- 1 1/2 cups plain Greek yogurt
- 1/2 teaspoon salt
- 1 tablespoon melted butter (optional, for brushing)
- 1 tablespoon sugar (optional, for a touch of sweetness)
- 1/2 cup water (as needed for dough consistency)
- 1 tablespoon olive oil (for greasing the pan)
Instructions
-
1Preheat the oven to 375°F (190°C). Grease a loaf pan with olive oil.
-
2In a large bowl, combine the self-rising flour, salt, and sugar. Mix well.
-
3Add the Greek yogurt to the dry ingredients. Stir until a dough forms. Add water gradually if needed to reach a soft, slightly sticky consistency.
-
4Transfer the dough to the prepared pan. Smooth the top and brush with melted butter if desired.
-
5Bake for 30-35 minutes or until the top is golden brown and a toothpick inserted into the center comes out clean.
-
6Allow to cool for 10 minutes before removing from the pan. Slice and serve warm or at room temperature.
CLICK FOR NUTRITION INFO
↑
Approximate Information for One Serving
Serving Size:
1 serving
Calories:
150cal
Protein:
6 gg
Fat:
2 gg
Saturated Fat:
0g
Trans Fat:
0g
Cholesterol:
0mg
Sodium:
0mg
Potassium:
0mg
Total Carbs:
28 gg
Fiber:
0g
Sugar:
0g
Net Carbs:
0g
Vitamin A:
0
Vitamin C:
0mg
Calcium:
0mg
Iron:
0mg
Nutrition Disclaimers
Number of total servings shown is approximate. Actual number of servings will depend on your preferred portion sizes.
Nutritional values shown are general guidelines and reflect information for 1 serving using the ingredients listed, not including any optional ingredients. Actual macros may vary slightly depending on specific brands and types of ingredients used.
To determine the weight of one serving, prepare the recipe as instructed. Weigh the finished recipe, then divide the weight of the finished recipe (not including the weight of the container the food is in) by the desired number of servings. Result will be the weight of one serving.
Did you make this recipe?
Please consider Pinning it!!